There are four ways to display USP Forms virtually anywhere on your website. For example, after building and publishing a USP Form, you can display it in any WP Post or Page by simply adding its shortcode. This Doc explains this and several other ways of displaying USP Forms exactly to suit your requirements.
Video Tutorial
Check out more video tutorials for USP Pro »
Written Tutorial
The video “shows” it best, but here is a written tutorial with extra information and details.
Display Forms via Shortcode
WordPress shortcodes are great in that they are easy to add to any Post or Page. Here is how to display any USP Form using a shortcode.
- Go to USP Forms and grab the shortcode for the form that you would like to display. The shortcodes are displayed to the right of the form title.
- Add the shortcode to any WP Post or Page
The syntax for USP Form shortcodes is straightforward:
[usp_form id="submit"]Where “submit” is the permalink slug or ID of the form.
post parameter in the URL that’s displayed in your browser’s address bar. It will look like post=123.[usp_form] that you want to display via shortcode must be published (not draft or pending).Display forms via Widget
The USP Pro Form Widget enables you to add any published form(s) to any widgetized area in your theme. Here is how to display any USP Form using the USP Form Widget.
Screenshot of USP Form Widget »
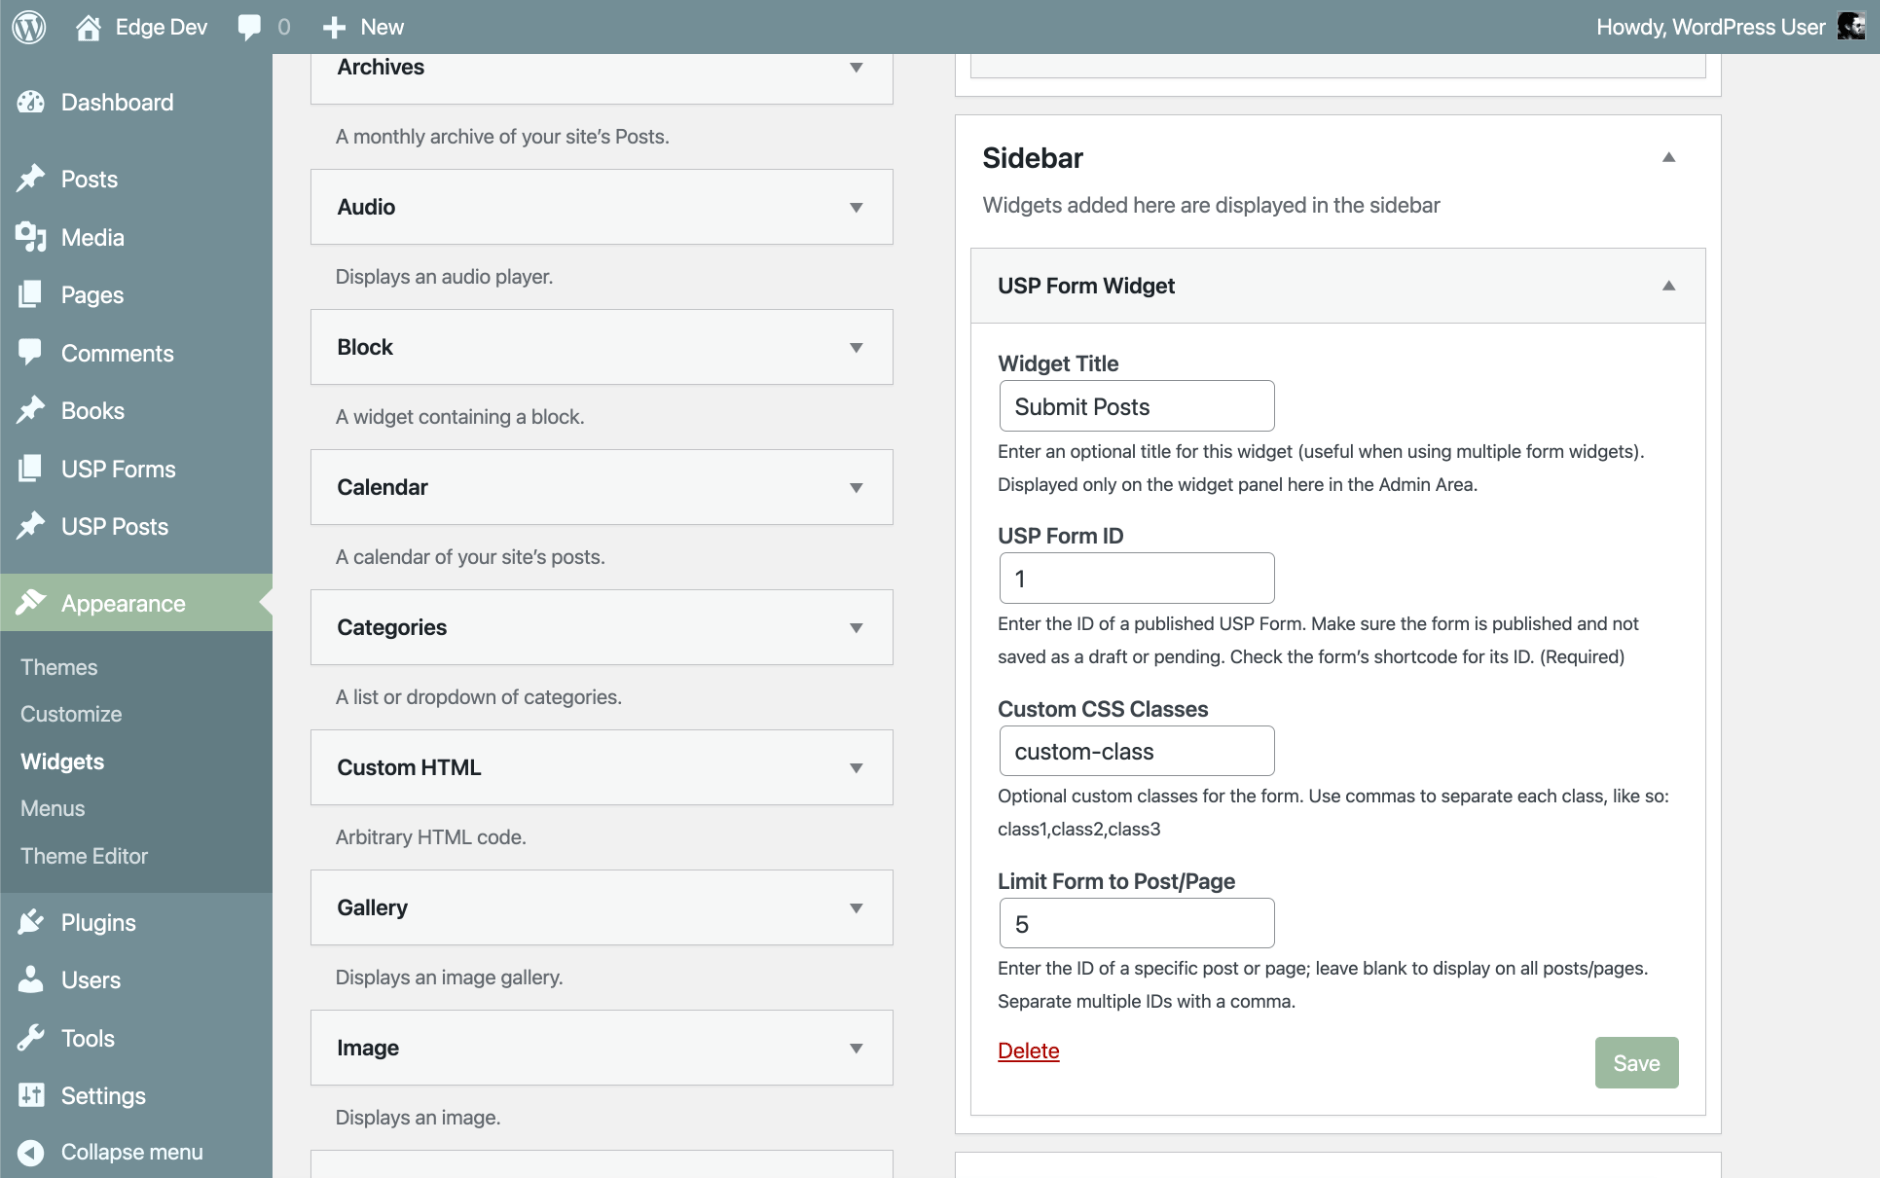
- Go to Appearance ▸ Widgets and drag the USP Form Widget into any active sidebar/widgetized area.
- Edit the widget options as desired (see below).
- click to save your changes and done.
Widget options:
- Widget Title – Enter an optional title for this widget (useful when using multiple form widgets). Displayed only on the widget panel here in the Admin Area.
- USP Form ID – Enter the ID of a published USP Form. Make sure the form is published and not saved as a draft or pending. Check the form’s shortcode for its ID. (Required)
- Custom CSS Classes – Optional custom classes for the form. Use commas to separate each class, like so: class1,class2,class3
- Limit Form to Post/Page – Enter the ID of a specific post or page; leave blank to display on all posts/pages. Separate multiple IDs with a comma.
Reminder that the form must be published in order to be displayed via the widget. To preview a form, click the “Preview Changes” button on the right side of the “Edit USP Form” screen.
Learn more about the USP Pro Form Widget »
Display forms via Template Tag
Template tags are basic snippets of PHP code that you add to your WordPress theme. They are great for custom implementations and displaying forms outside the realm of widgets and post content. To do so, include the following template tag anywhere in your theme template:
<?php echo do_shortcode('[usp_form id="submit"]'); ?>And change the id attribute to match the form you would like to use.
Check out the USP Form Template Tag Reference »