This post explains how to add Google’s reCaptcha to any USP Pro Form to improve anti-spam protection. You can choose which reCaptcha version you want to use: original reCaptcha (version 1), noCaptcha reCaptcha (version 2), or Invisible/No-Hands reCaptcha (version 3). Estimated time to complete 5–10 minutes, depending on whether or not you already have your reCaptcha public and private keys.
Google reCAPTCHA
To add Google reCAPTCHA field to your USP Form, follow these steps:
- Sign up for a free Public and Private Key for the reCAPTCHA version that you want to use
- Visit the USP Pro General settings > “Antispam/Captcha”
- Enter your Public and Private Keys via the settings, “reCAPTCHA Public Key” and “reCAPTCHA Private Key”
- Select which version of reCAPTCHA to use via the setting, “reCAPTCHA Version”
- Click “Save Changes” to save your changes
After following these steps, you can add the reCAPTCHA field to any form using the following shortcode:
[usp_captcha]When using either version 1 or version 2 reCaptcha, you can customize the [usp_captcha] shortcode using any of its attributes. reCaptcha version 3 does not accept any attributes.
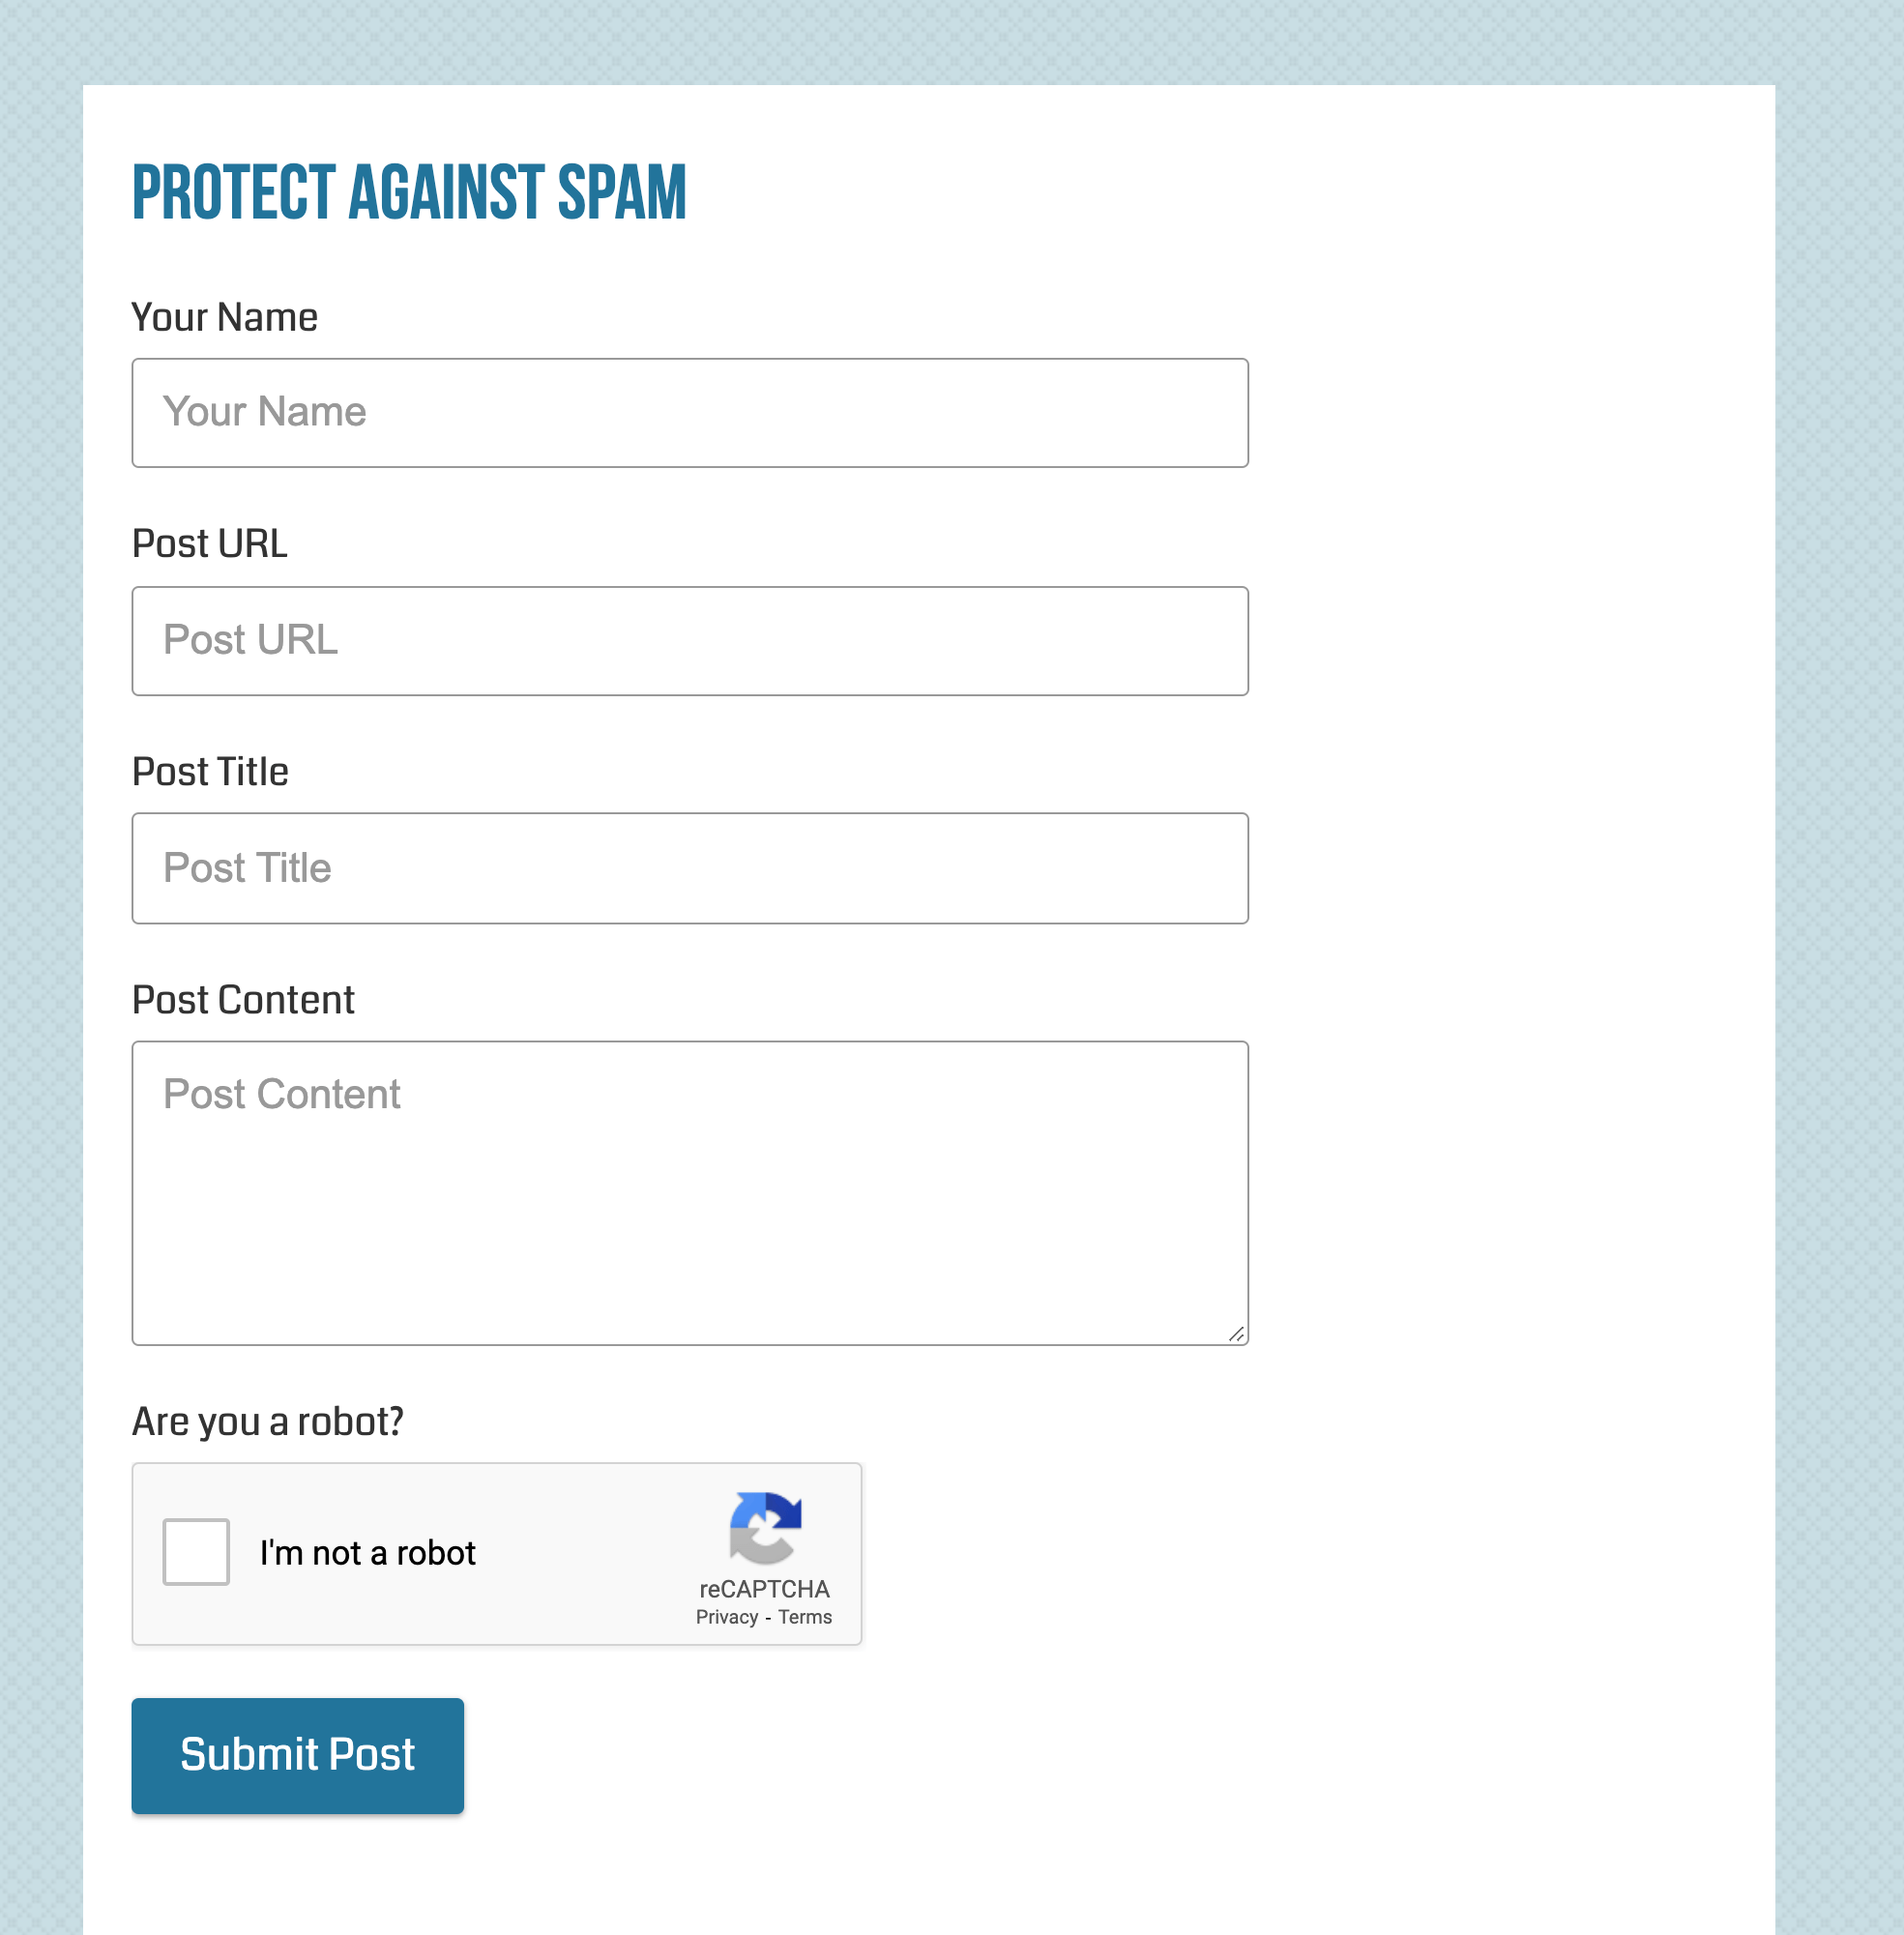
Screenshots
Here is a screenshot showing the noCAPTCHA reCAPTCHA (version 2) displayed on a USP Pro Form:
And for the Invisible/No-Hands reCAPTCHA, there is no form field displayed. All the visitor will notice is the small blue icon in the corner of the screen:
If you hover your cursor over the icon/badge thing, it slides open to display more information.
[usp_captcha] shortcode does not accept any attributes when using the Invisible (version 3) reCaptcha.Enable Anti-spam Challenge Question
In addition to Google reCaptcha, USP Pro also provides a challenge/response field, where the user is required to answer a simple question correctly. So in addition to, or instead of the reCaptcha field, you can enable the antispam Challenge Question by following these steps:
- Visit the USP Pro General settings > “Antispam/Captcha”
- Specify a question for the setting, “Challenge Question”
- Specify a response for the setting, “Challenge Response”
- Optionally check the box to enable “Case-sensitivity”
- Make sure the settings “reCAPTCHA Public Key” and “reCAPTCHA Private Key” are completely empty/blank.
- Click “Save Changes” to save your changes
After following theses steps the Google reCAPTCHA field can be added to any form using the shortcode, [usp_captcha].
Troubleshooting
After implementing reCAPTCHA, if you are getting an error message like this:
reCAPTCHA placeholder element must be empty.
..this can happen if more than one reCAPTCHA JavaScript is included on the page. For help, check out these related search results. Basically, make sure that the Google JavaScript is only included once on the page.
Developers
USP Pro provides a hook that can be used to test the Invisible reCaptcha field (version 3). By default, the user must have a spam score of 0.5 or better. So most humans are going to pass, which makes it difficult to test. To help with this, USP Pro provides the following filter hook:
usp_recaptcha_scoreThat enables us to return a different minimum score, like so:
// USP Pro - Custom reCaptcha Score
function usp_recaptcha_score($score) {

	return 1.0;

}
add_filter('usp_recaptcha_score', 'usp_recaptcha_score');
It is rare for any human to get a score of 1.0, so if you pass that value, the Invisible reCaptcha will return an error when the form is submitted. This is how you can test the functionality of the Invisible v3 reCaptcha with USP Pro.