USP Pro makes it possible to create unlimited forms each with unlimited custom fields. Custom fields are automatically generated with each USP Form that is created. Each custom field accepts parameters to change its functionality and attributes. This flexibility provides the granular control needed to create virtually any type of form imaginable.
Video Tutorial
Check out more video tutorials for USP Pro »
Written Tutorial
Like any custom field, each USP Custom Field:
- Has a Name, which serves as the custom-field shortcode
- Has a Value, which serves as the custom-field definition
So each Custom Field Name is a shortcode that looks like this:
[usp_custom_field form="123" id="1"]Here, 123 is the form ID, and 1 is the custom-field ID.
The default Value of each Custom Field is defined like this:
data-required#trueBy default, three USP Custom Fields are auto-generated for each USP Form. This number may be changed via the USP Pro setting, USP Pro ▸ Advanced Settings ▸ Custom Fields ▸ “Number of Custom Fields to auto-generate for each USP Form”.
Customizing
Custom Fields may be customized by adding attributes to its value/definition. As previously mentioned, by default each Custom Field definition looks like this:
data-required#trueHere, data-required is the name of the attribute, and true is its value. Each attribute’s name and value is separated with a pound sign #. Multiple attributes may be included using a vertical pipe | as a separator. Here is an example:
data-required#true|label#Mobile|placeholder#MobileSo if we were to add this Custom Field to a USP Form, it would display a text input. The label and placeholder for the input would be “Mobile”, because that is what is specified via the Custom Field attributes. Here is an example of the HTML that will be used to display this input:
<label for="usp-custom-1" class="example-class-1 usp-label usp-label-input usp-label-custom usp-form-123">Mobile</label>
<input name="usp-custom-mobile" type="text" value="" data-required="true" placeholder="Mobile" class="example-class-1 usp-input usp-input-custom usp-form-123">
Once a USP Form is submitted, any Custom Fields will be attached to the submitted Post. You can view them at any time by visiting a submitted post and enabling the “Custom Fields” meta box, which is displayed beneath the content editor on the “Edit Post” screen.
[usp_custom_field] section of the Shortcodes Reference.Step-by-Step Guide
To add a Custom Field to any USP Form, follow these three steps:
Step 1
Ensure that the “Custom Fields” meta box is visible on the “Edit USP Form” screen. It should be visible beneath the content editor. If you don’t see the meta box, make sure the form is saved or published, and then click the “Screen Options” tab in the top-right corner of the screen. There you can enable the option to display the Custom Fields meta box.
Step 2
Visit the Custom Fields meta box and copy the shortcode of the Custom Field that you would like to add. Then paste the shortcode into the form content wherever you would like it to be displayed. For example, the Custom Field shortcode should look something like this:
[usp_custom_field form="123" id="1"]After the shortcode has been added to the form, you can save the changes and view the form on the frontend. If you decide that changes need to be made, you can revisit the Custom Field definition and add any attributes that may be useful. For example, you can add attributes to customize the label, placeholder, field type, and much more.
Step 3
Now that we’ve seen how to add a Custom Field to the USP Form, it’s possible to customize its attributes to make it almost any type of field required. For example, let’s say that we want to add a Custom Field to the form that collects optional “mobile” information from the user. To set it up, we could use the following Custom Field definition:
data-required#false|name#mobile|for#mobile|label#Mobile|placeholder#MobileRemember to save changes for both the Custom Field and USP Form (click “Update” or “Publish”).
At this point, the Custom Field is added to the form. Any posts that are submitted via your form will be available in the WP Admin Area (e.g., under the “Posts” menu). Visiting the submitted post, you will see all of its Custom Fields attached and displayed beneath the post editor (in the “Custom Fields” meta box).
Done.
That’s all there is to it. It may look like a lot at first, but once you see how it works, the flexibility and simplicity will become clear. You can create just about type of form field imaginable. Here is a quick guide to Custom Field Recipes to give you some ideas :)
How to add a new custom-field definition
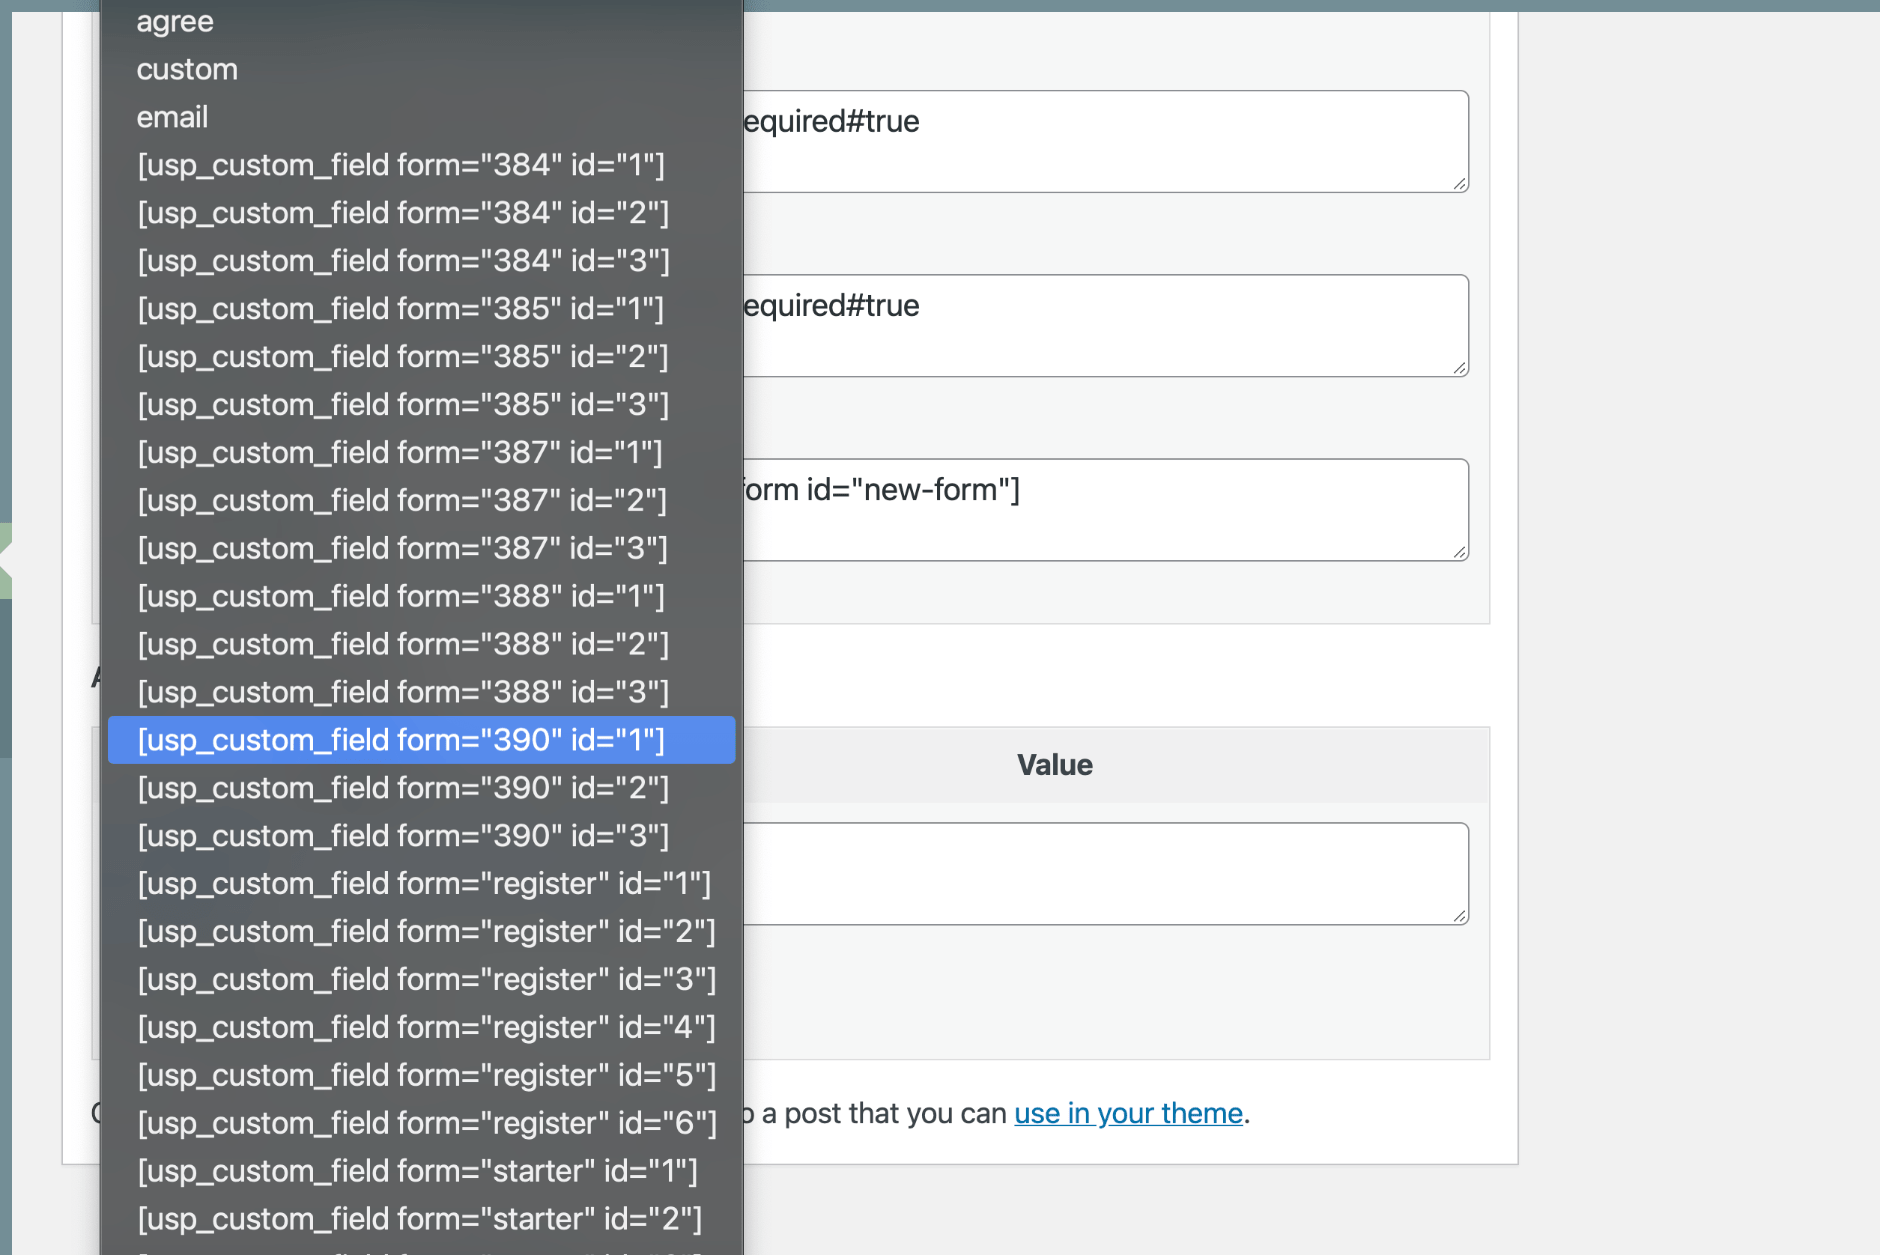
First, if you go to add a new custom field to a USP Form using the Add New panel, you may notice a bunch of existing options, like this for example. All of those options are provided automatically by WordPress, to make it easier/faster to add new custom fields. The problem is that some of the options are for custom fields that are defined for other forms. So if you try to select from the existing options you could pick one that does not work with the current form.
So best advice is to ignore the suggested menu options and just enter the name of your custom field manually.
Here are the steps to do it:
Step 1
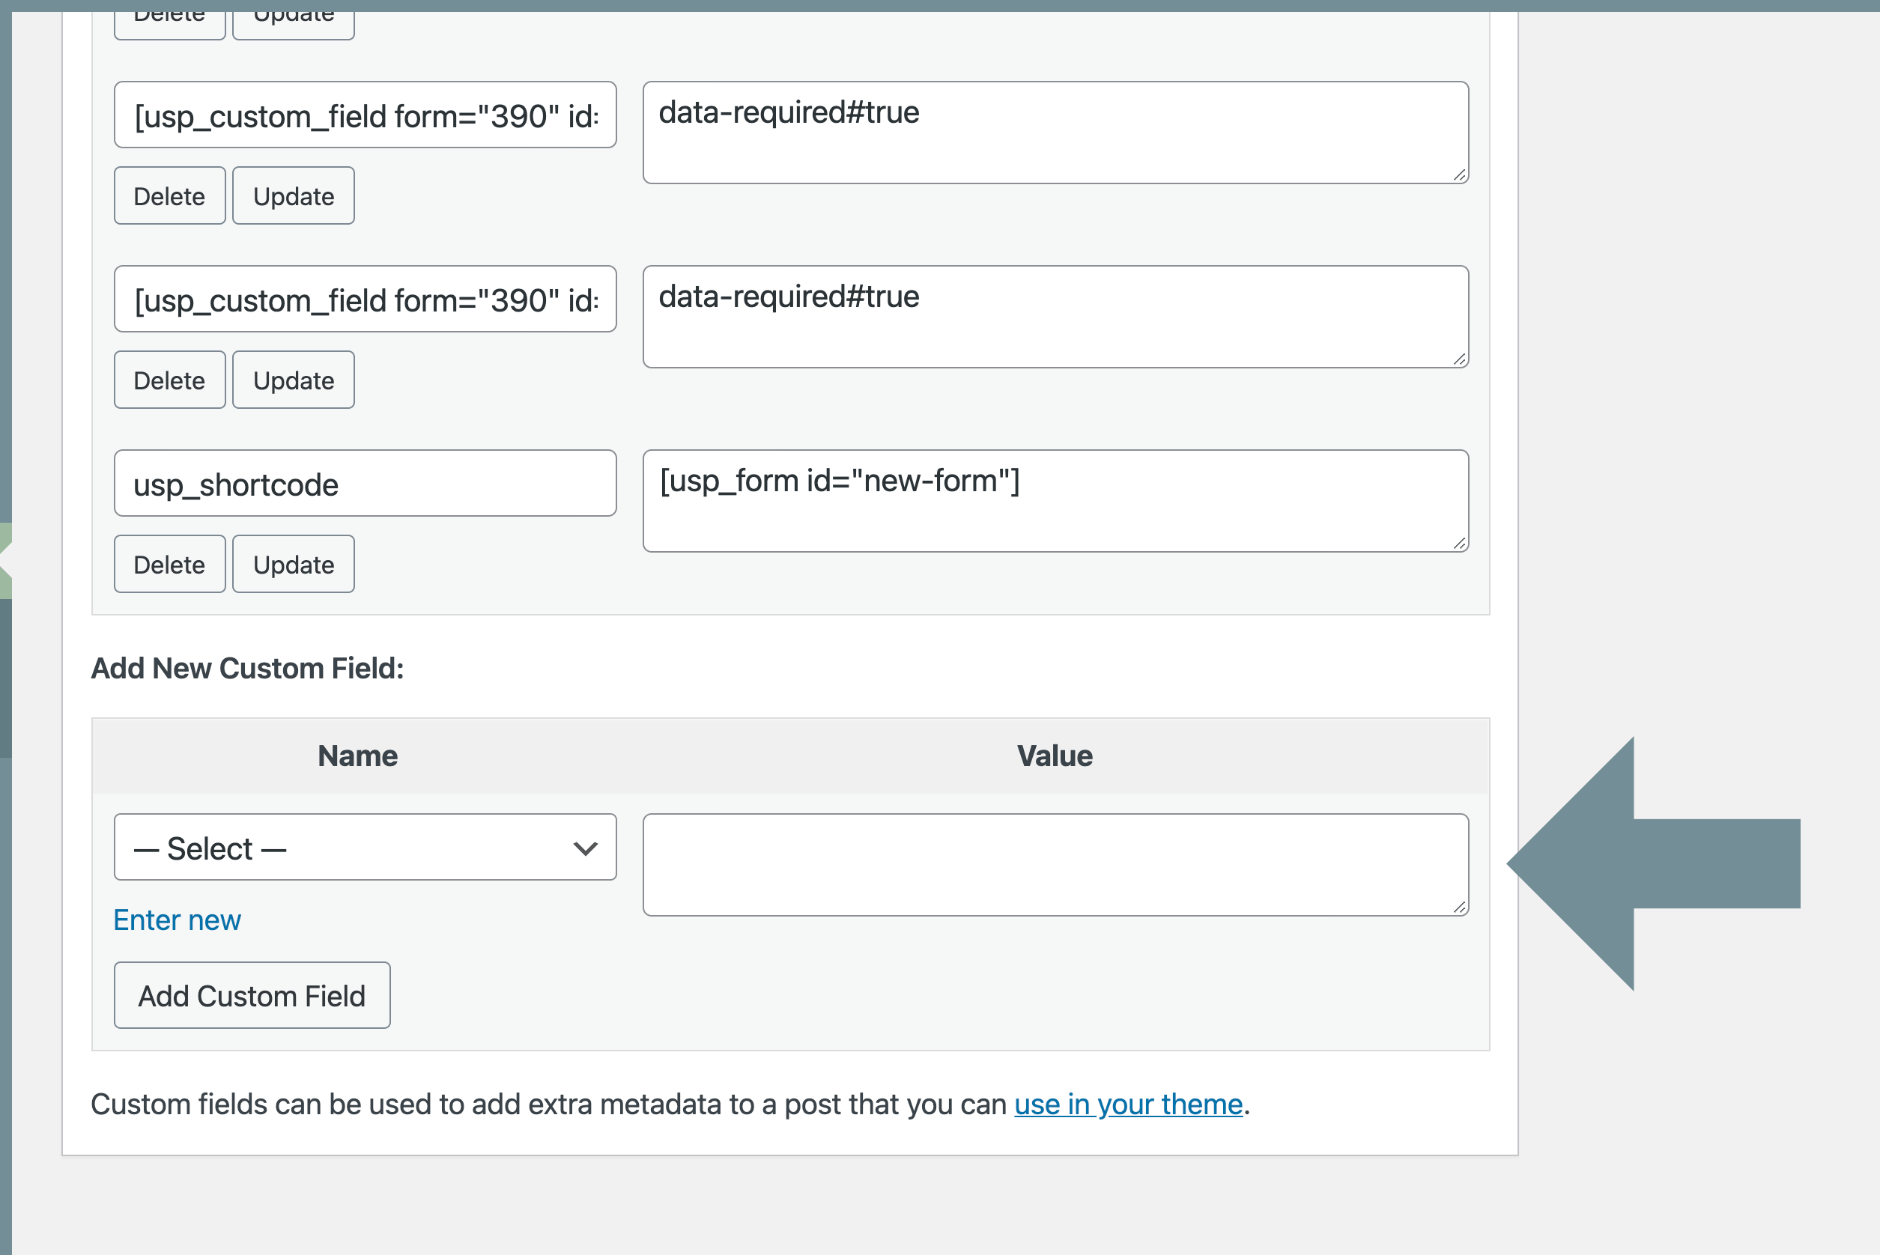
Visit the “Edit USP Form” screen for your form. Scroll down beneath the content area and locate the Custom Fields meta box:
 Custom Fields meta box showing custom fields. Note that the fourth custom field is a shortcode to add the form to any post or page.
In the above screenshot, notice there are three custom fields already defined for the form:
[usp_custom_field form="100" id="1"]
[usp_custom_field form="100" id="2"]
[usp_custom_field form="100" id="3"]
So now we want to add another custom field, right? To do it, copy one of those existing custom field names and use it for the next step.
Step 2
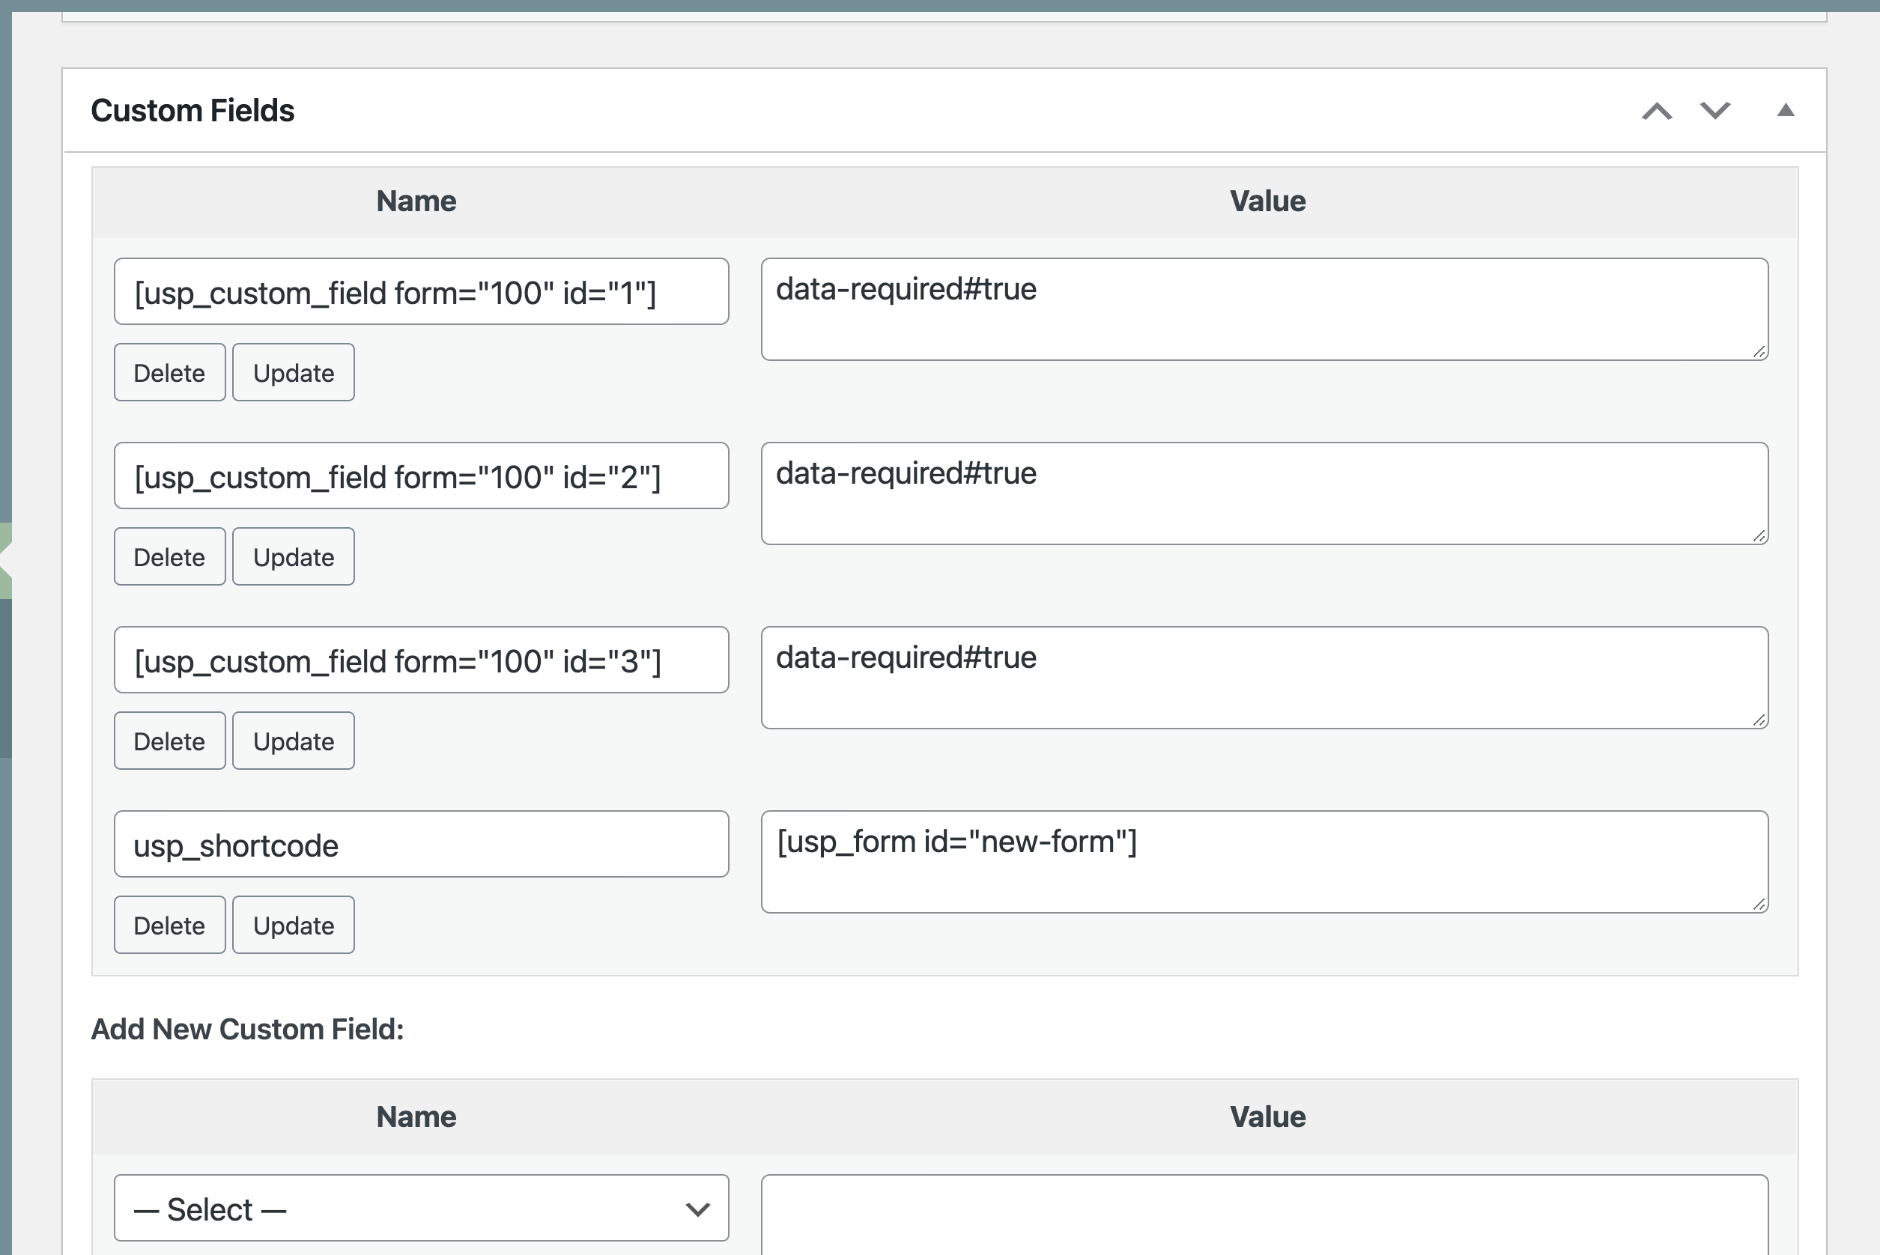
Next paste the custom-field name into the “Add New” meta box, as shown here:
 Custom Fields meta box showing the “Add New Custom Field” option. Note the value of the “id” attribute is “3”.
Step 3
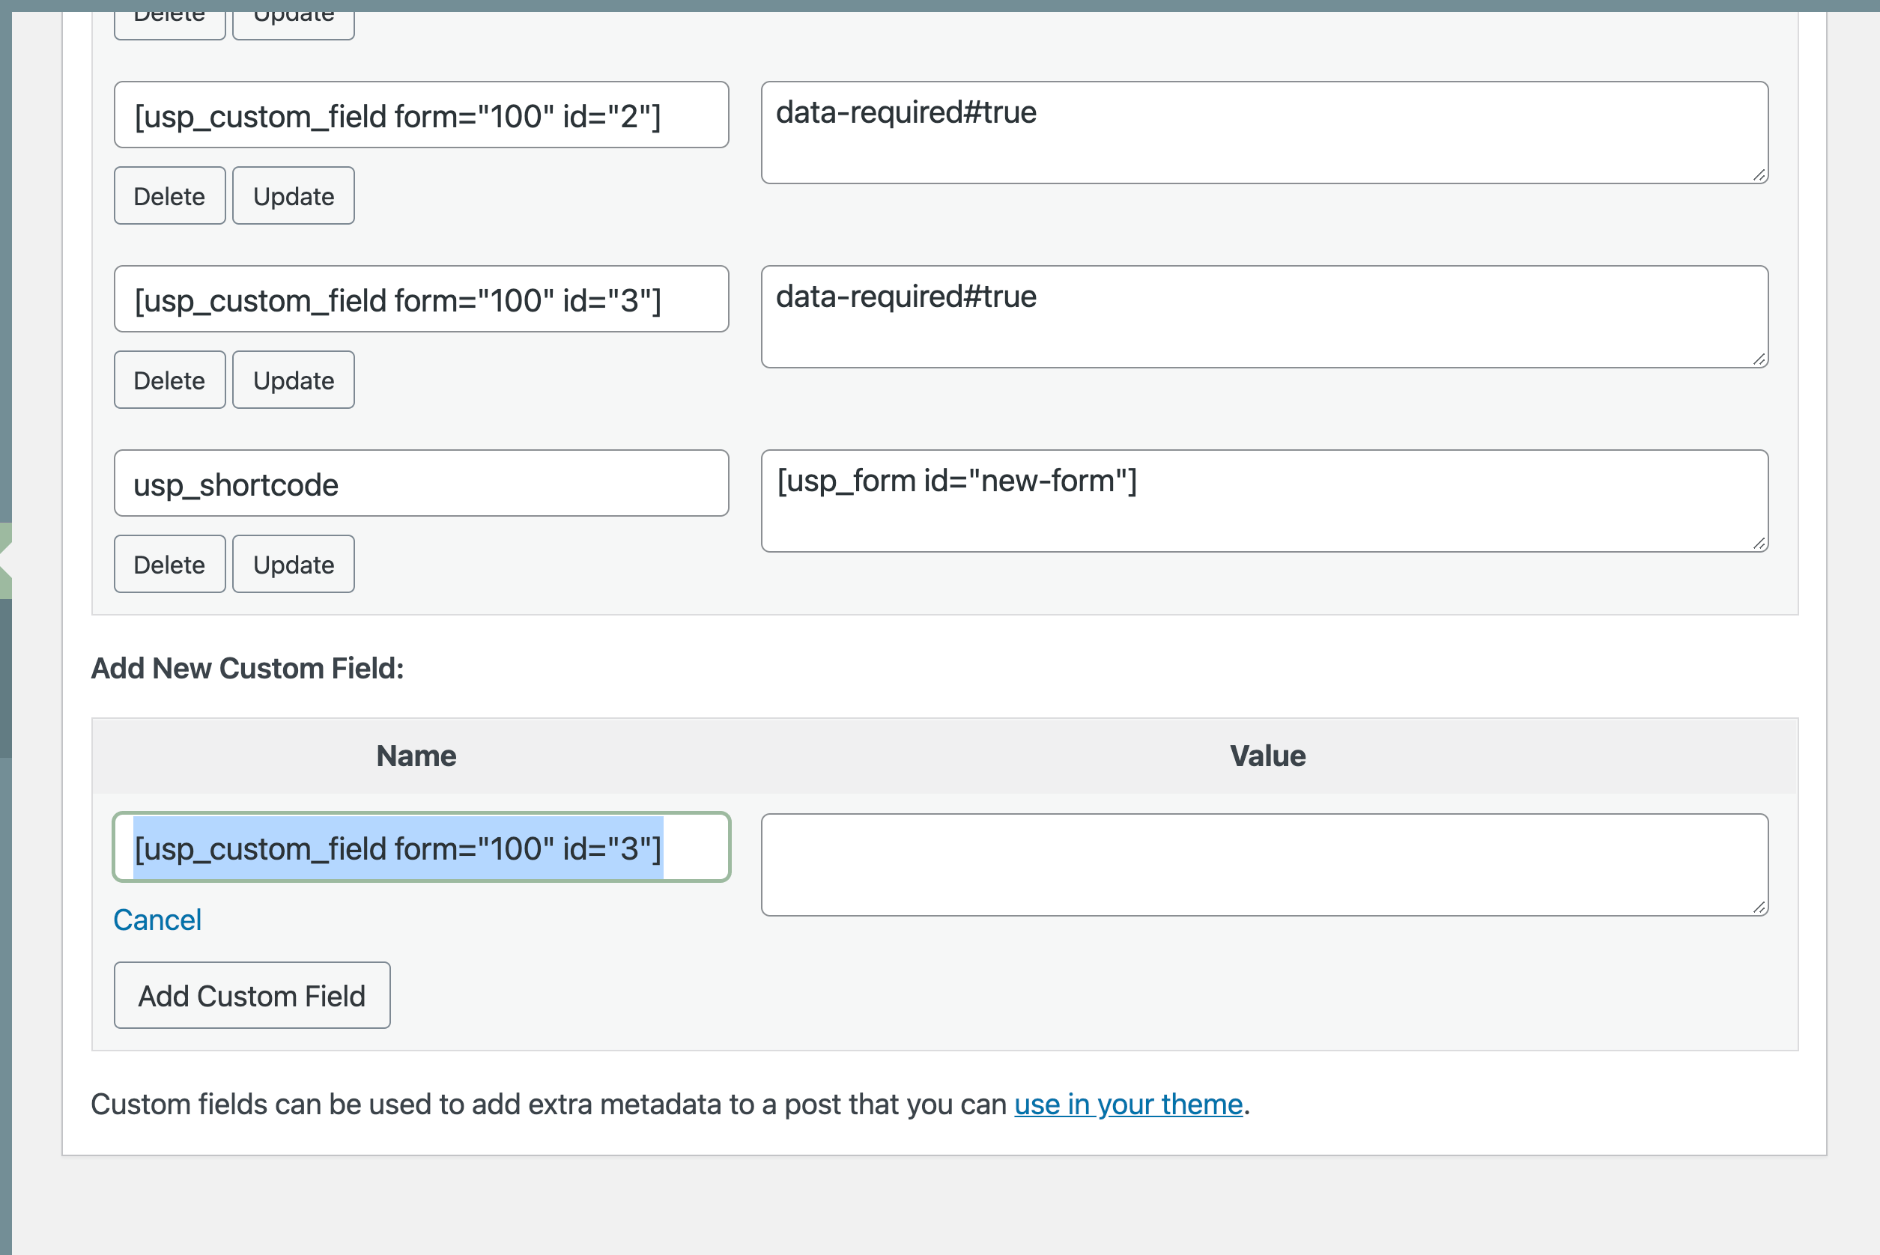
Remember to increase the id attribute by one (so increment by 1), as shown below. Notice that id="3" is changed to id="4".
 Custom Fields meta box showing the “Add New Custom Field” option. Note the value of the “id” attribute is now increased to “4”.
Lastly, click the “Add Custom Field” button. Also remember to click the “Update” or “Publish” button to save your changes. You now have another custom field added to your form.
form attribute! It must match the actual ID of the current form.Next steps..
After adding some custom fields to your form, visitors will be able to submit the information along with their post. So at this point you may be asking how to display the custom fields along with the submitted post content. Because we’re working with WordPress, there are numerous ways to do it. The easiest way is to use the free Helper addon, which makes it easy to display custom fields on the front-end. You also can read more about displaying custom fields for all the details.