Head Meta Pro makes it easy to define the perfect meta tags for your WordPress-powered site. The plugin is designed with simplicity in mind, so getting started and set up should be a breeze. If at any time, you are unsure or have questions, visit the Help tab on the plugin settings page for complete documentation, and always feel free to contact us for further support. So with that in mind, let’s get started with Head Meta Pro..
Overview
10-second overview: Install/activate the plugin. Visit the plugin settings ▸ License screen to activate your license. Then visit the plugin settings and define your meta tags. Save changes and done.
Now let’s walk through with a little more detail..
Installation
First remove the free version of Head Meta Pro (aka Head Meta Data), if installed. Then install the pro version and activate the license.
Usage
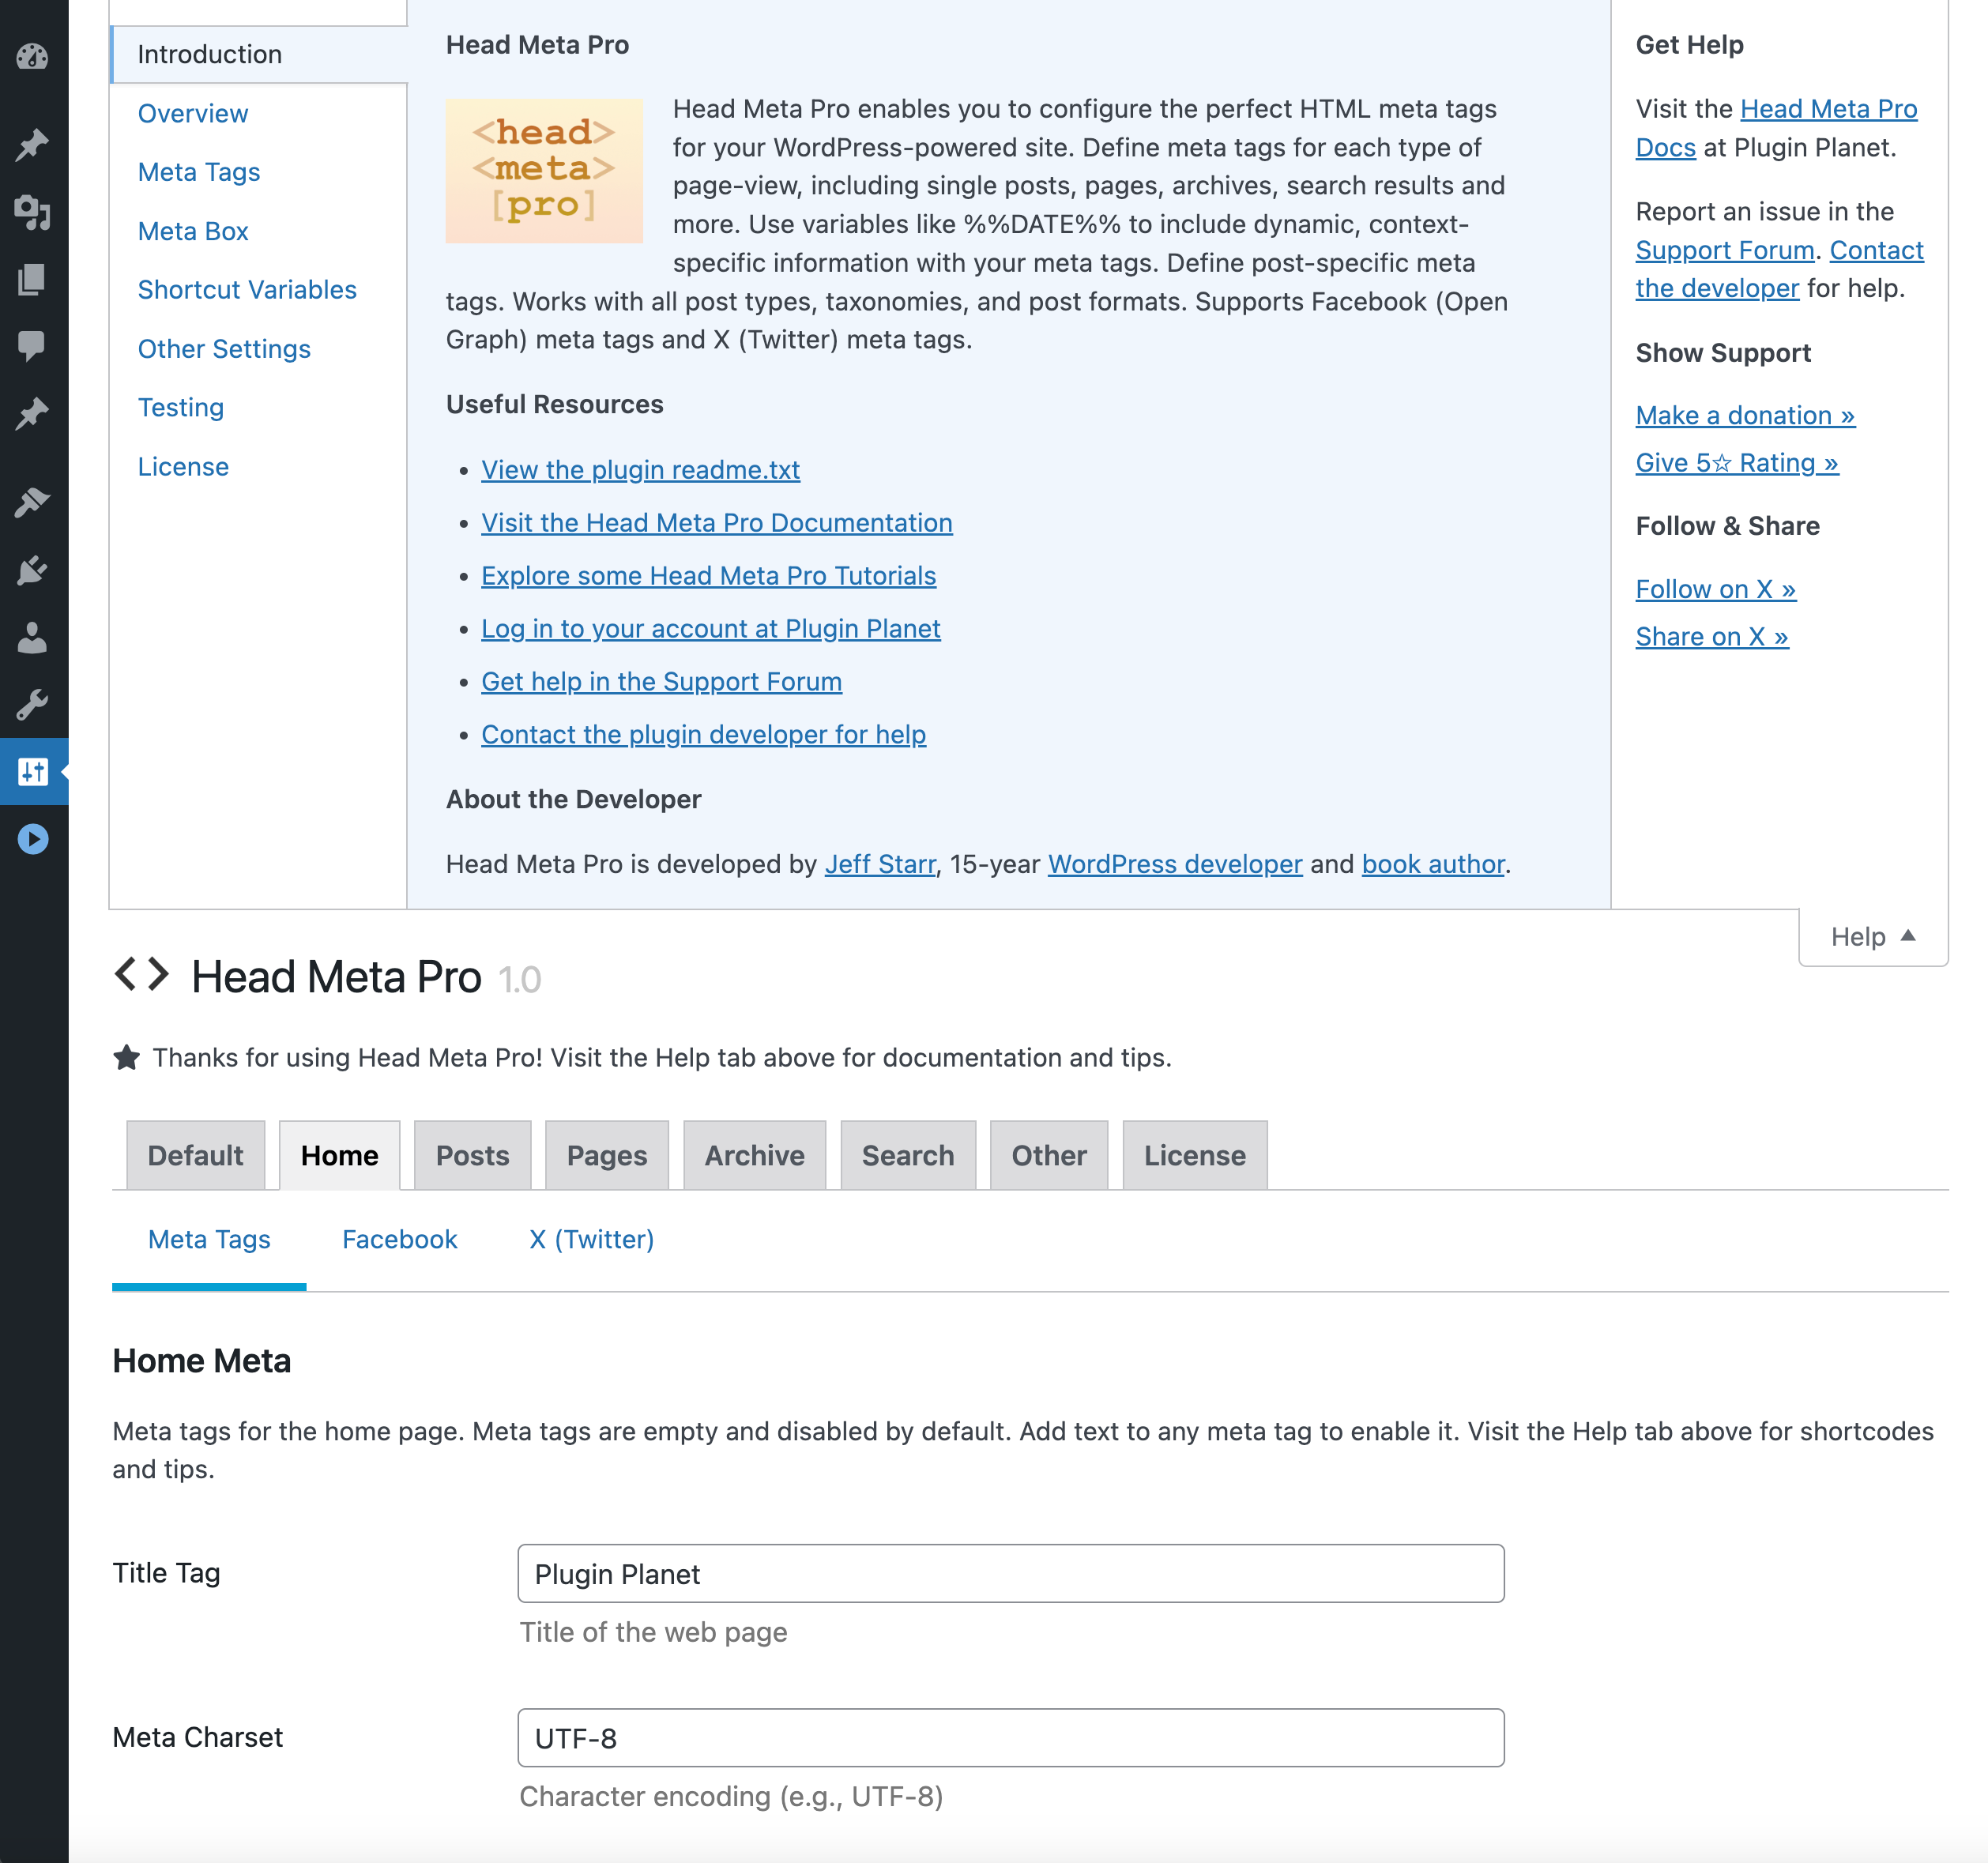
The key to maximizing your meta-tag configuration: first define a good set of default meta tags. To do this, visit the “Default” tab in the plugin settings. There you will find three sections:
- Meta Tags
- X (Twitter)
Go through each section and define your default meta tags. This default set of tags will be used when a more specific meta tag has not been defined. After defining your tags and saving the changes, you can preview your meta tags by scrolling down to the “Live Preview” section.
%%POST_TITLE%% or %ARCHIVE_TYPE%%. To view the meta tags with transformed shortcuts, simply view the source code of your web pages.Going Further
After defining your default meta tags, you can go further by defining tags for specific page-views. For example, you can use shortcut variables to define tags for single posts. To do so, visit the “Posts” tab and enter some shortcut variables such as:
%%POST_TITLE%%%%POST_DESC%%%%POST_AUTHOR%%
Using shortcut variables gives you granular control over the meta tags for each type of page view:
- Home
- Posts
- Pages
- Archive
- Search
- 404
There are many shortcut variables available, enabling you to dial in the perfect meta tags for each type of view.
Remember, this is just a “Quick Start” guide. For more information check out the following resources:
- The Help tab (available on the Head Meta Pro settings screen)
- Head Meta Pro Settings
- Head Meta Pro Documentation
- Head Meta Pro Tutorials
Questions & Feedback
If you have questions or feedback, you may:
Your feedback always is appreciated!