This post walks through all of the settings provided with Head Meta Pro. These settings are current as of the time of this writing, however the settings may change as the plugin is updated and evolves going forward. If you are an owner of the plugin, you can get a current view of all the settings by simply visiting them, and check the “Help” tab for the latest most current information. For non-owners who want a current view of the plugin settings, you can contact us anytime and we will send some screenshots showing all the latest.
Default
Available on the Head Meta Pro settings page ▸ Default tab. Here you will find three sections:
Here are the settings provided for each of these three sections:
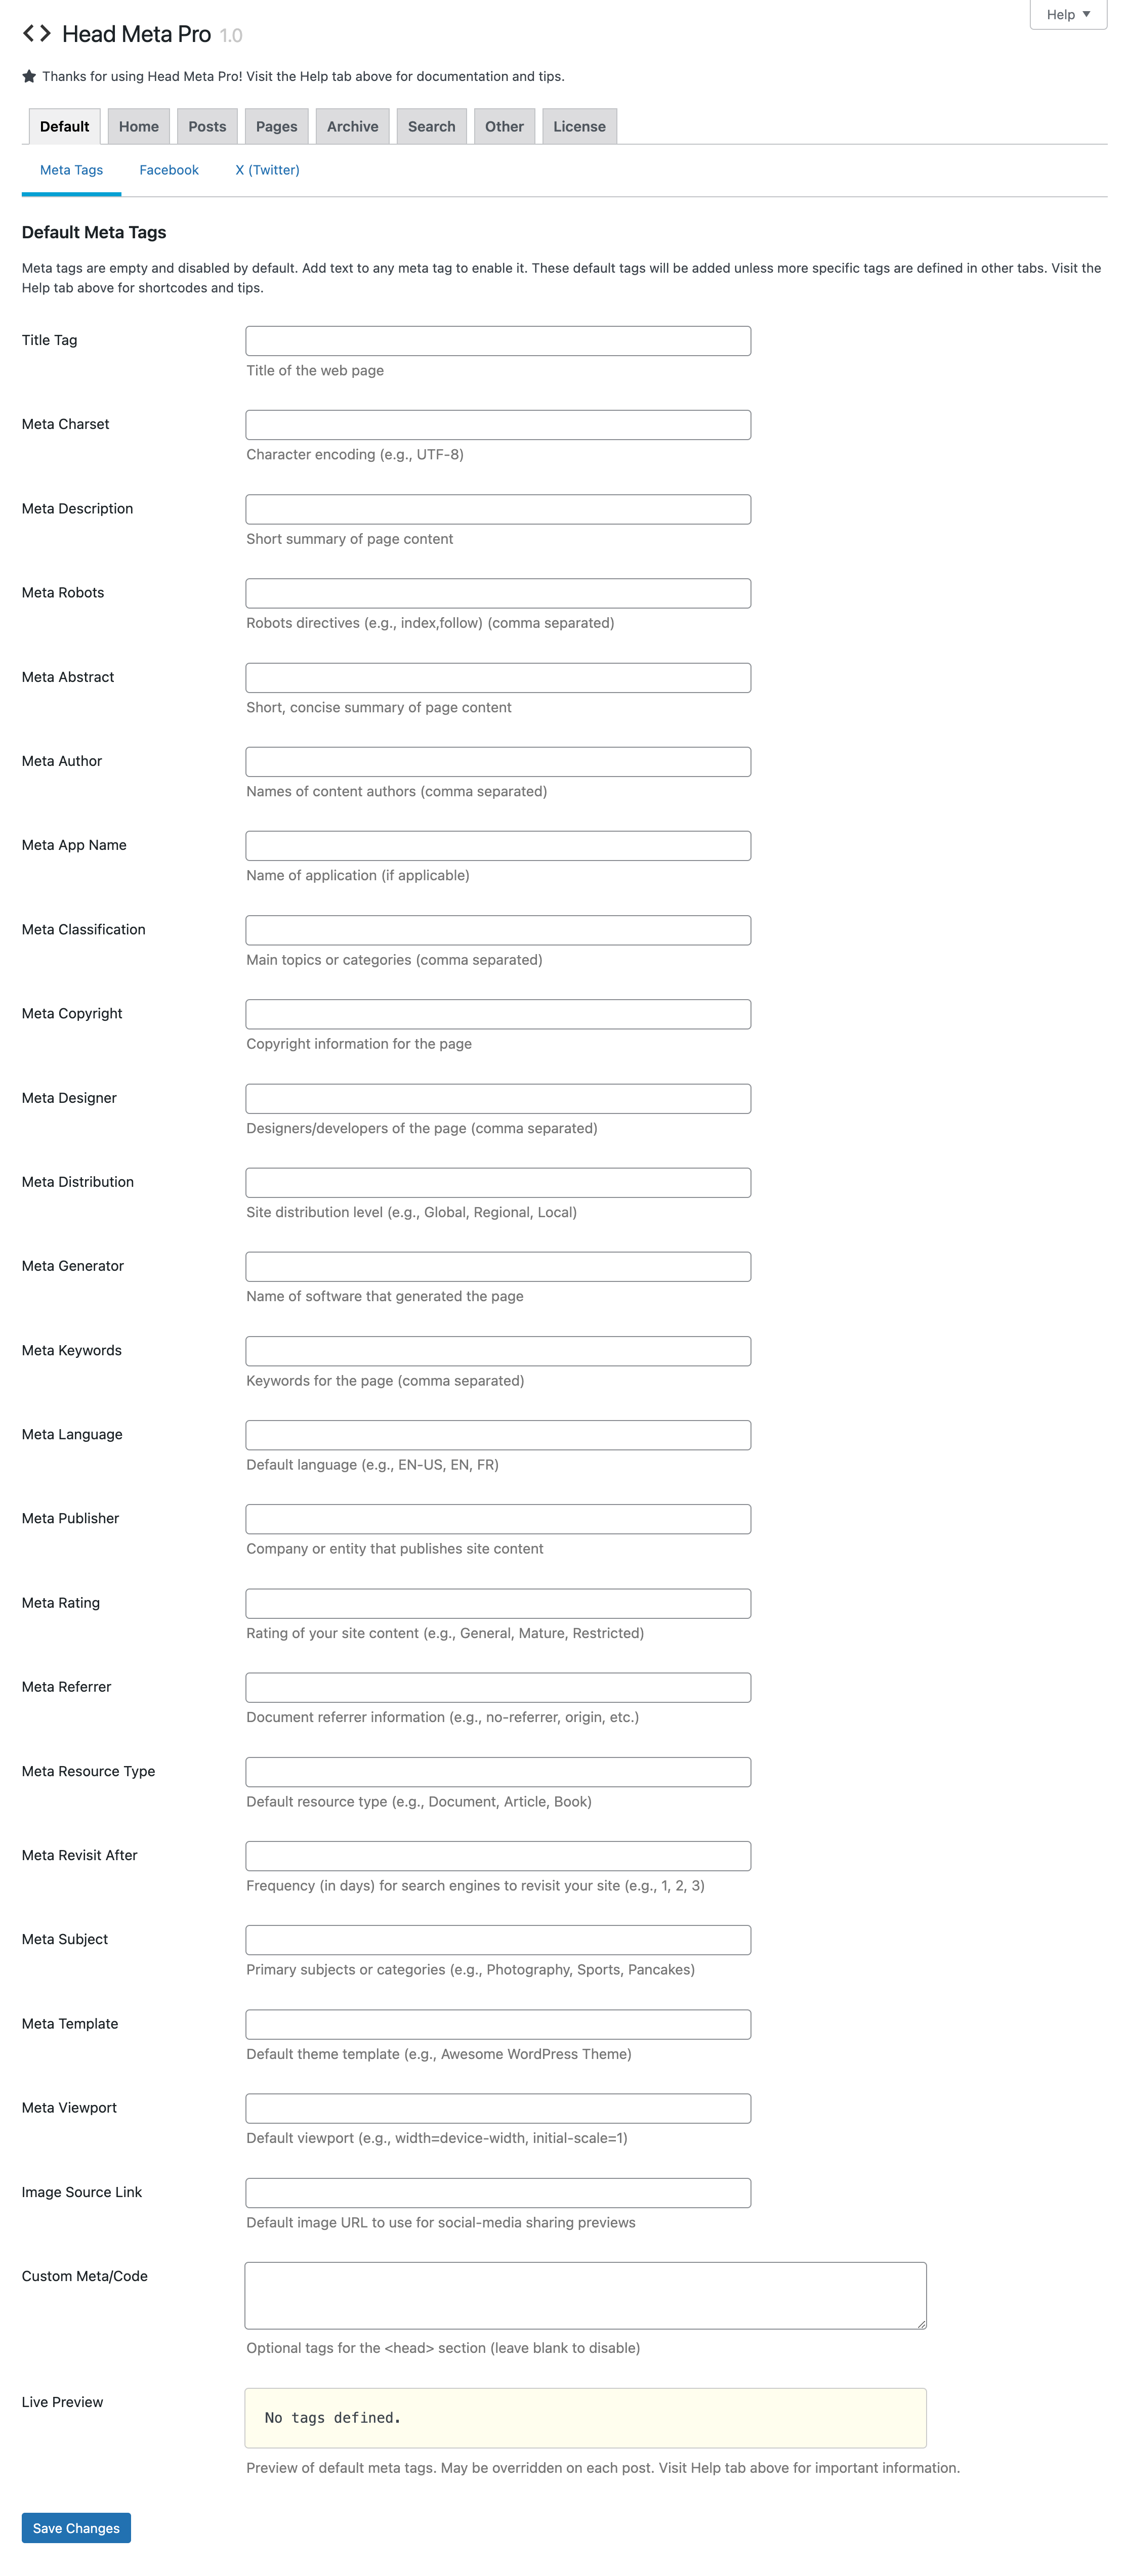
Meta Tags
| Setting | Description |
|---|---|
| Title Tag | Title of the web page |
| Meta Charset | Character encoding (e.g., UTF-8) |
| Meta Description | Short summary of page content |
| Meta Robots | Robots directives (e.g., index,follow) (comma separated) |
| Meta Abstract | Short, concise summary of page content |
| Meta Author | Name(s) of content authors (comma separated) |
| Meta App Name | Name of application (if applicable) |
| Meta Classification | Main topics or categories (comma separated) |
| Meta Copyright | Copyright information for the page |
| Meta Designer | Designers/developers of the page (comma separated) |
| Meta Distribution | Site distribution level (e.g., Global, Regional, Local) |
| Meta Generator | Name of software that generated the page |
| Meta Keywords | Keywords for the page (comma separated) |
| Meta Language | Default language (e.g., EN-US, EN, FR) |
| Meta Publisher | Company or entity that publishes site content |
| Meta Rating | Rating of your site content (e.g., General, Mature, Restricted) |
| Meta Referrer | Document referrer information (e.g., no-referrer, origin, etc.) |
| Meta Resource Type | Default resource type (e.g., Document, Article, Book) |
| Meta Revisit After | Frequency (in days) for search engines to revisit your site (e.g., 1, 2, 3) |
| Meta Subject | Primary subjects or categories (e.g., Photography, Sports, Pancakes) |
| Meta Template | Default theme template (e.g., Awesome WordPress Theme) |
| Meta Viewport | Default viewport (e.g., width=device-width, initial-scale=1) |
| Image Source Link | Default image URL to use for social-media sharing previews |
| Custom Meta/Code | Optional tags for the <head> section (leave blank to disable) |
| Live Preview | Preview of default meta tags. May be overridden on each post. Visit Help tab above for important information. |
| Setting | Description |
|---|---|
| Site Name | Name of website |
| Page Title | Title of article |
| Page Description | Description of article |
| Page URL | URL of article |
| Page Image | Image URL for article |
| App ID | Facebook App ID |
| Content Type | Type of media |
| Locale | Locale of the article |
| Custom Meta/Code | Optional tags for the <head> section (leave blank to disable) |
| Live Preview | Preview of default Facebook tags. May be overridden on each post. Visit Help tab above for important information. |
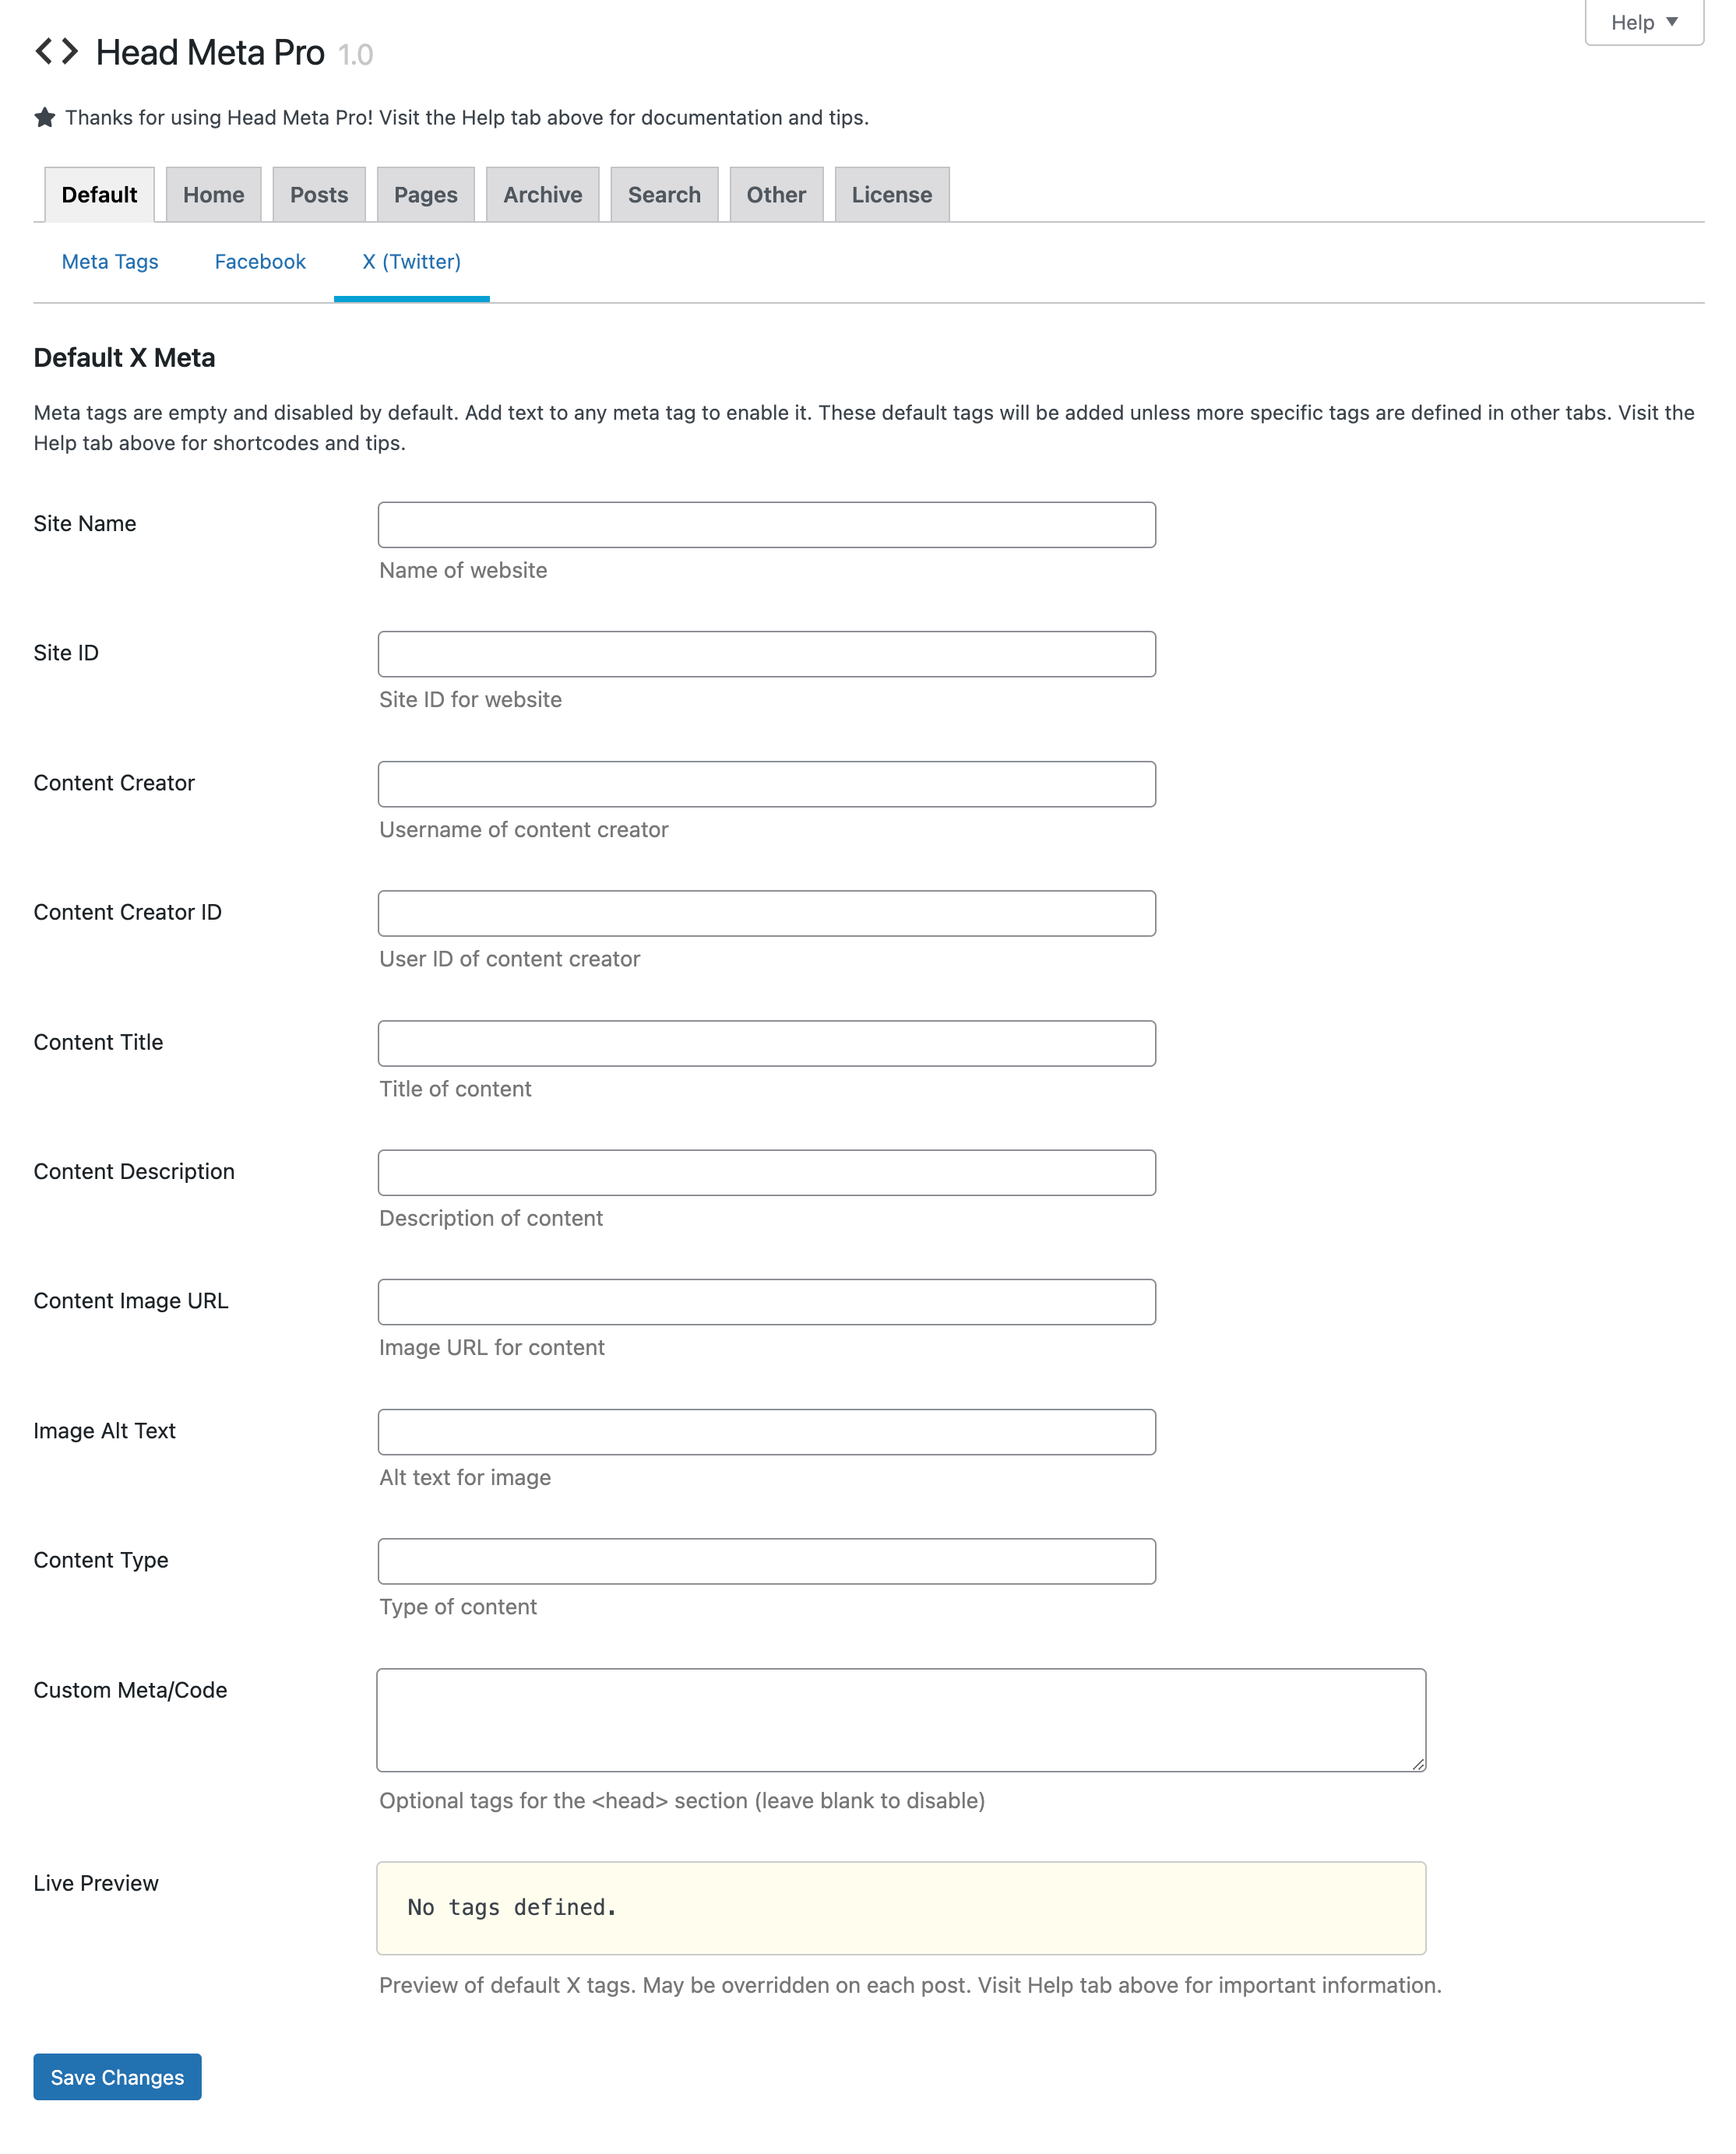
X (Twitter)
| Setting | Description |
|---|---|
| Site Name | Name of website |
| Site ID | Site ID for website |
| Content Creator | Username of content creator |
| Content Creator ID | User ID of content creator |
| Content Title | Title of content |
| Content Description | Description of content |
| Content Image URL | Image URL for content |
| Image Alt Text | Alt text for image |
| Content Type | Type of content |
| Custom Meta/Code | Optional tags for the <head> section (leave blank to disable) |
| Live Preview | Preview of default X tags. May be overridden on each post. Visit Help tab above for important information. |
Note: All Meta Tag, Facebook, and X (Twitter) settings are empty and disabled by default. Add text to any meta tag to enable it. These default tags will be added unless more specific tags are defined in other tabs. Check out the Quick Start Guide for more information on using the default tags.
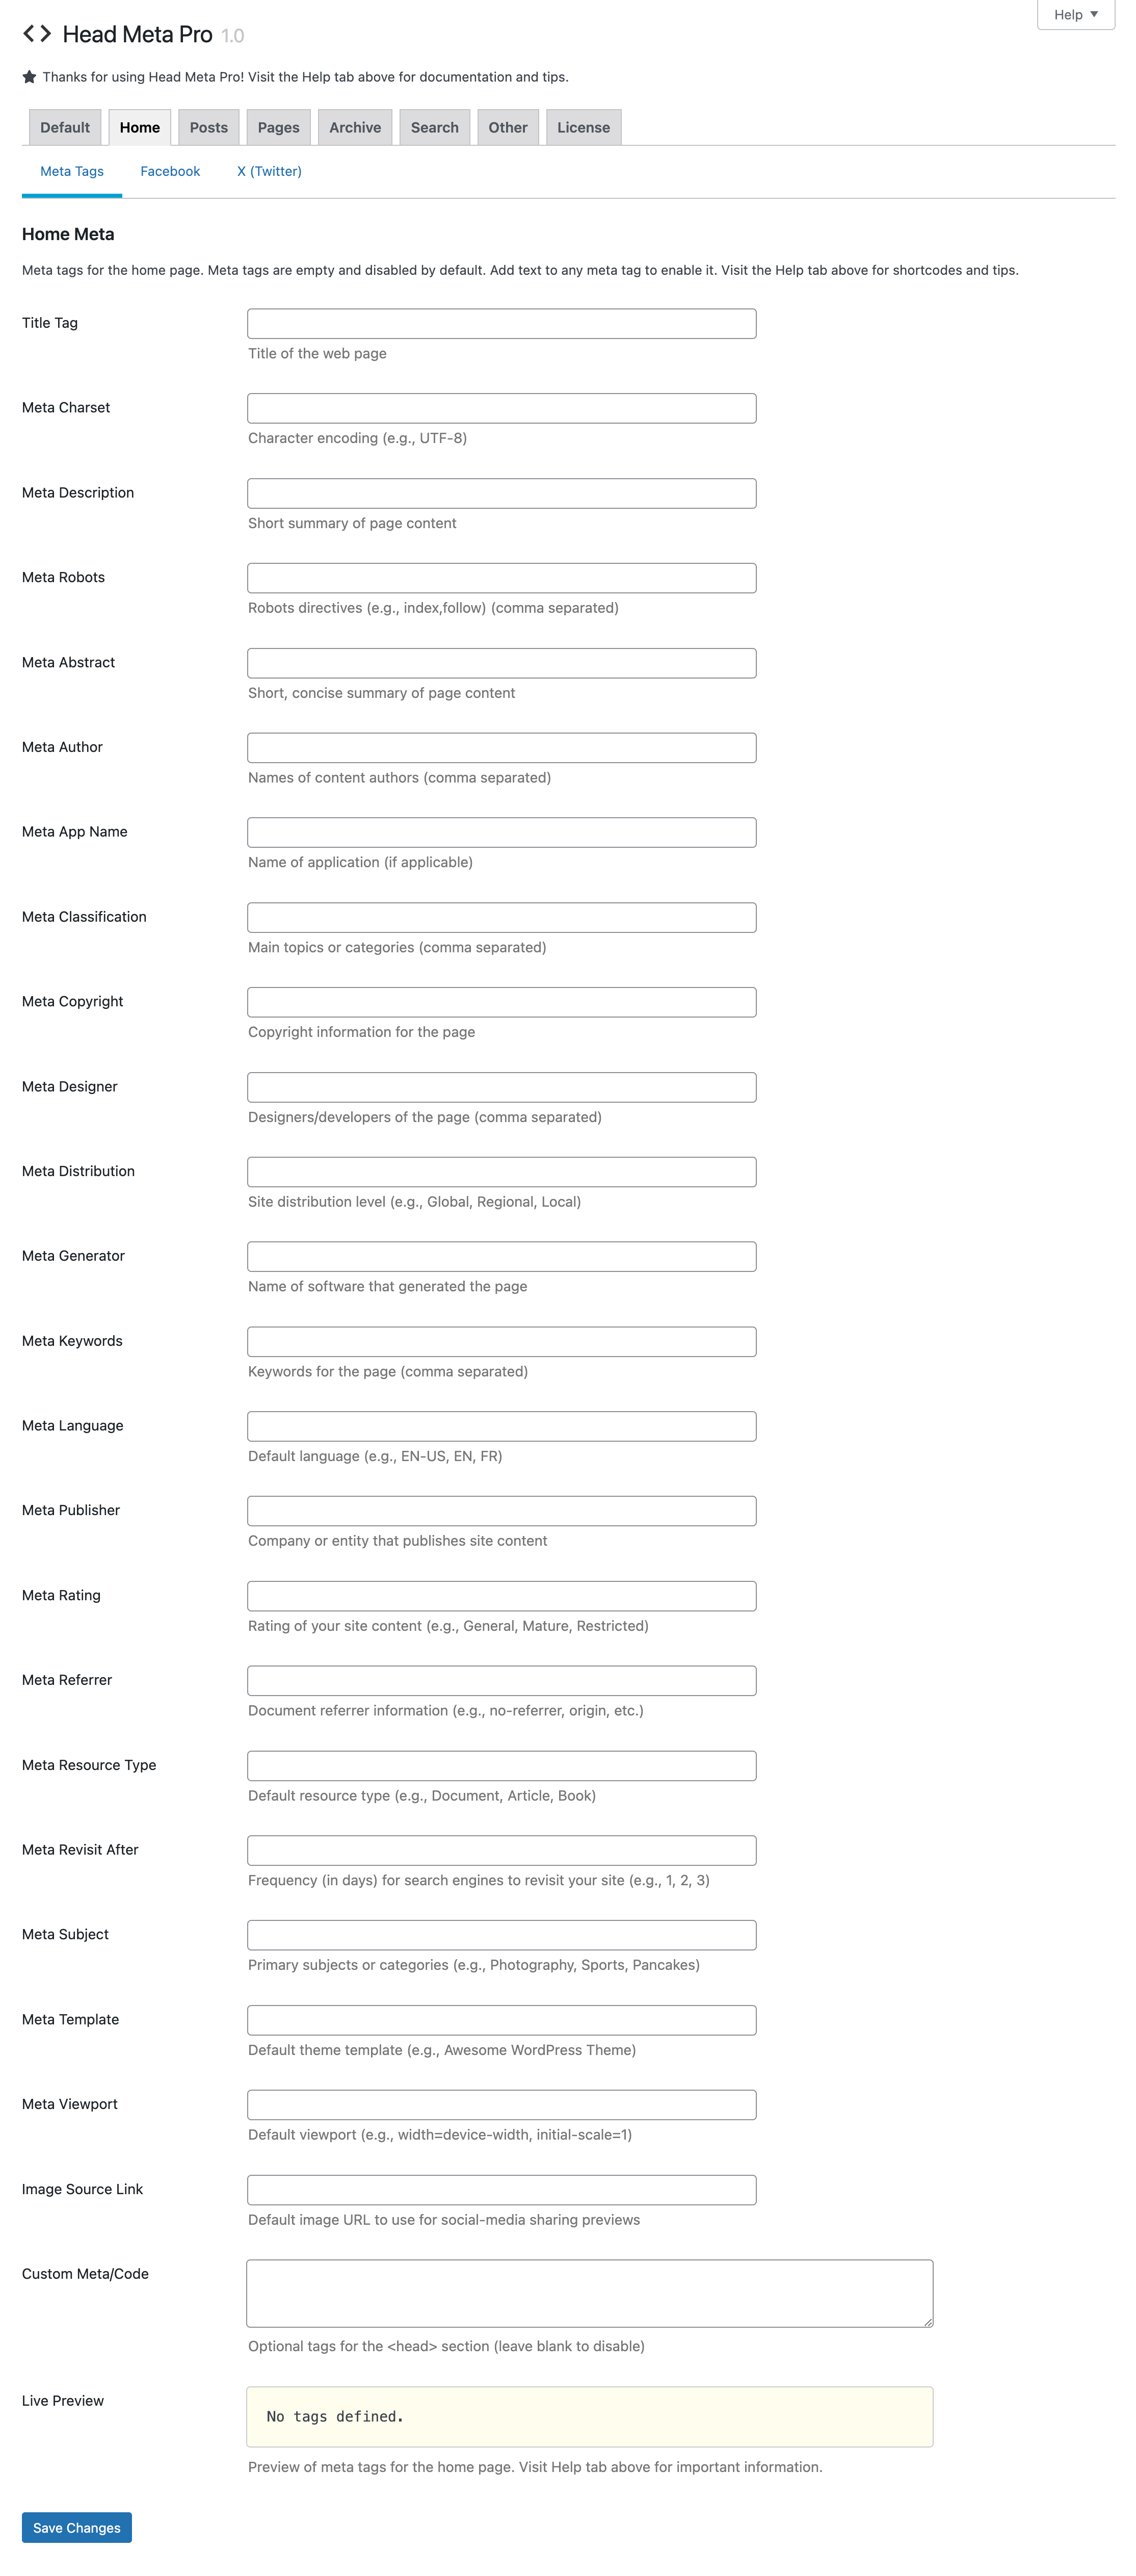
Home
The settings provided under the “Home” tab are identical to those provided under the “Default” tab. The difference is that the Home settings apply exclusively to the Home and/or Front Page views on your site. So to view the settings available for the Home view, scroll back up and check out the Default settings. The meta tags and other options are the same.
Posts
The settings provided under the “Posts” tab are identical to those provided under the “Default” tab. The difference is that the Post settings apply exclusively to single post-views on your site. So to view the settings available for single Post views, scroll back up and check out the Default settings. The meta tags and other options are the same.
Pages
The settings provided under the “Pages” tab are identical to those provided under the “Default” tab. The difference is that the Page settings apply exclusively to single pages on your site. So to view the settings available for single Page views, scroll back up and check out the Default settings. The meta tags and other options are the same.
Archive
The settings provided under the “Archive” tab are identical to those provided under the “Default” tab. The difference is that the Archive settings apply exclusively to archive-views on your site. So to view the settings available for Archive views, scroll back up and check out the Default settings. The meta tags and other options are the same.
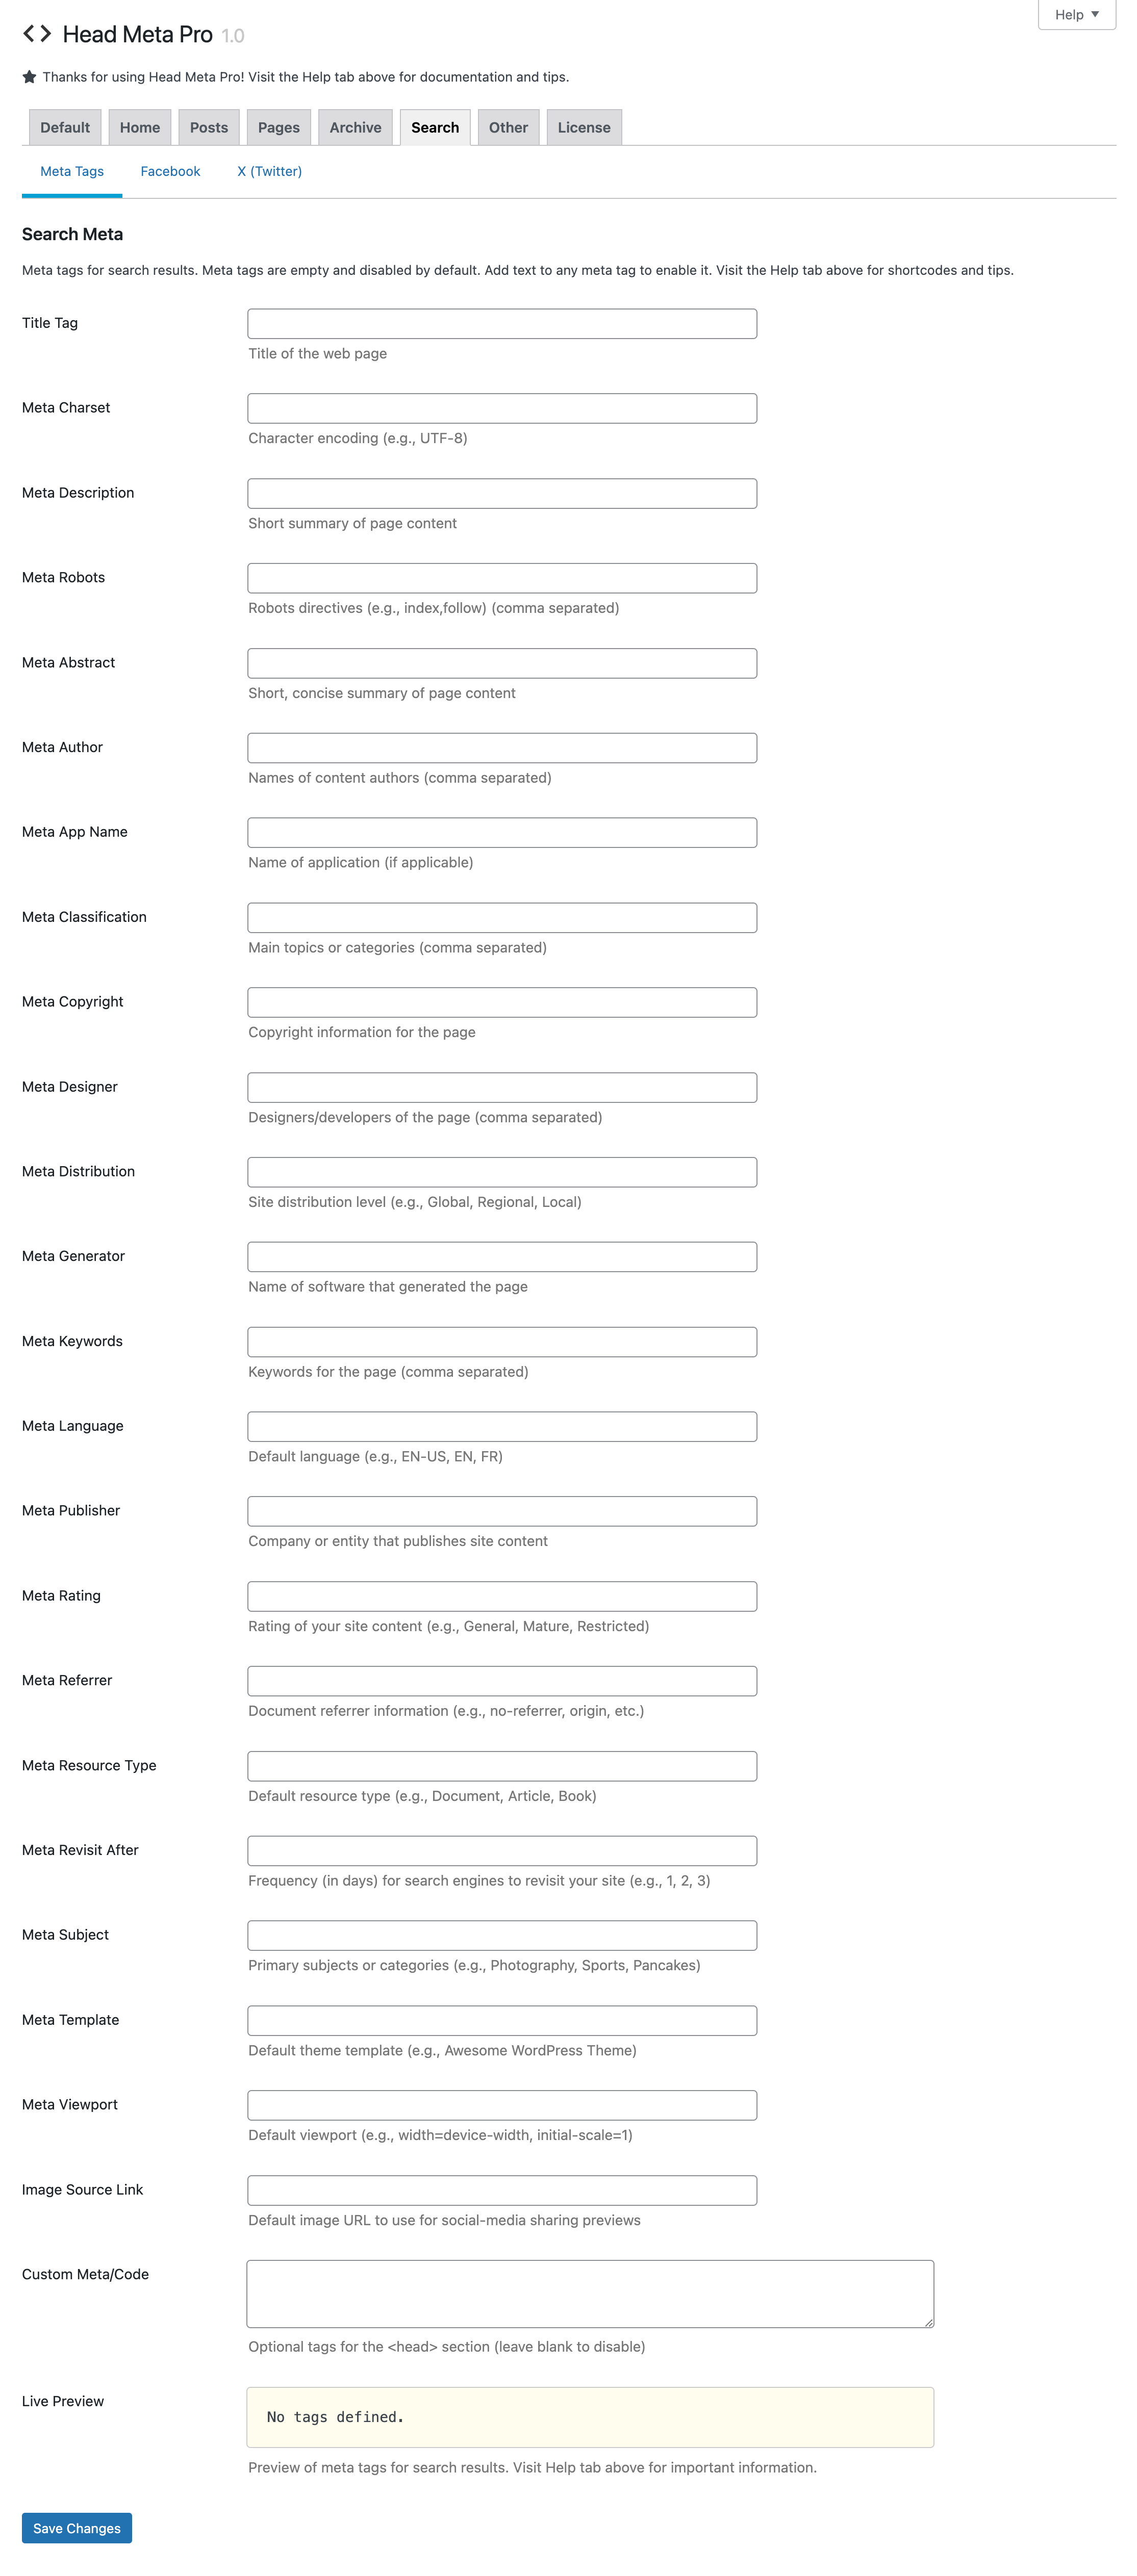
Search
The settings provided under the “Search” tab are identical to those provided under the “Default” tab. The difference is that the Search settings apply exclusively to search-views on your site. So to view the settings available for Search views, scroll back up and check out the Default settings. The meta tags and other options are the same.
Other
The settings provided under the “Other” tab are divided into three sub-sections:
Let’s look at the settings provided for each of these sections.
404 Views
The settings provided under the “404” section are identical to those provided under the “Default” tab. The difference is that the 404 settings apply exclusively to 404 (Not Found) views on your site. So to view the settings available for 404 views, scroll back up and check out the Default settings. The meta tags and other options are the same.
Meta Box
Advanced. Here you will find the default slugs/IDs used for the “Meta Tags” meta box, located on “Edit Post” screens. These settings are made available for advanced users who want to integrate Head Meta Pro with other plugins. It is recommended that you do NOT change any of these default values, unless you really know what you are doing ;)
More Settings
Under the “More” tab, you will find an option to display or hide the success/error messages displayed with the “Meta Tags” meta box, located on “Edit Post” screens. For example, when you successfully add a meta tag, a message is displayed that says “Meta added”. If you don’t want such messages, you can disable them here.
Also located under the More tab, is a link to restore the default plugin options. Note that restoring the default options will NOT remove any meta tags on individual posts (added via the Meta Tags box on Edit Post screens).
License
Available via the WP Admin Menu ▸ Settings ▸ Head Meta Pro. On the Head Meta Pro page, visit the “License” tab.
Your purchase of Head Meta Pro entitles you to free updates and support according to the license terms. To view your License Key at any time, follow this guide at Plugin Planet.
To activate your license, follow these steps:
- Enter your license key and click “Save License”
- Click the “Activate License” button
- Done! Head Meta Pro is now enabled and ready to use
For more information, visit the activation guide at Plugin Planet.
Notes
Important: remember to deactivate your license before uninstalling (deleting) the plugin, and/or transferring to a new domain. Learn more.
Note: to deactivate the license at any time, click the “Deactivate License” button. To clear the license field, deactivate the license and click the small “x” button.