GA Pro makes it easy to display an opt-out box, so your visitors can choose whether or not they want to allow Google Analytics to track their activity. This tutorial explains how to enable the Opt-Out Box feature for GA Pro. For complete documentation and examples, visit the “Help” tab on the plugin settings page. There you will find details on how to configure the Opt-Out Box however you would like. For example, you can add the box to specific web pages, change the behavior of the box to “opt in” (instead of out), add custom CSS and link styles, and control what the box does after user interaction.
About the Opt-Out Box
The Opt-Out Box may be displayed to each visitor as a customizable banner. There the user can choose to opt in, opt out, or simply close the box to ignore. If ignored, tracking will continue until the user decides to opt out. Once enabled via the settings, the Opt-Out Box will be displayed to all visitors automatically.
How to display the Opt-Out Box
To display the Opt-Out Box on your front-end web pages, follow these steps:
- Visit the GA Pro settings ▸ “Opt Out” tab
- Check the box next to the option, “Enable Opt-Out”
- Customize any other options as needed
- Save changes and done
After saving changes, the Opt-Out Box will be displayed on the front end of your site. Make sure to test well, clearing your browser cookies between each test, or use a different browser to experiment and make sure everything is working as desired. Check out the screenshots below to get an idea of how things should look. Note that box display may vary slightly depending on your theme.
[ga_pro_optout] to display the box on specific posts or pages. Note: If using shortcodes to display the Opt-Out Box on specific pages, do not enable Opt-Out via the plugin settings. Otherwise two opt-out boxes will be displayed.Screenshots
To give you an idea of how the Opt-Out Box displays on default WordPress theme, here are some screenshots showing the box displayed in three different locations: top of screen, center of screen, and bottom of screen. Note that you can choose the box location in the plugin settings ▸ “Box Location”, and/or you can choose location when adding the Opt-Out Box via shortcode.
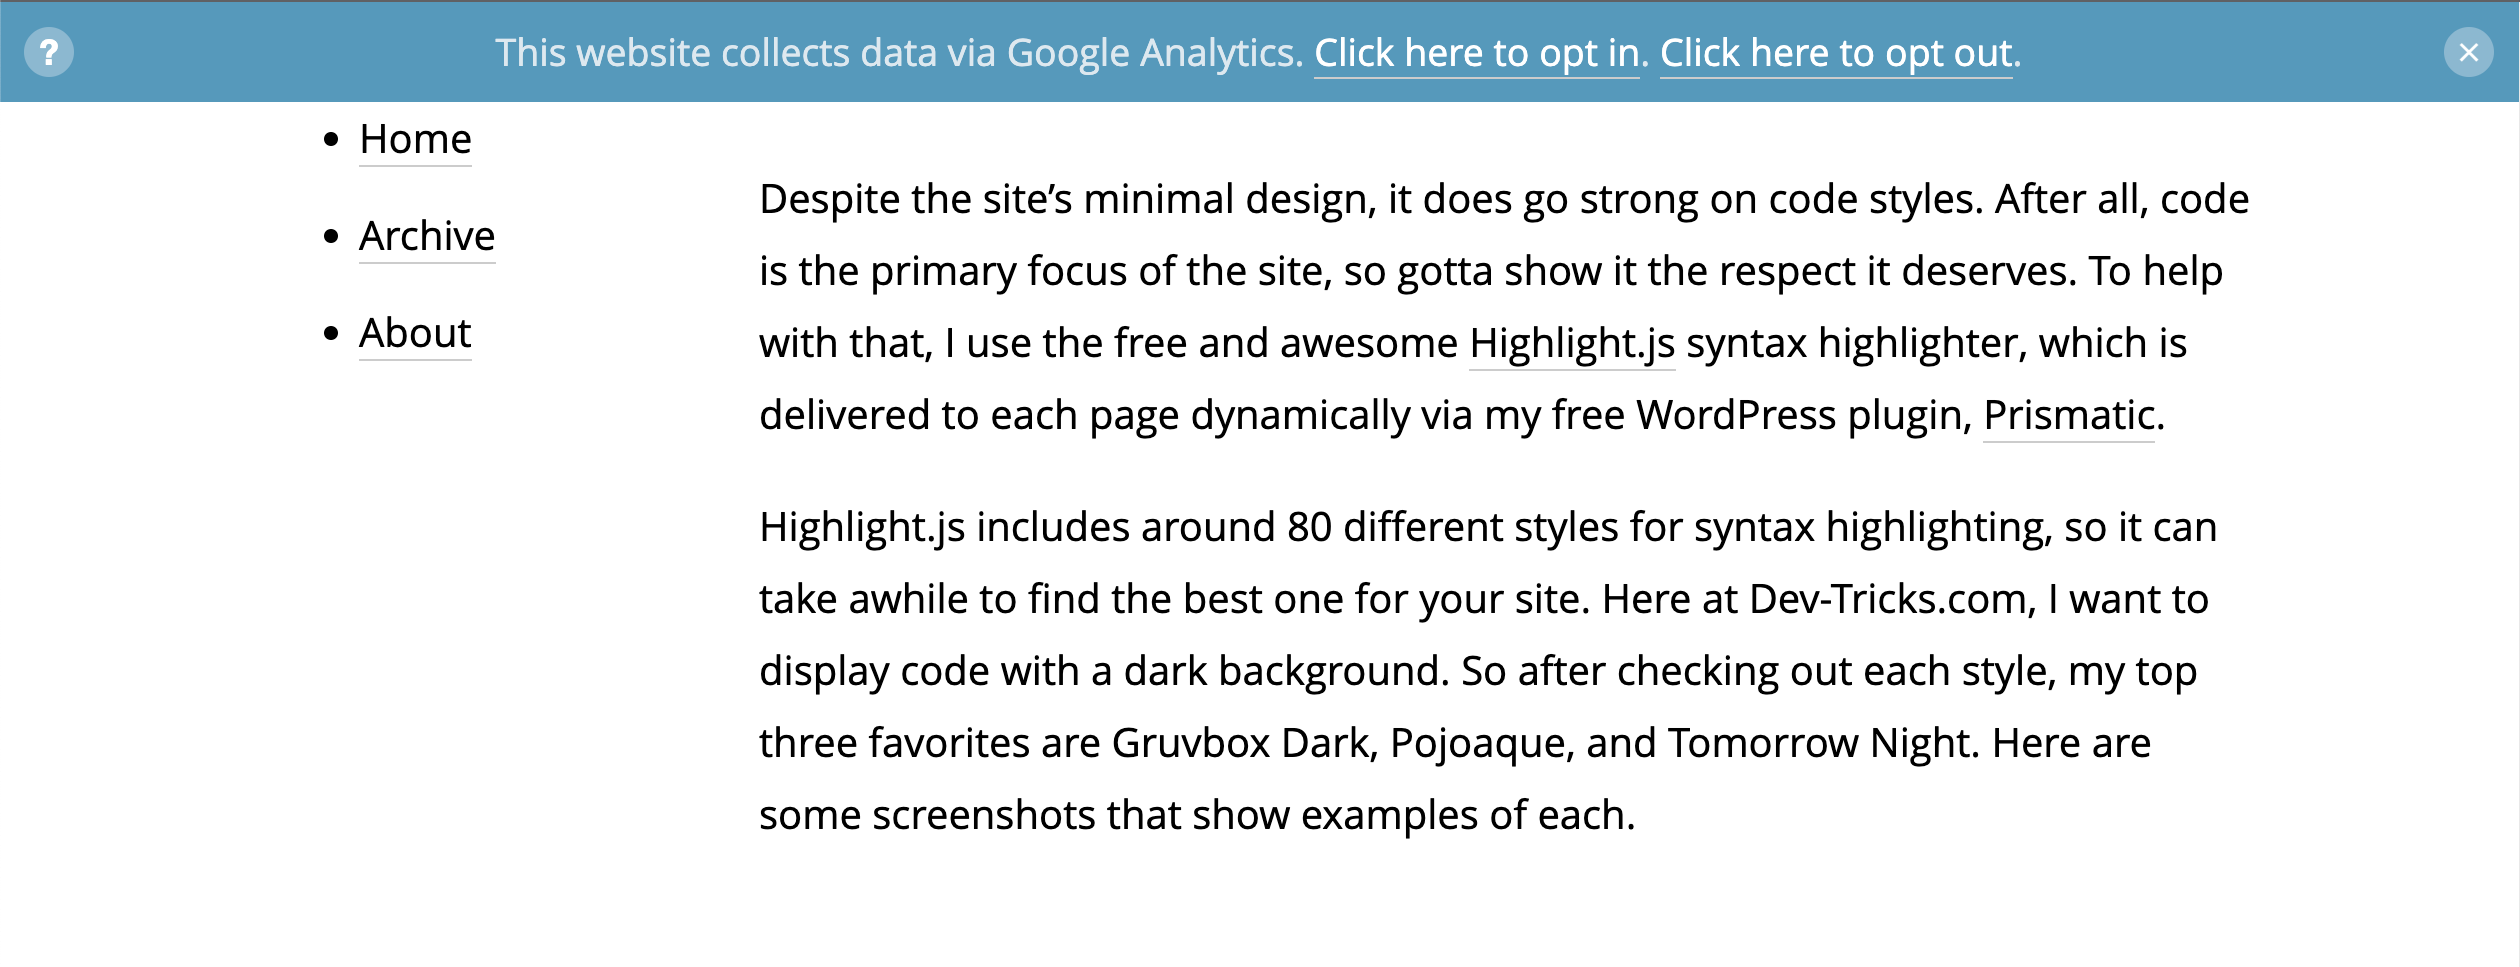
Opt-Out Box displayed top of screen
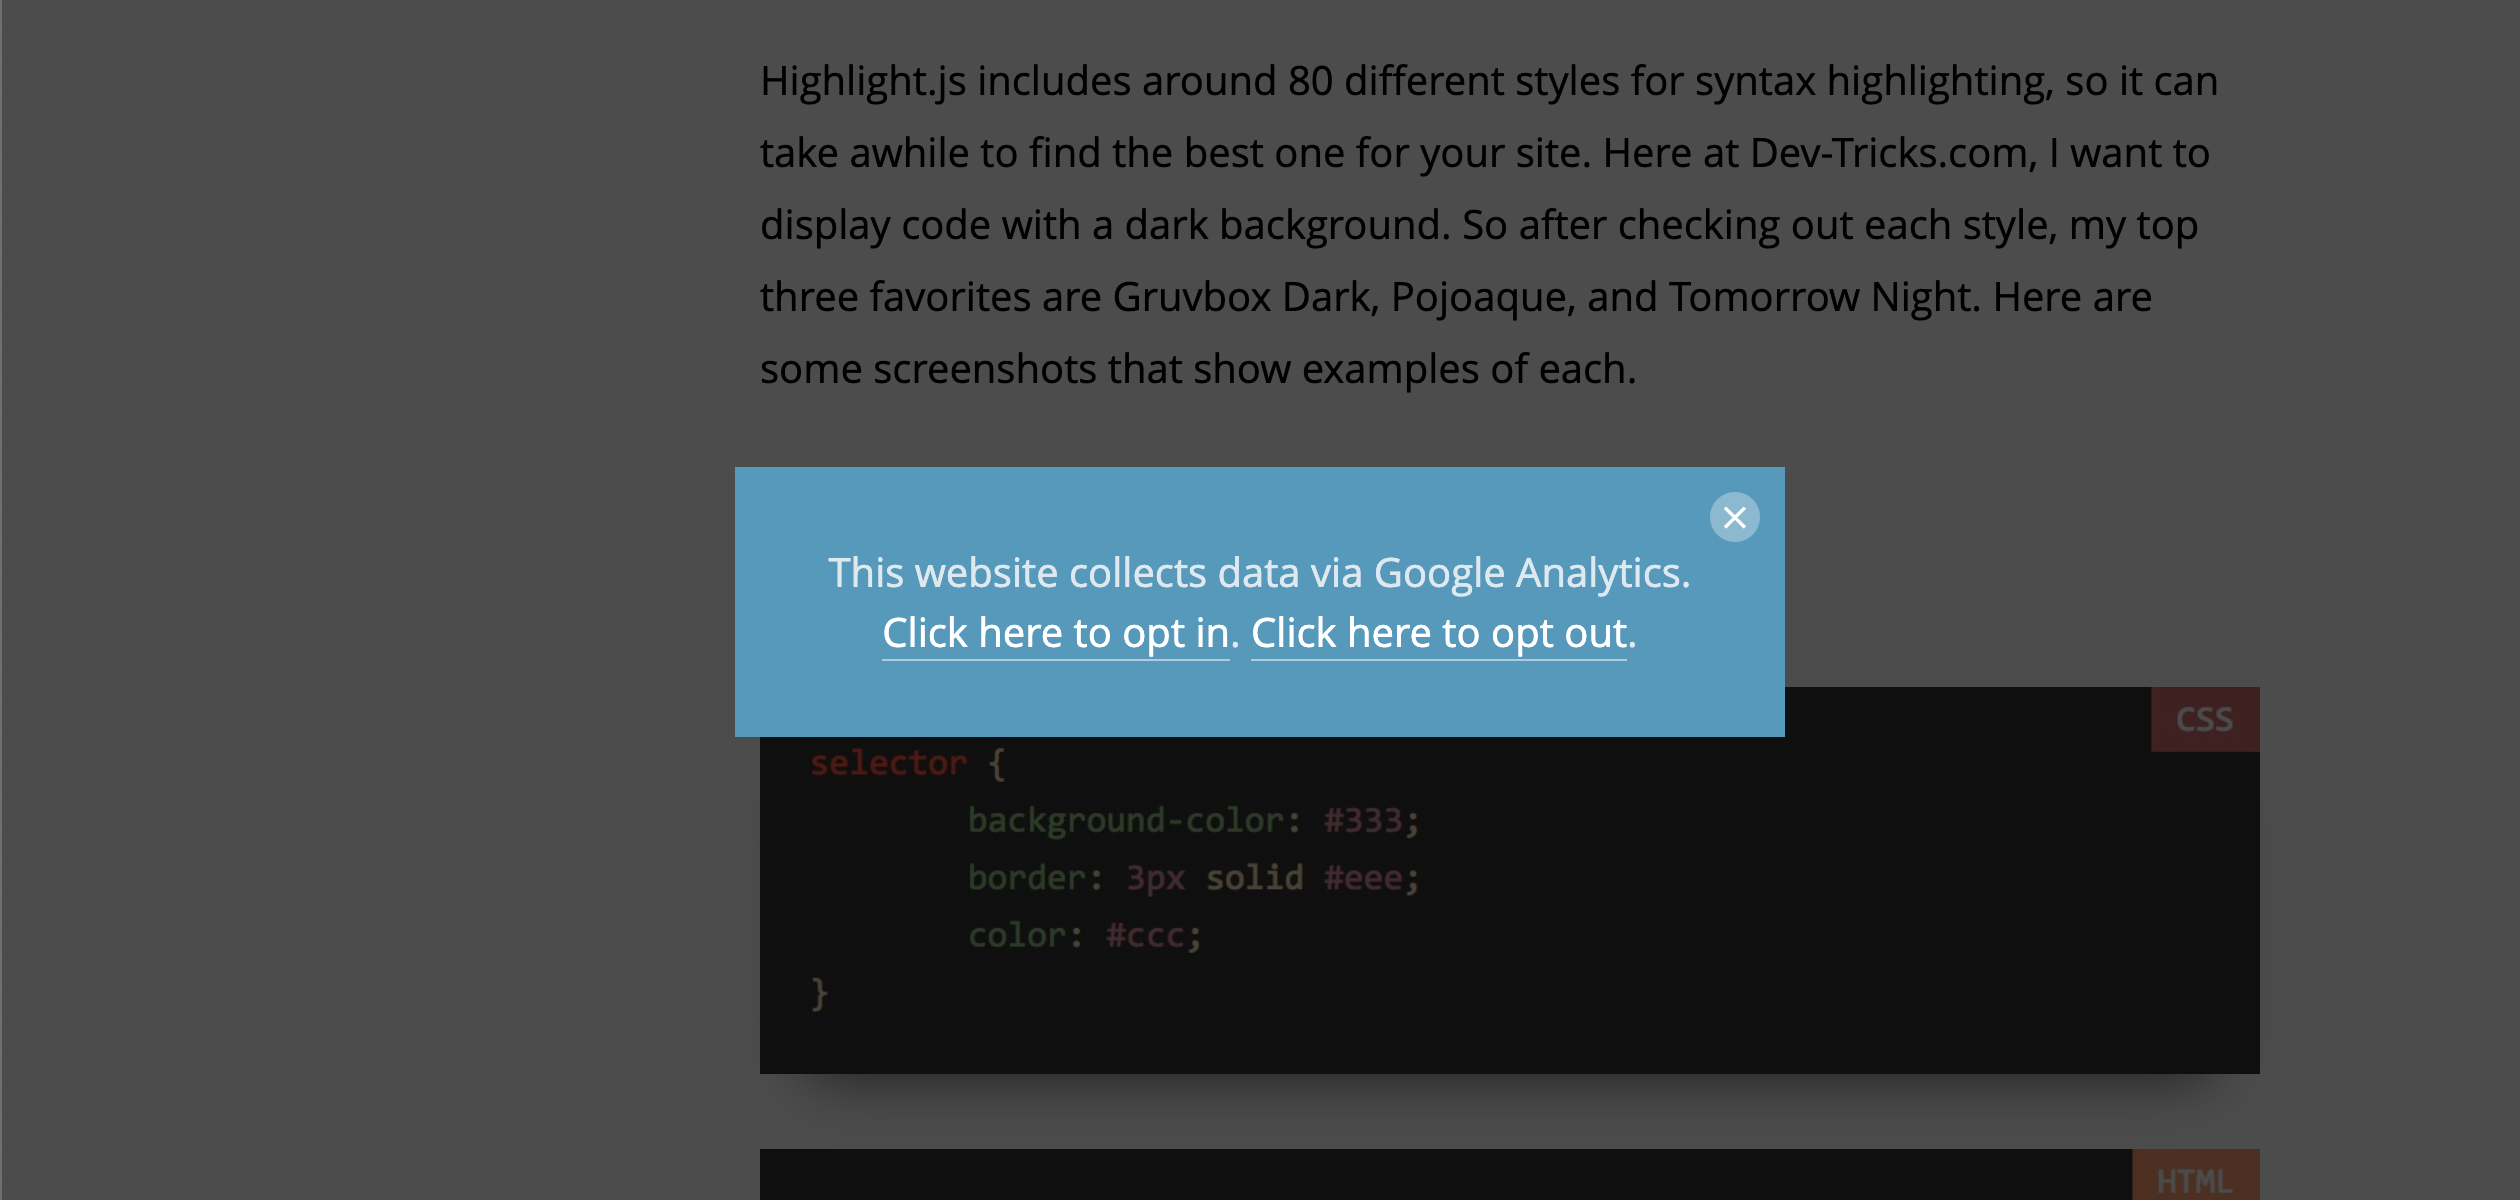
Opt-Out Box displayed center of screen
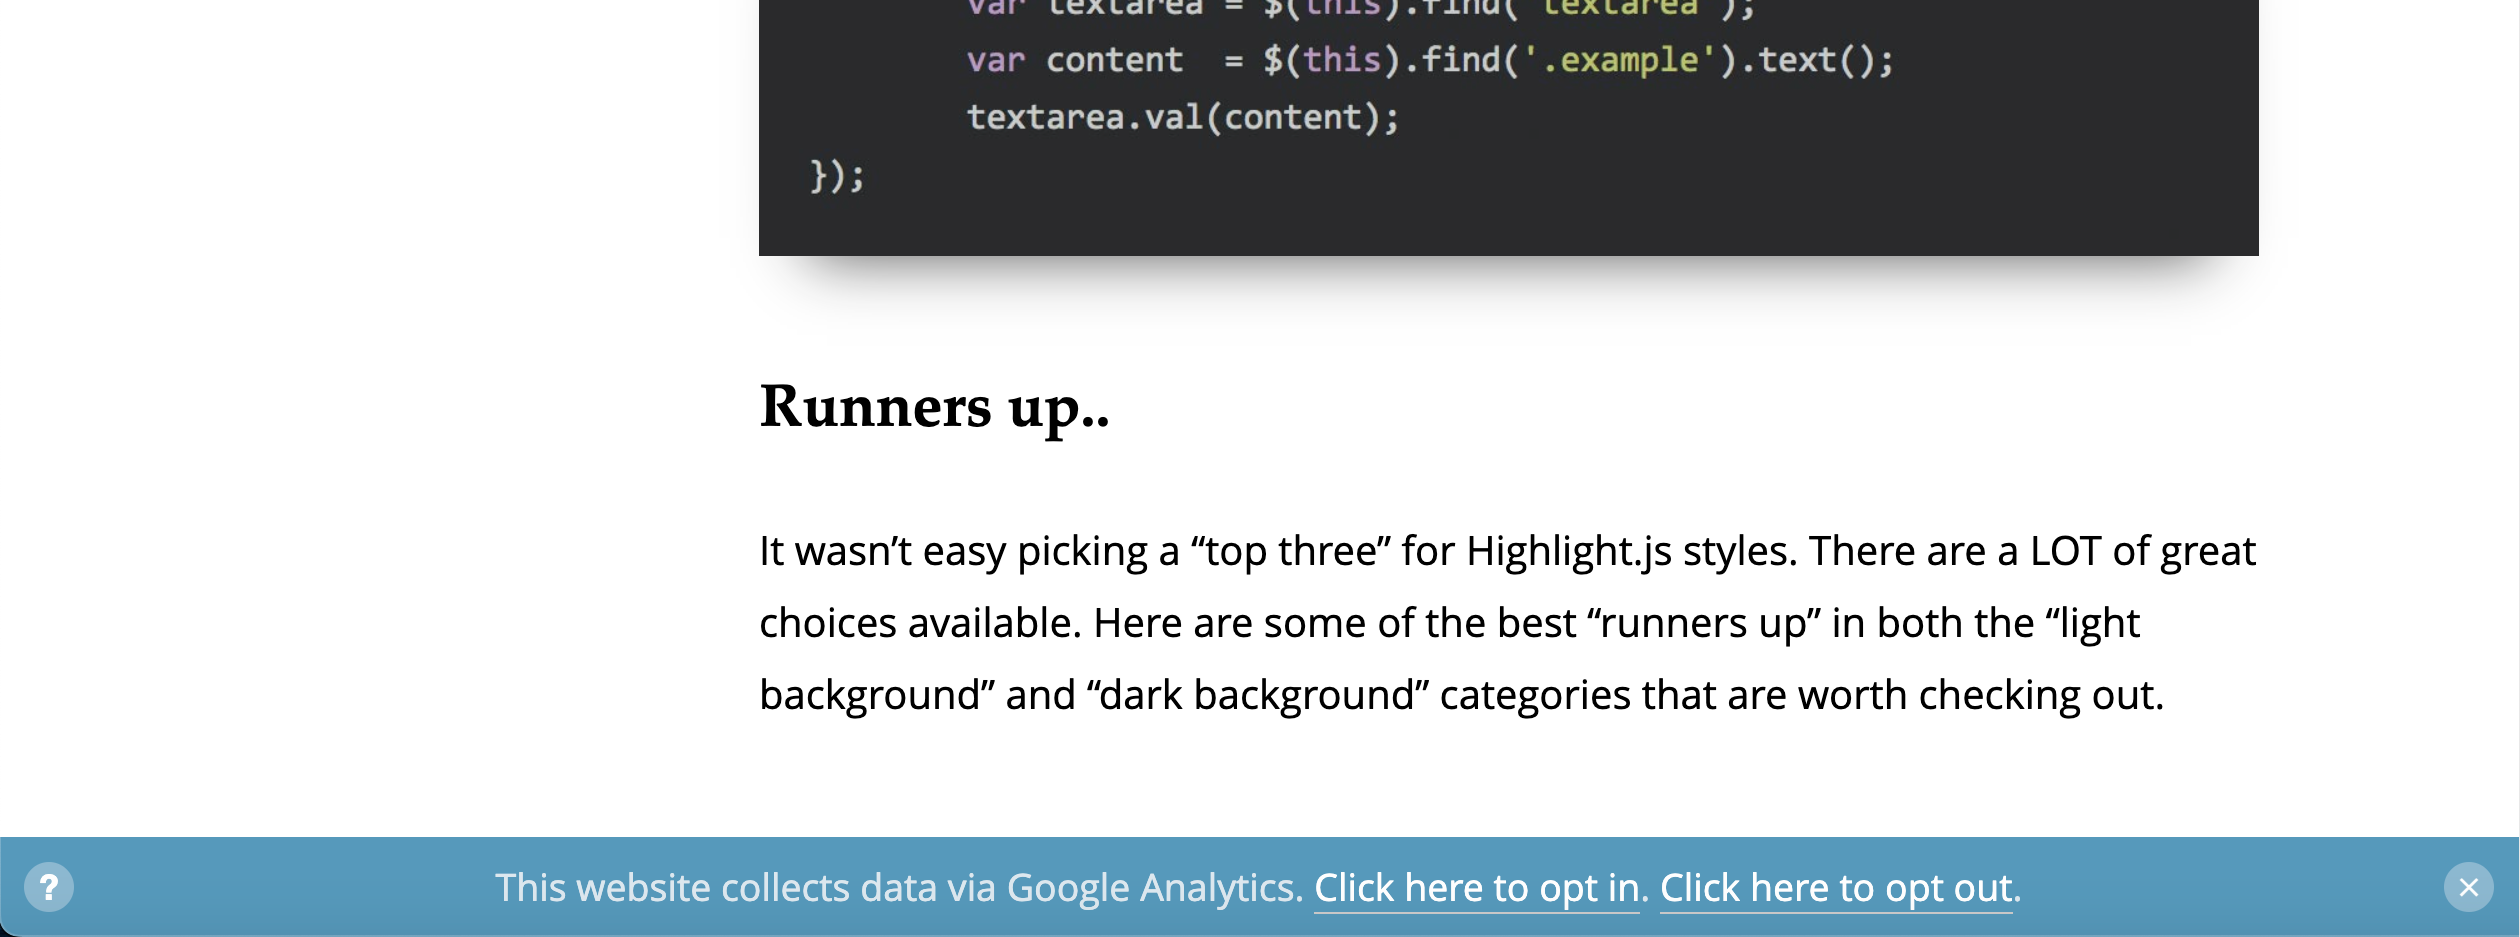
Opt-Out Box displayed bottom of screen
Opt-Out Settings
Here is a screenshot of the plugin settings page (click image for full-size view).
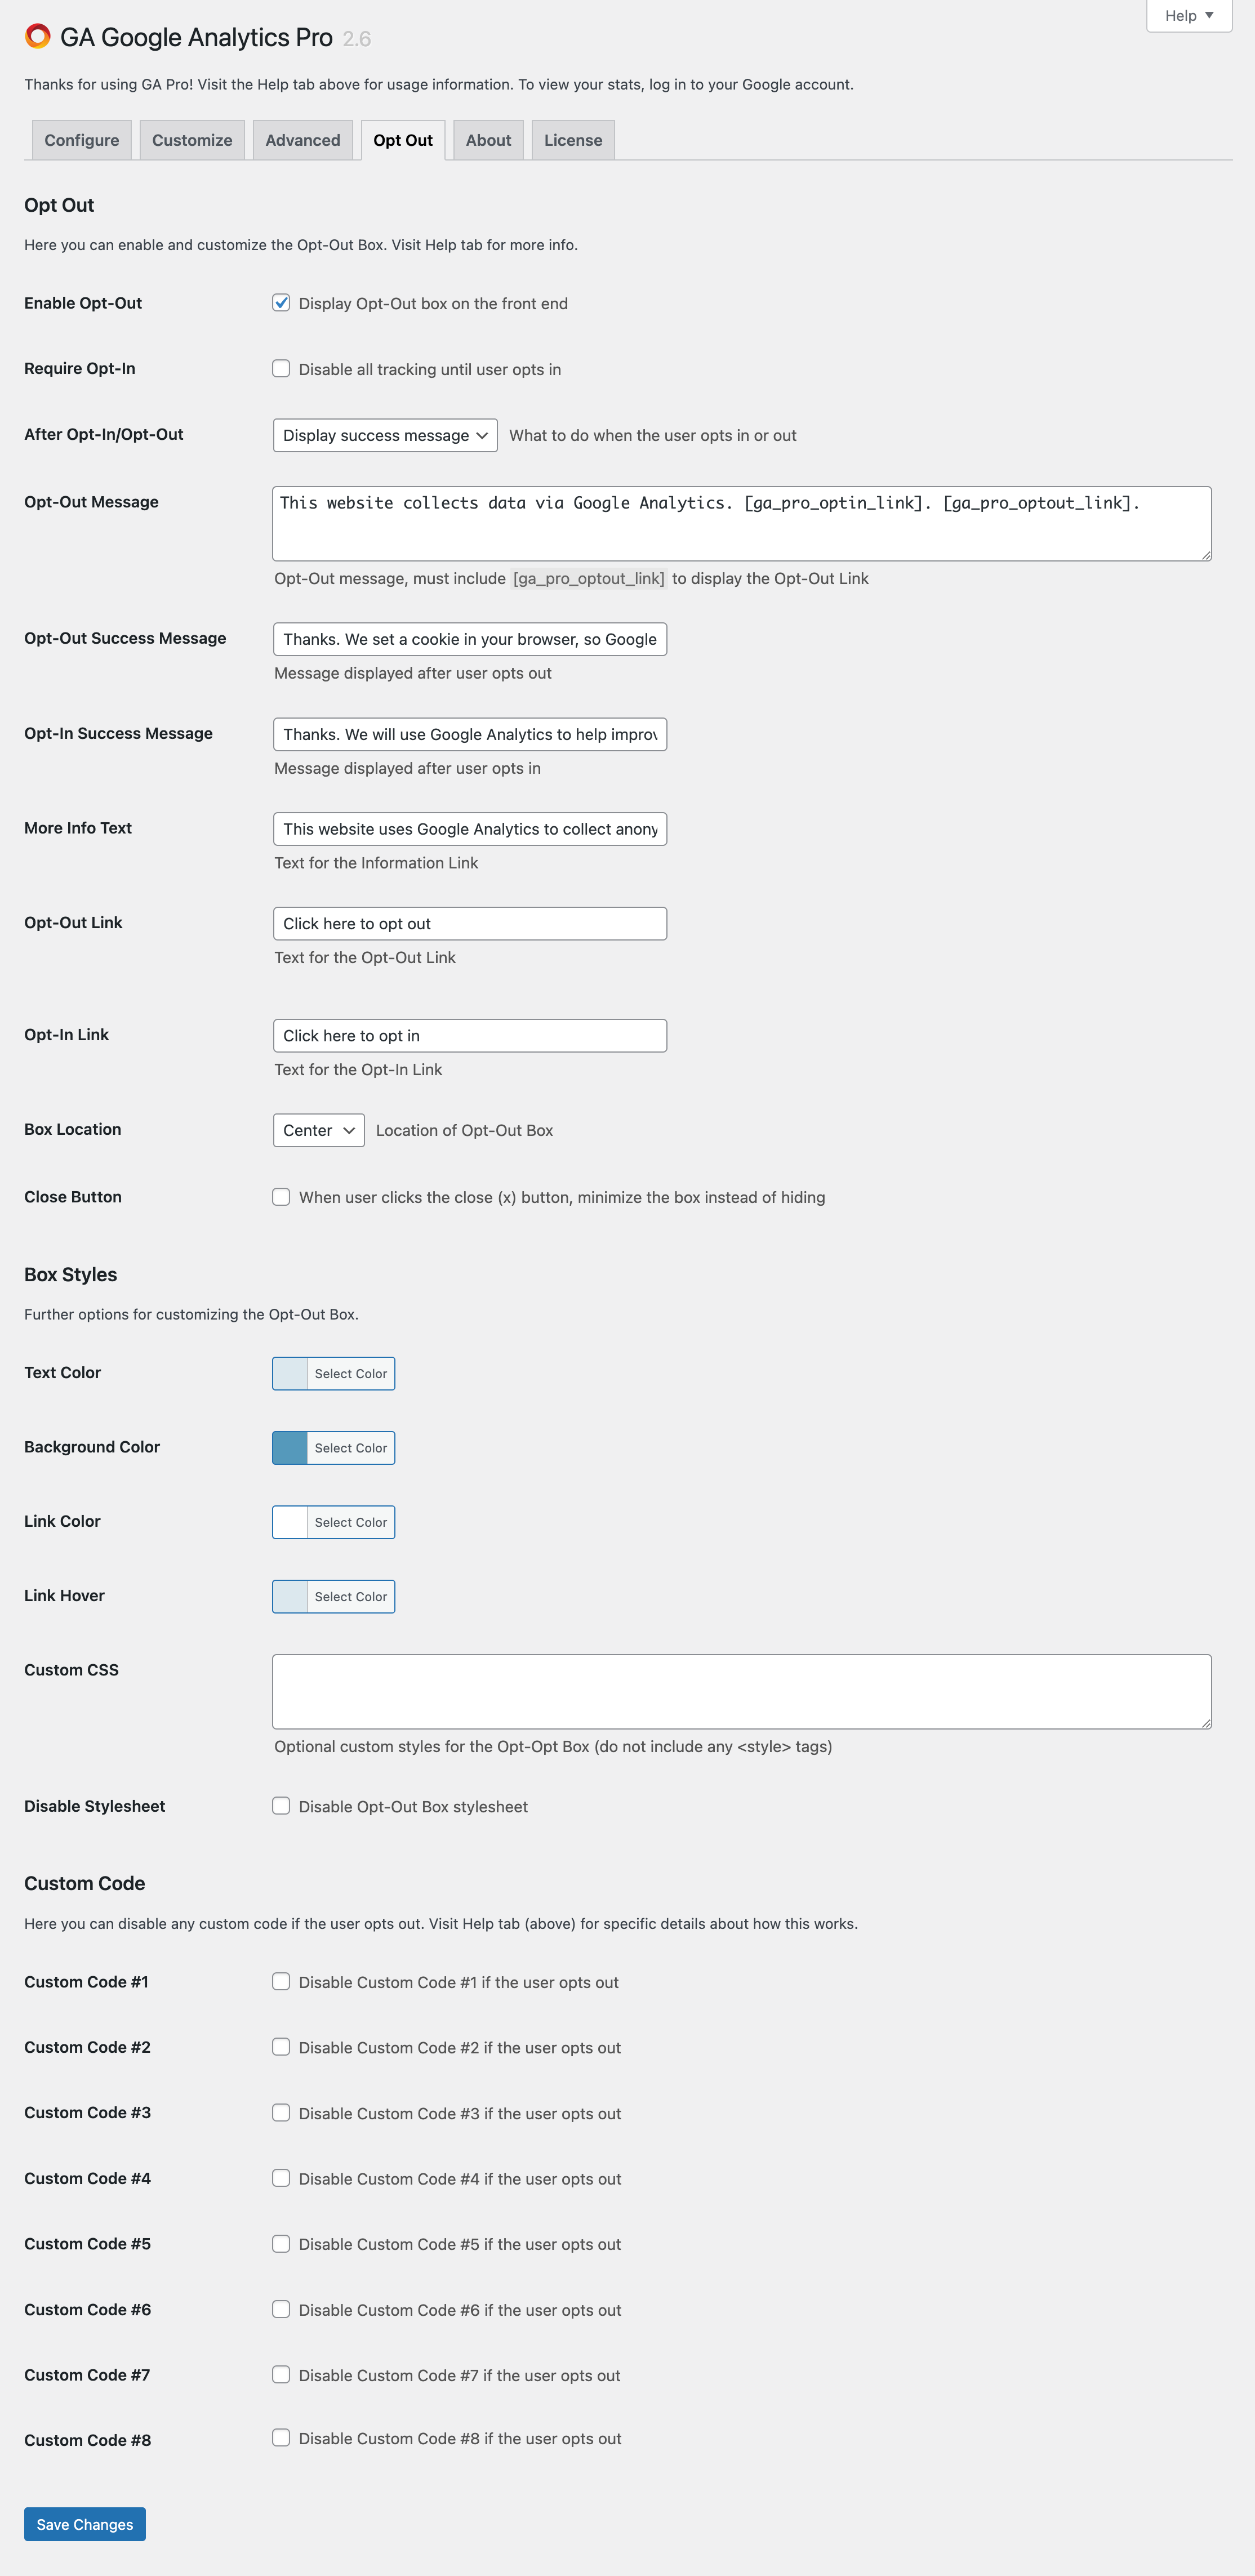 Opt-Out Box settings
Note: The Opt-Out Box shown in the screenshots above may differ slightly based on your theme and how the plugin settings are configured.