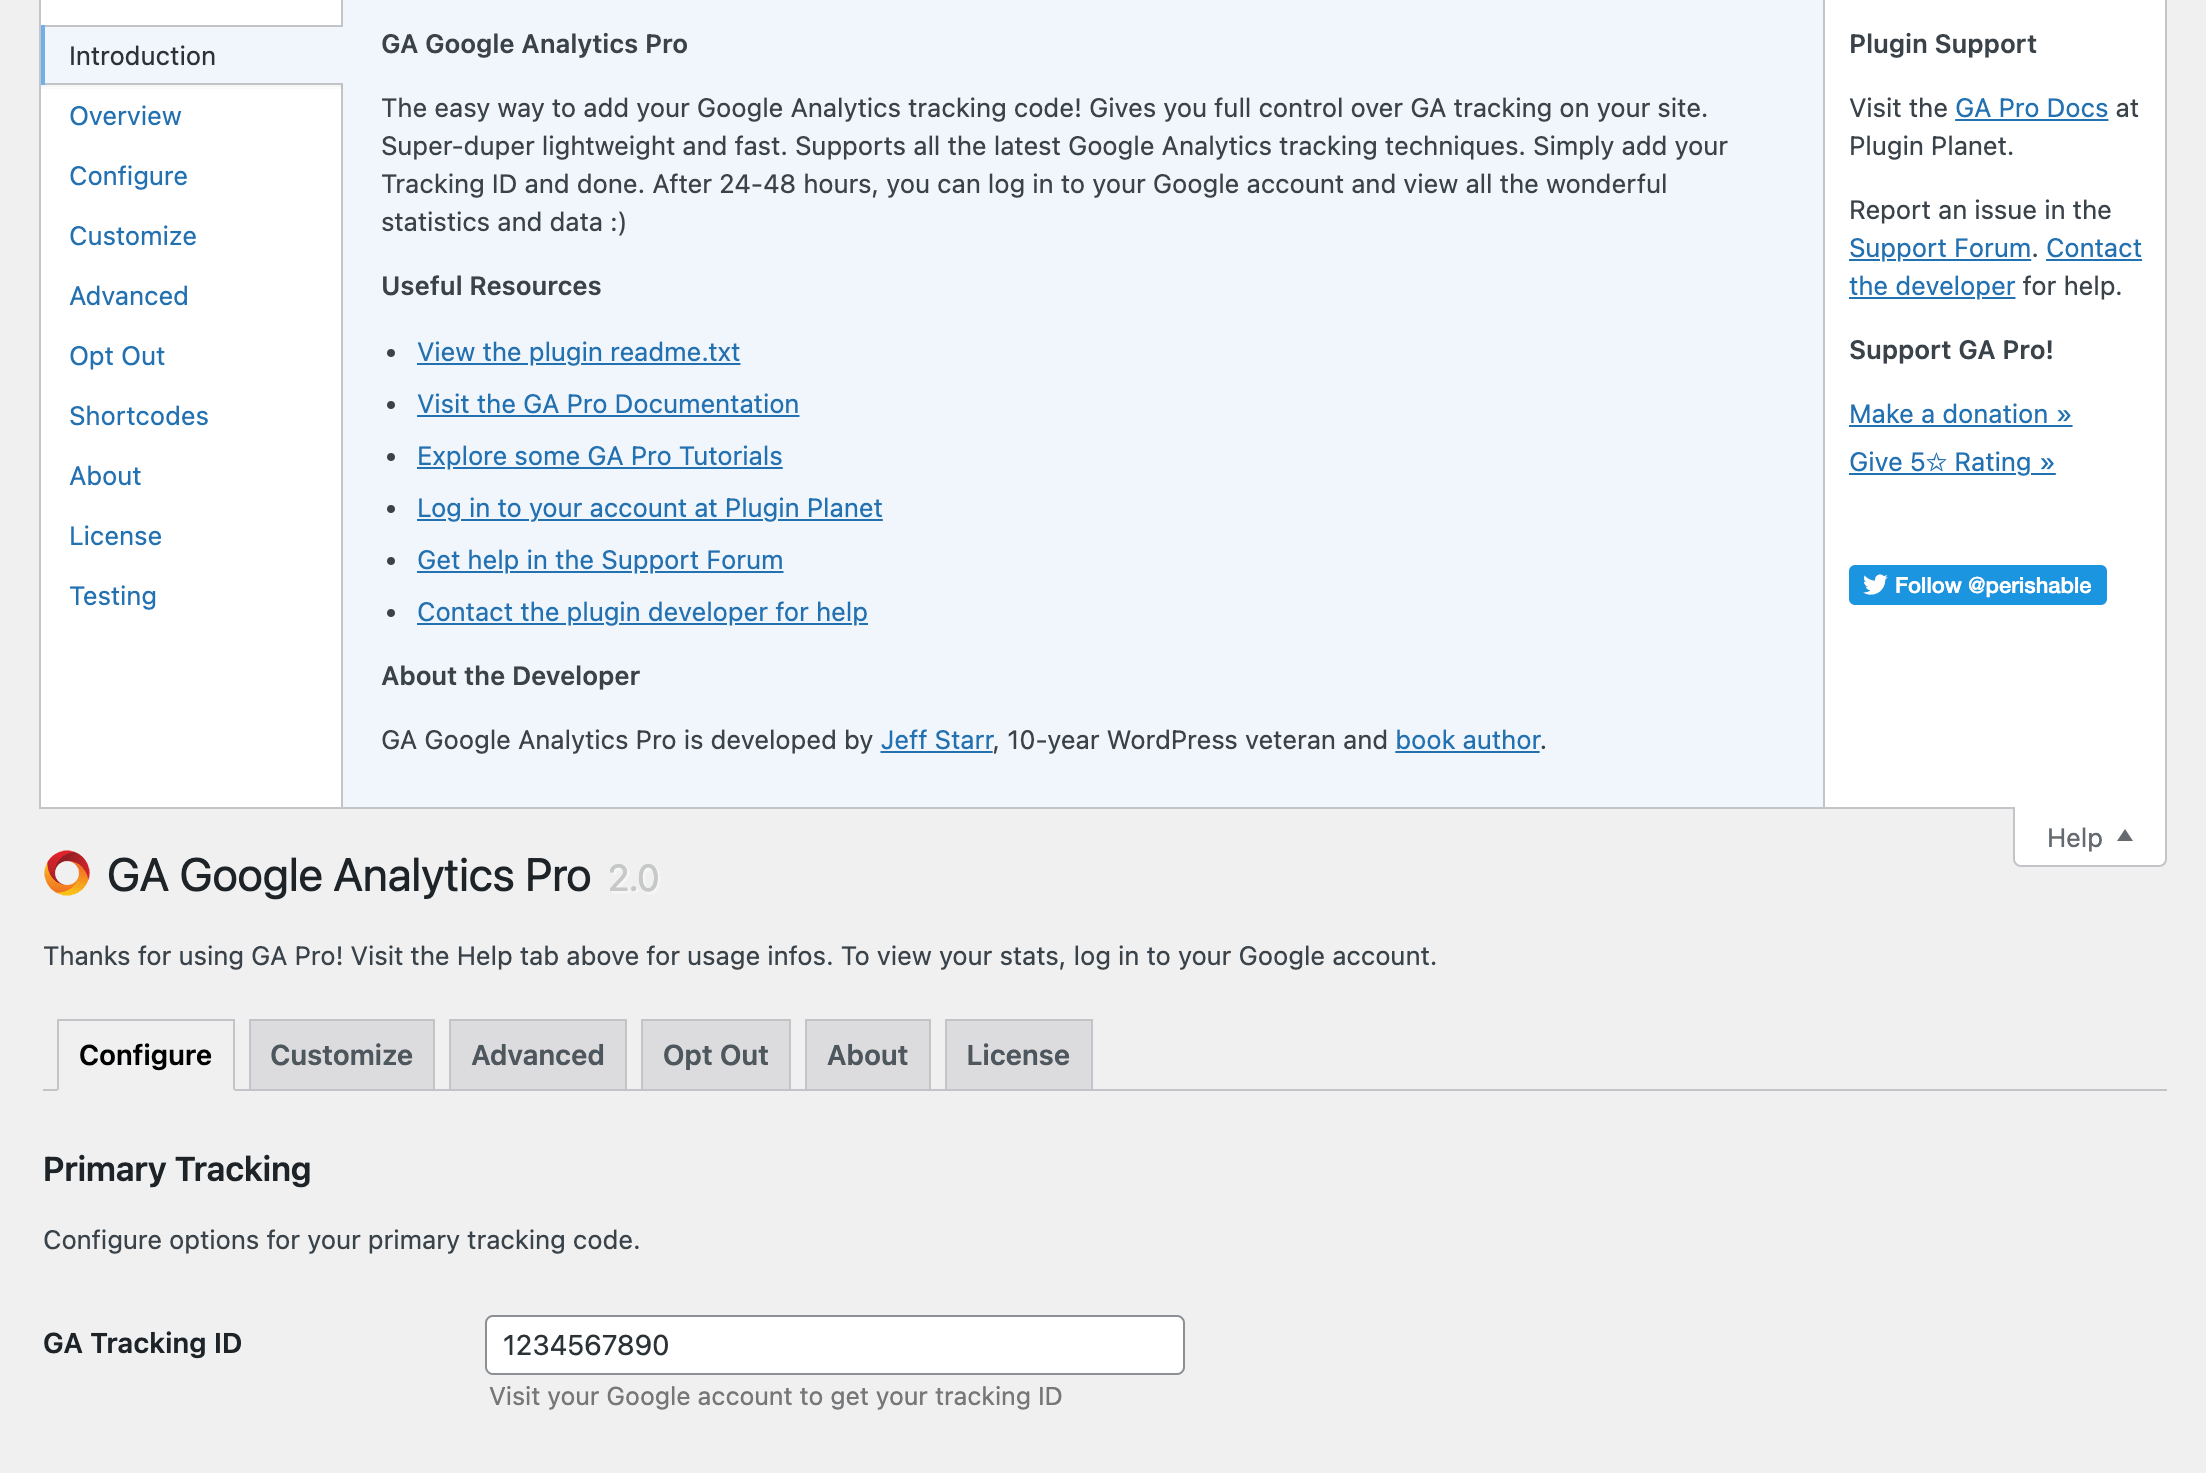
GA Google Analytics Pro (GA Pro) is equipped with complete inline documentation available via the Help tab on the plugin settings screen. The Help tab always will be current with the latest version of GA Pro, while the settings information below may not be as current (due to the update cycle). Further, the information provided below covers the basic settings and features that are included with GA Pro, and doesn’t go into as much depth as the inline documentation (Help tab), which also includes important notes, tips, and info. Just FYI.
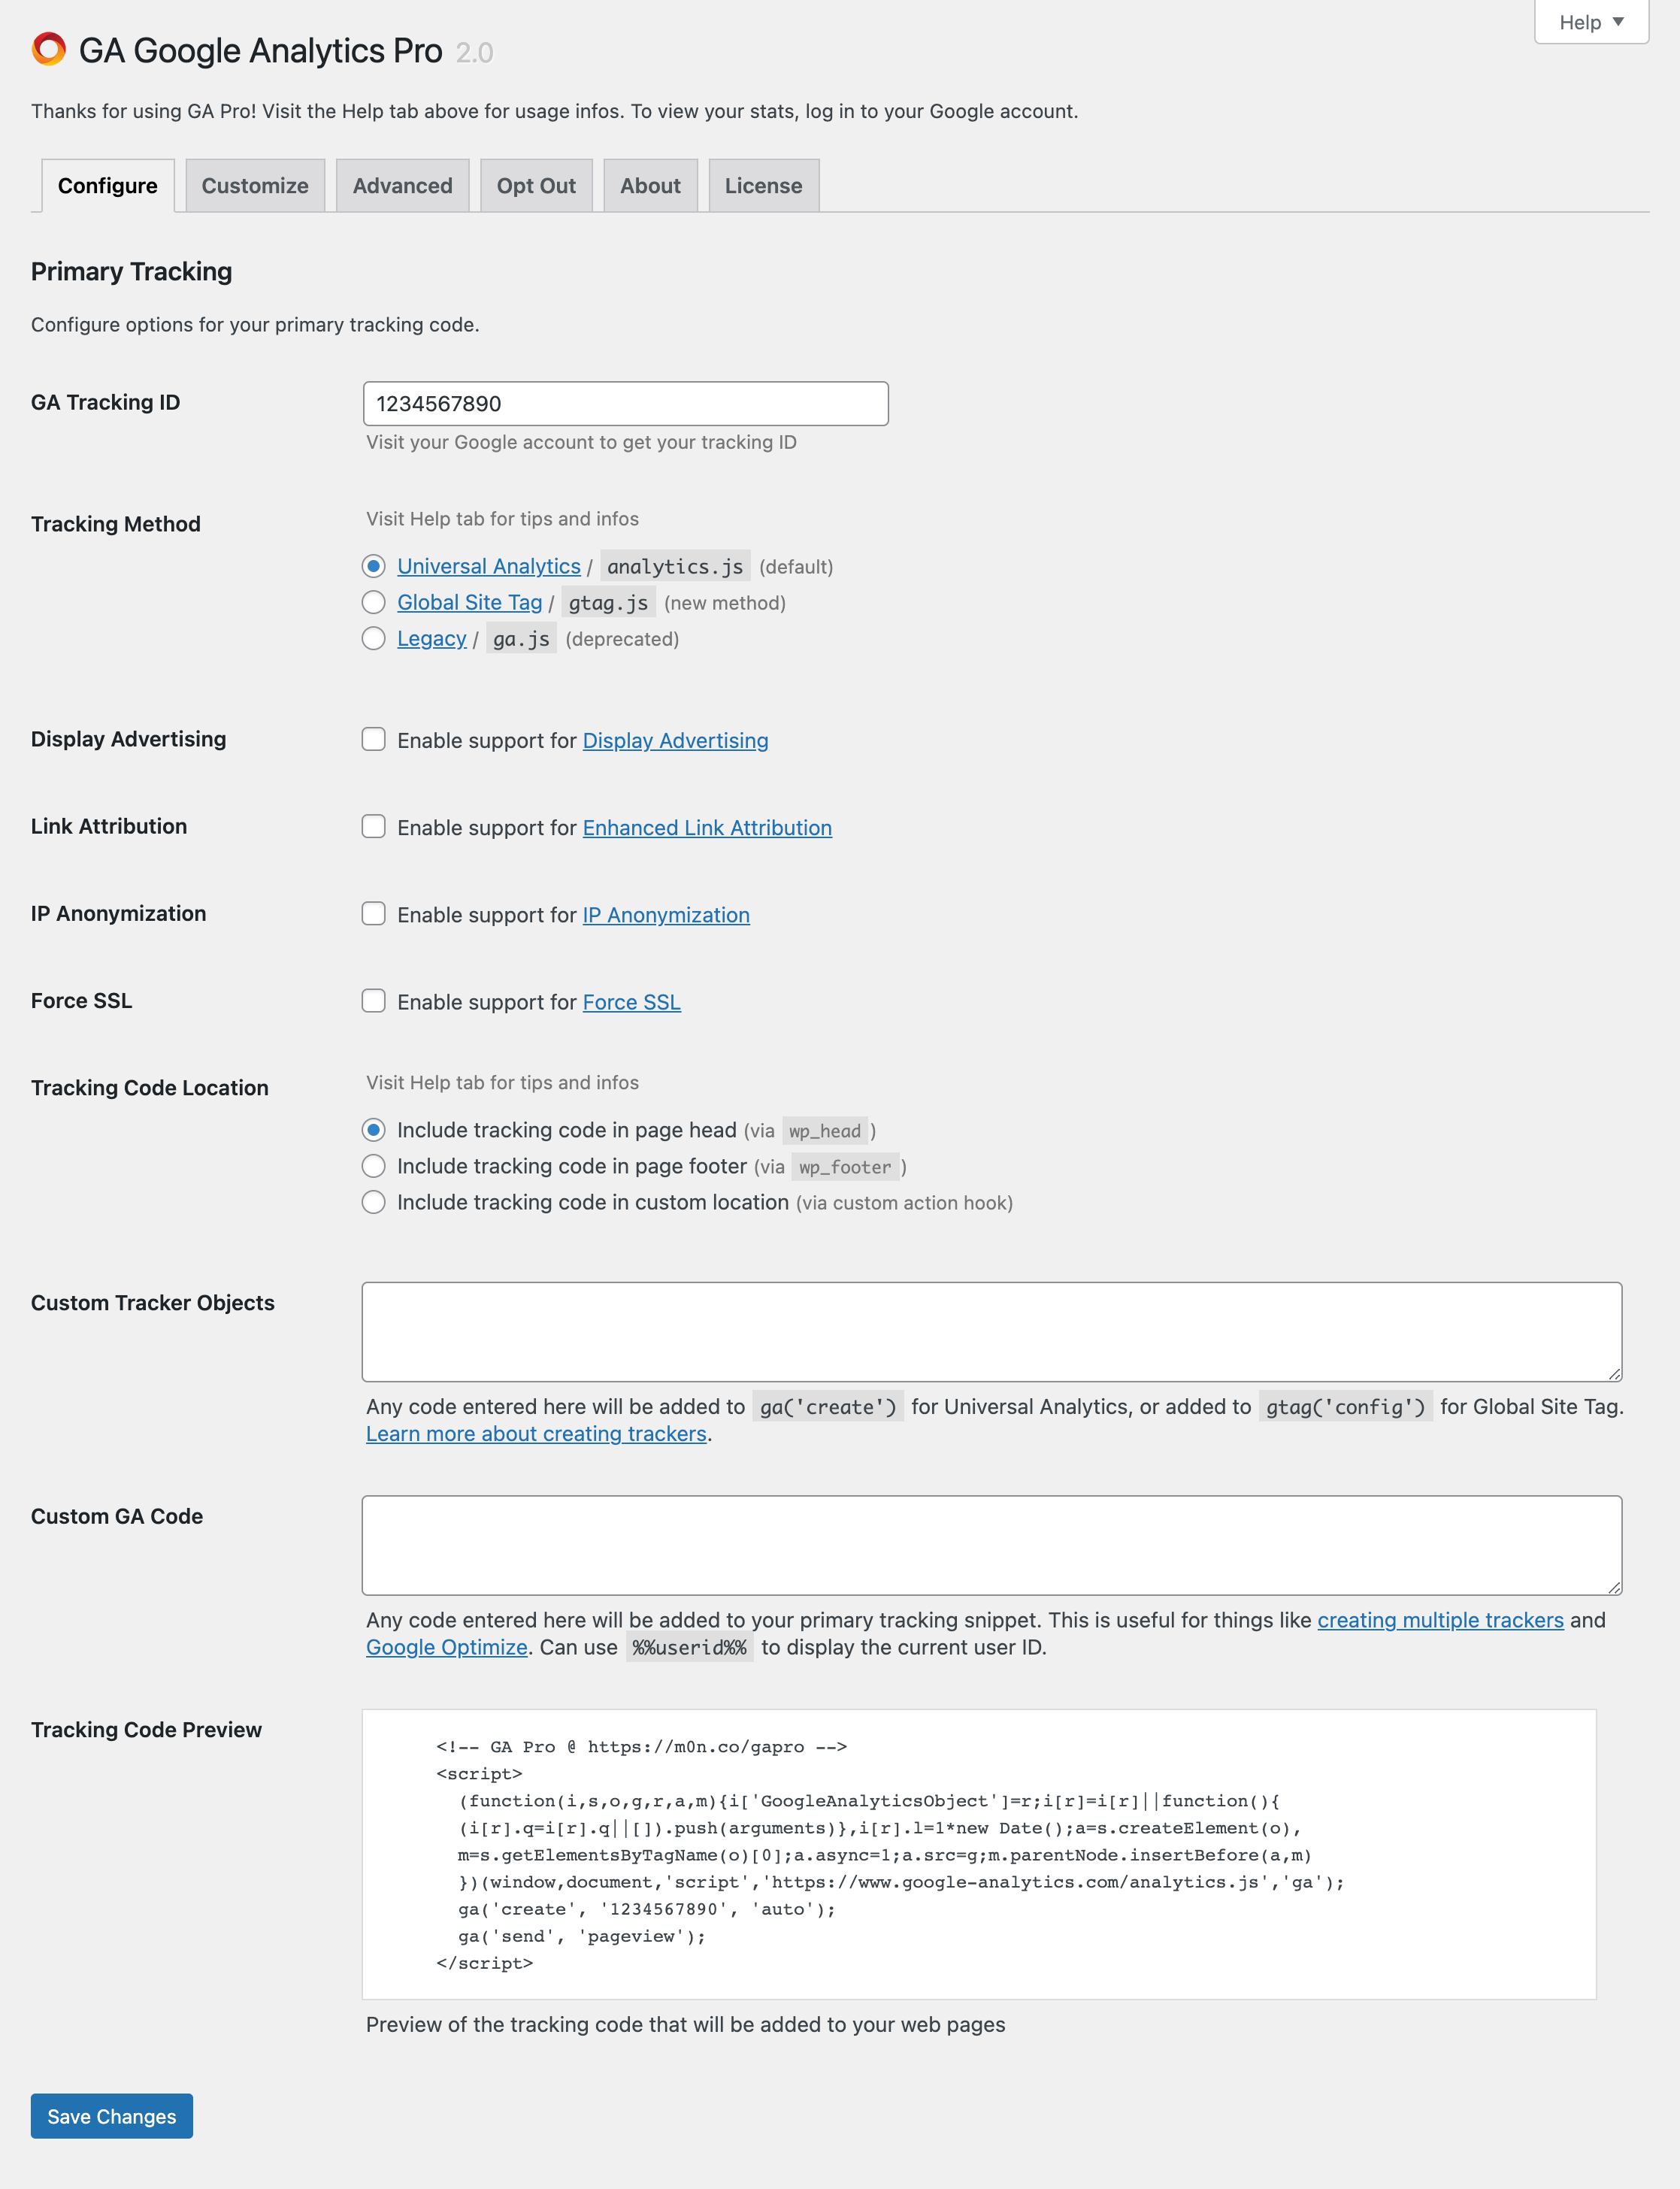
Configure
Available in the WP Admin Menu ▸ Google Analytics, then visit the “Configure” tab.
- GA Tracking ID — (Required) Enter your Google Tracking ID
- Tracking Method — Choose your preferred method of tracking
- Display Advertising — Enable support for Display Advertising
- Link Attribution — Enable support for Link Attribution
- IP Anonymization — Enable support for IP Anonymization
- Force SSL — Enable support for Force SSL
- Tracking Code Location — Include tracking code in header or footer
- Custom Tracker Objects — Add any Custom Tracker Objects
- Custom GA Code — Add any extra code that should be included
- Tracking Code Preview — Check out a preview of your tracking code
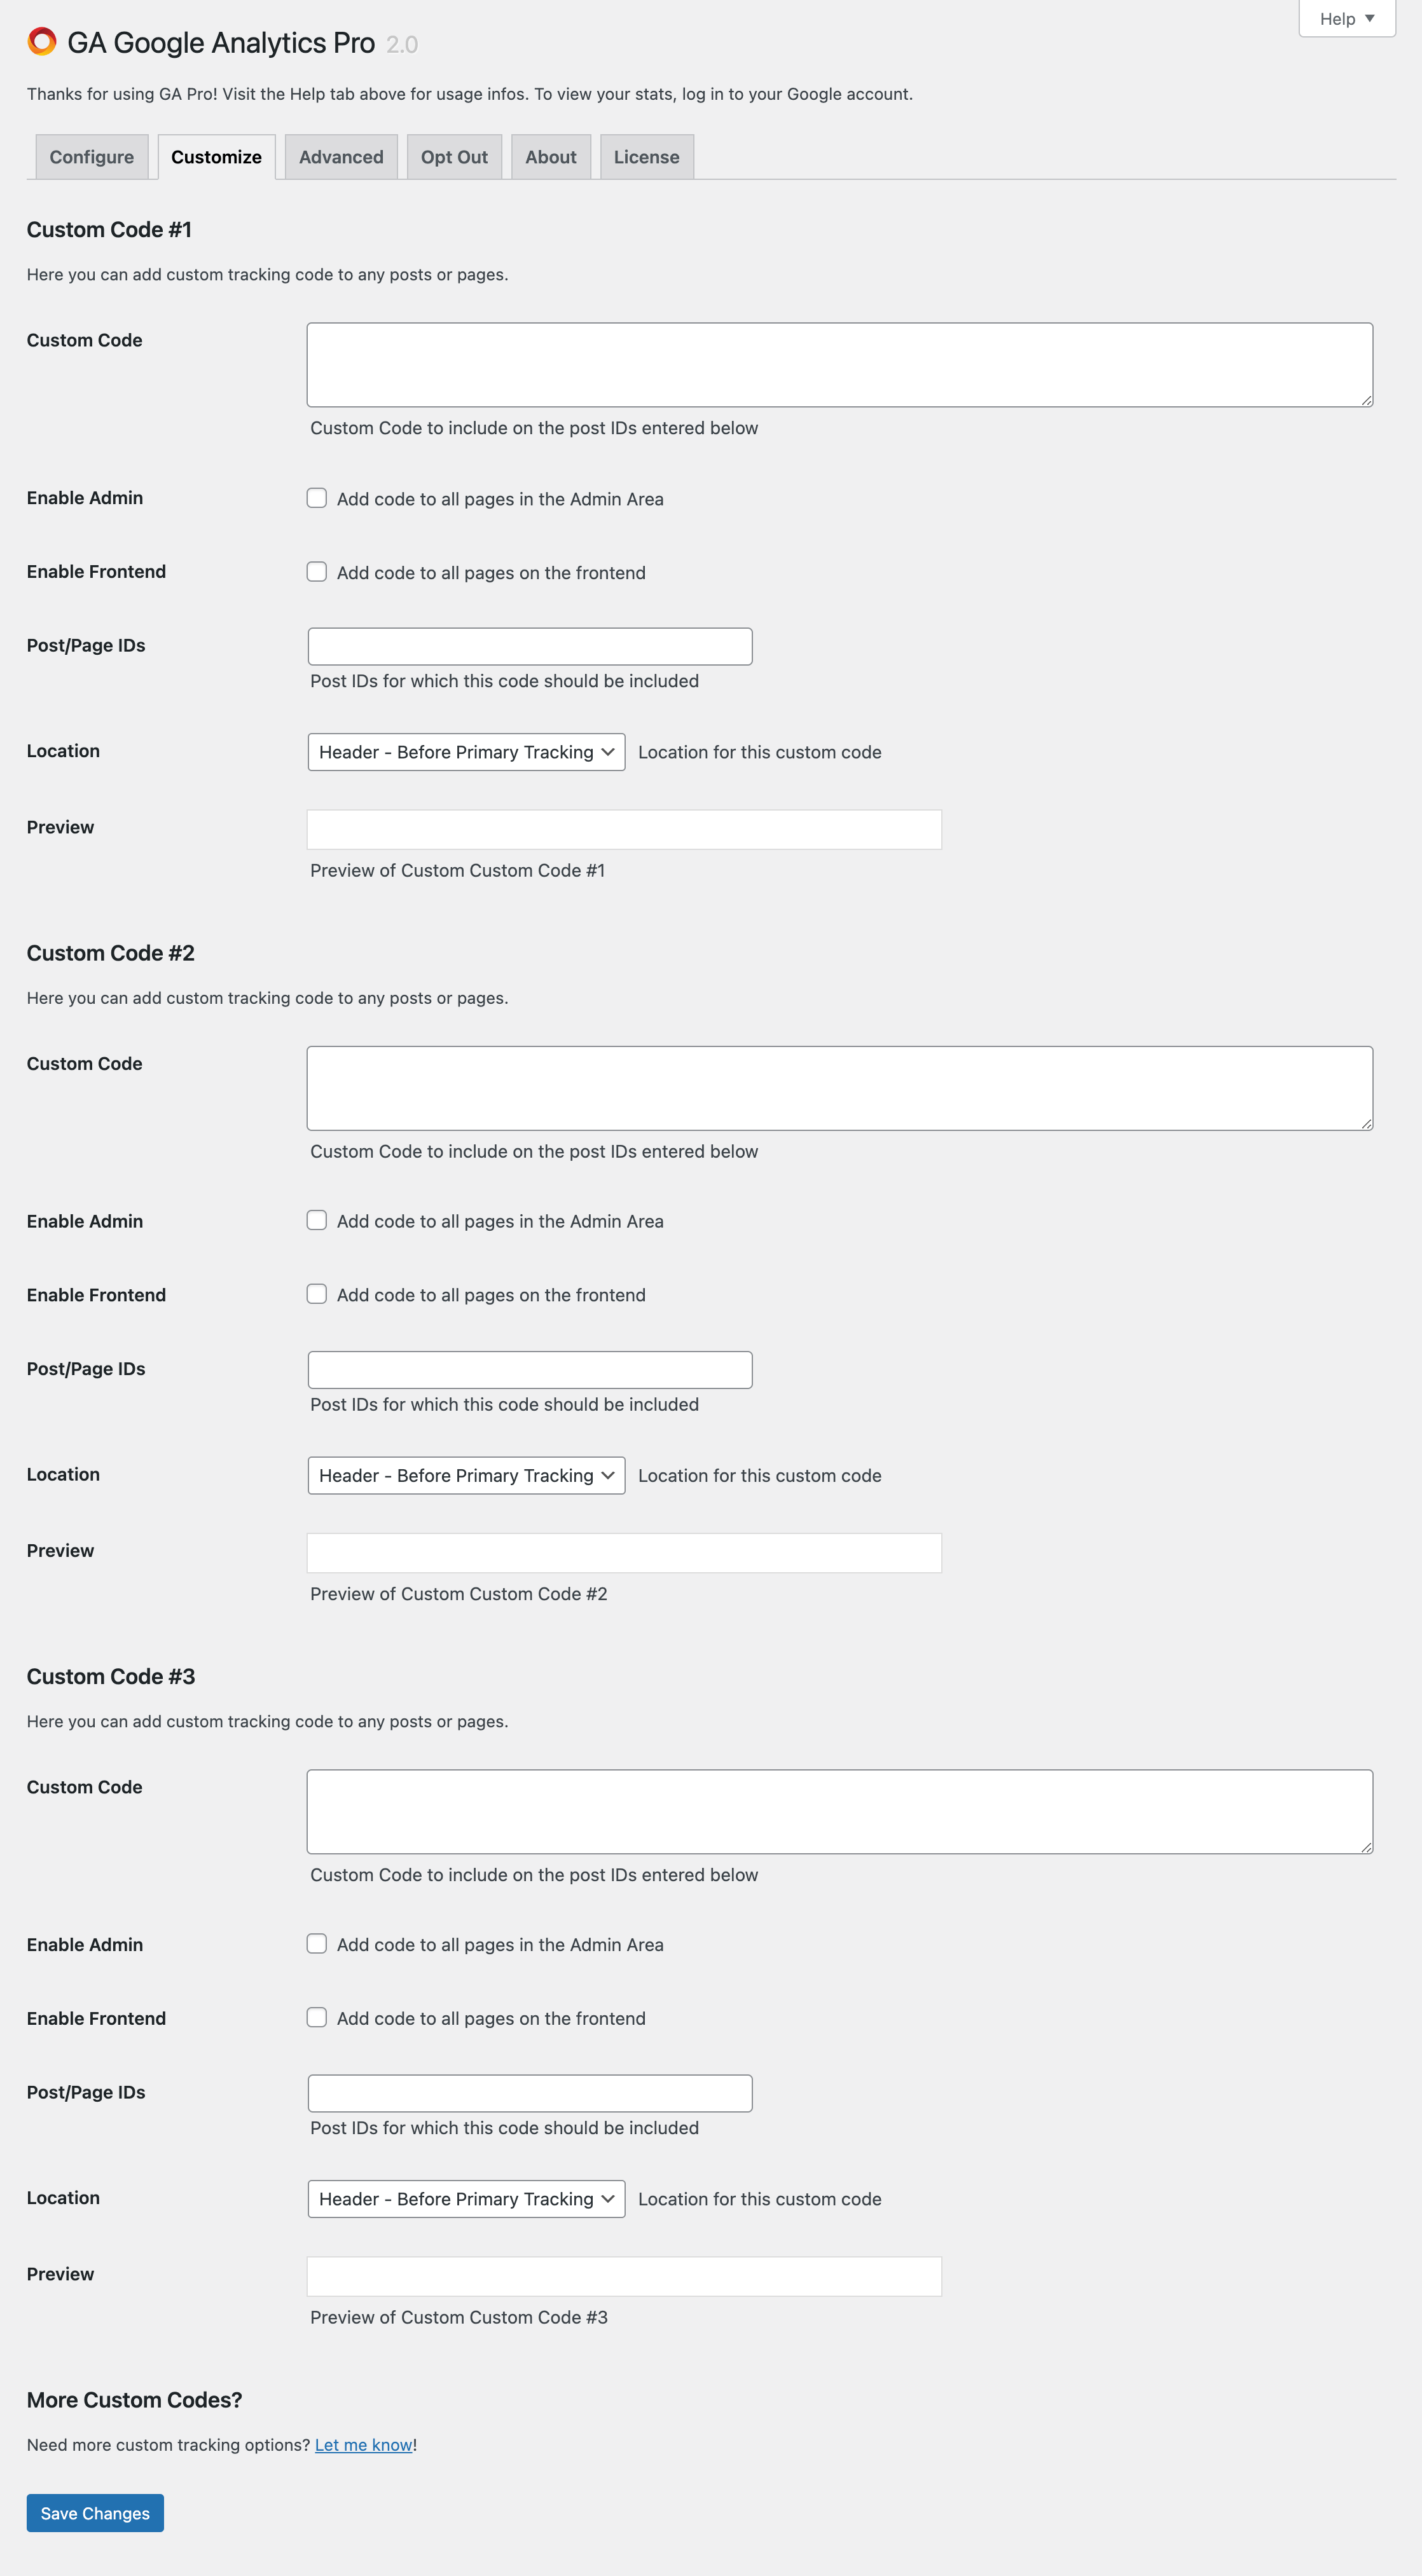
Customize
Available in the WP Admin Menu ▸ Google Analytics, then visit the “Customize” tab.
- Custom Code — Custom Code to include on the specified post/page IDs
- Enable Admin — Include custom code on all pages in the WordPress Admin Area
- Enable Frontend — Include custom code on all pages on the frontend
- Include IDs — Specify the post IDs for which the custom code should be included
- Exclude IDs — Specify the post IDs for which the custom code should be excluded
- Location — Choose the location for the custom tracking code
- Preview — Preview of the custom code
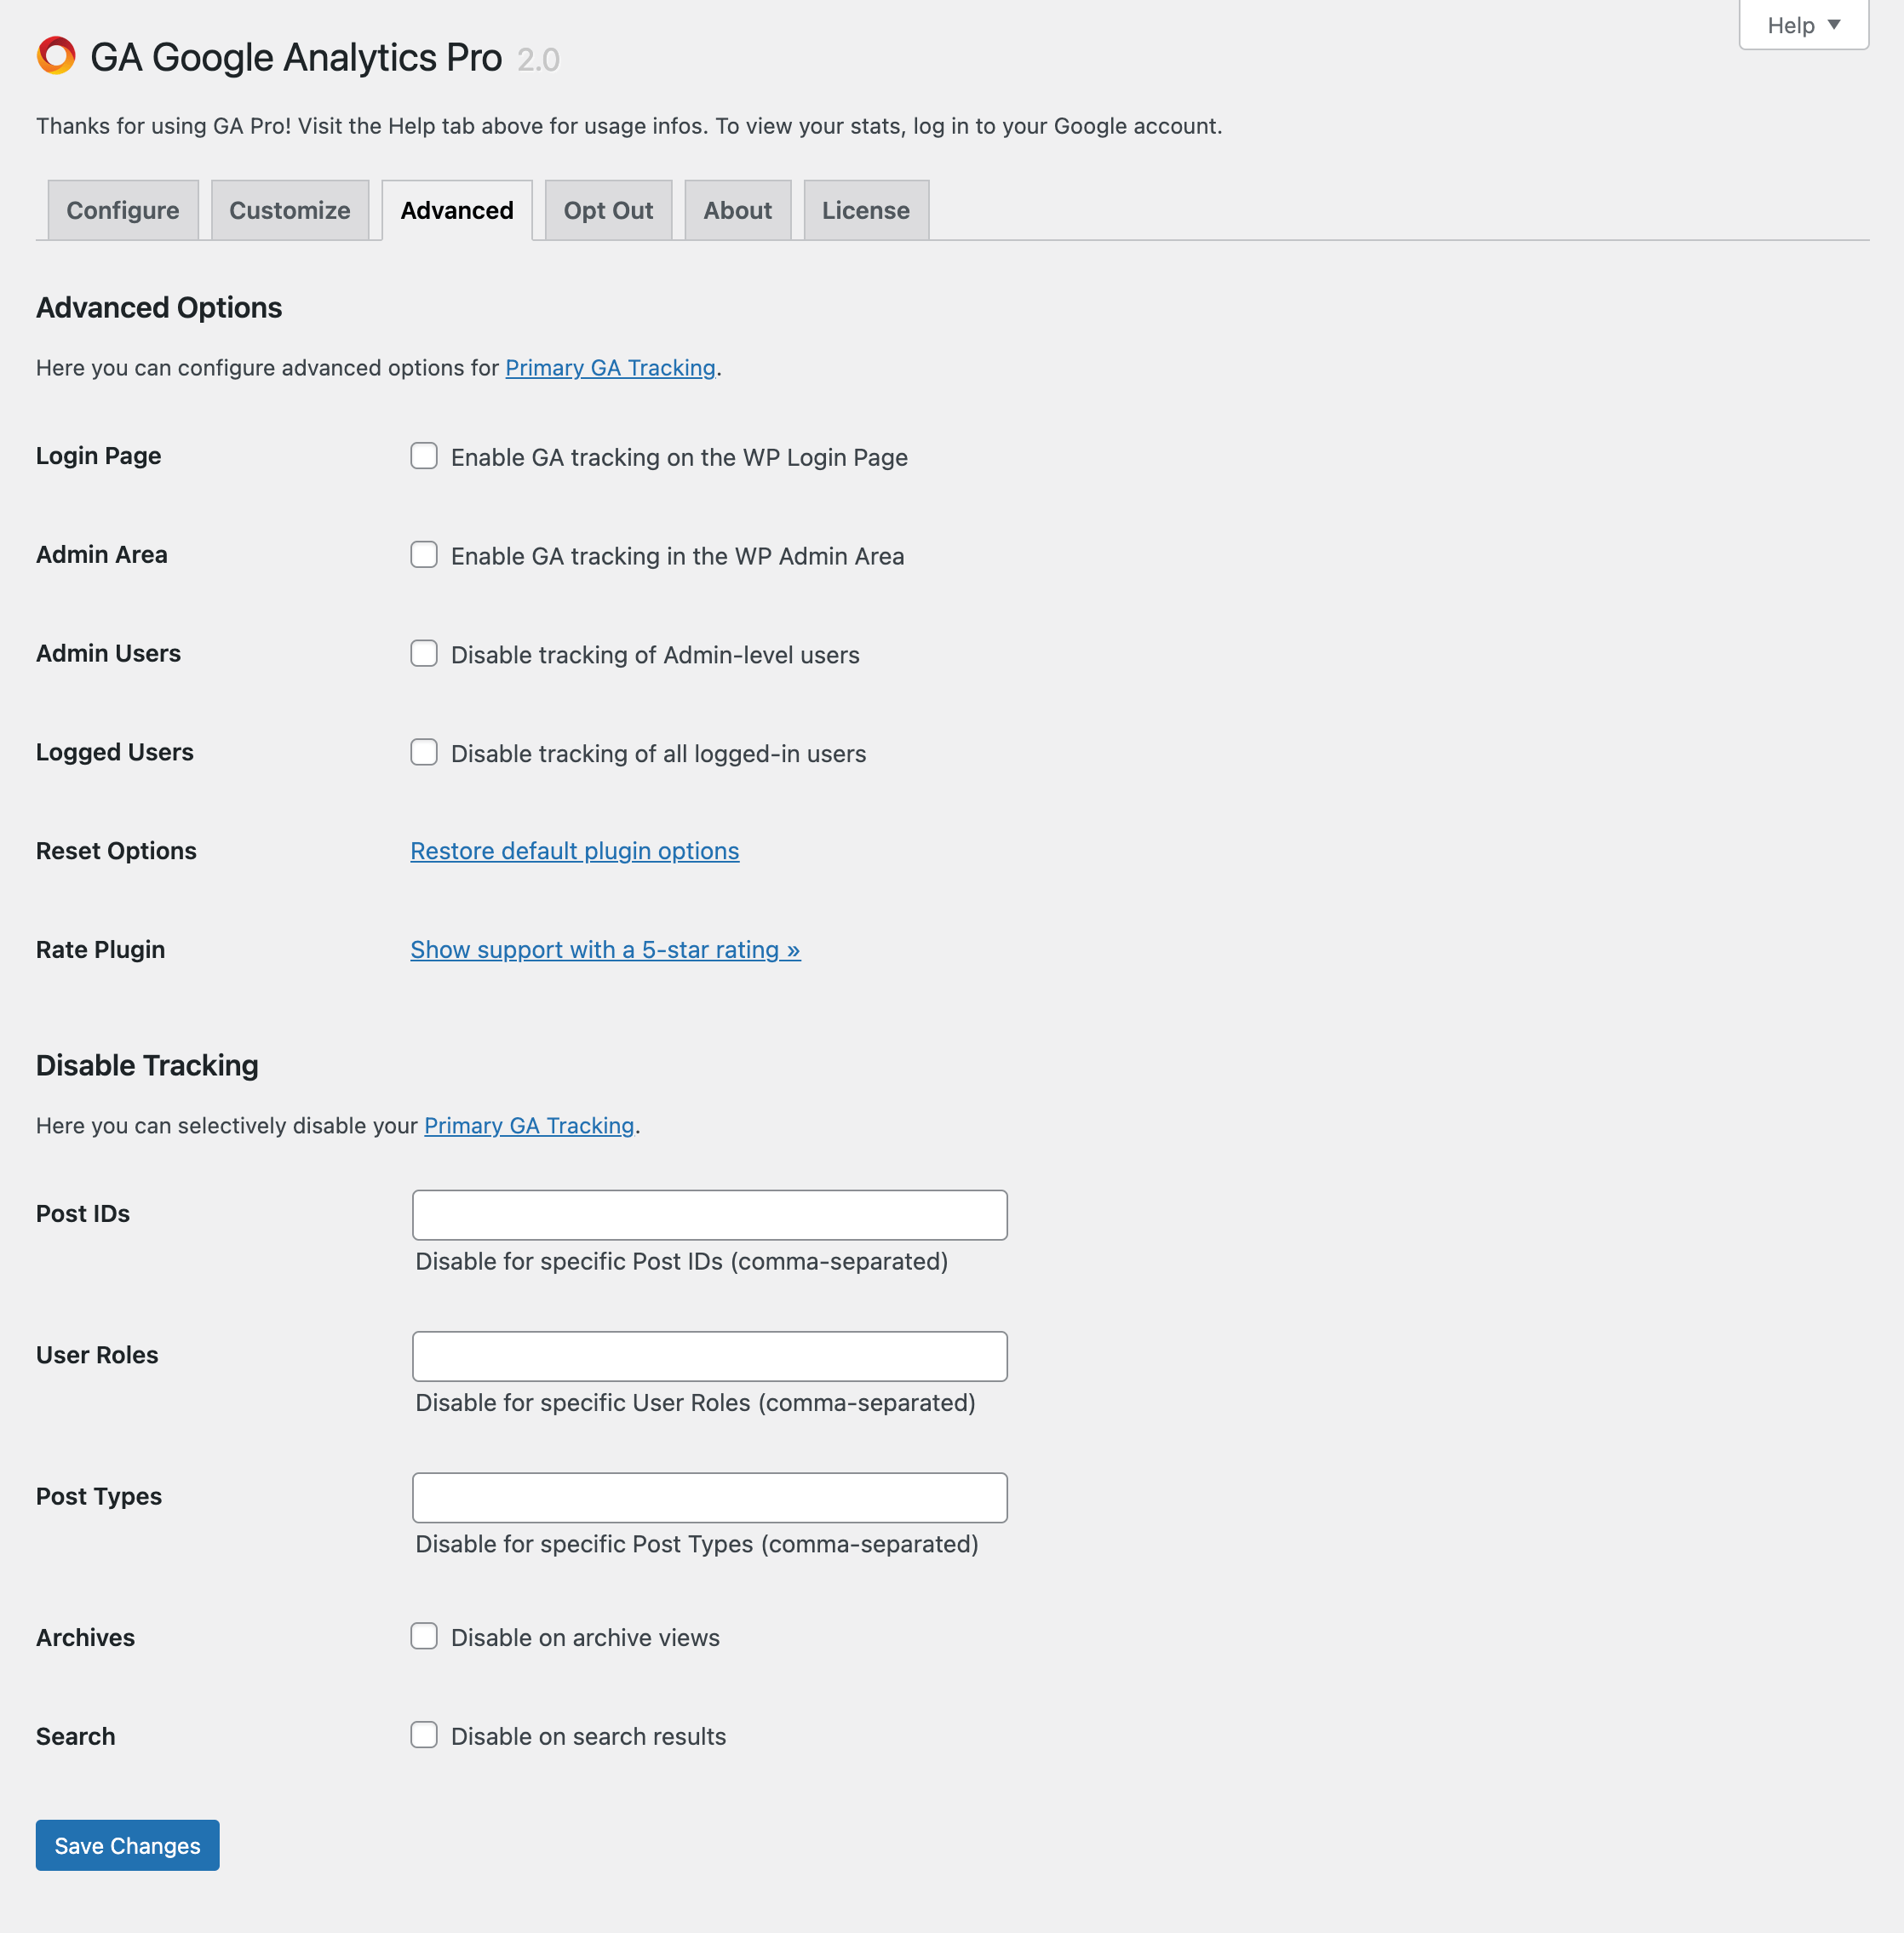
Advanced
Available in the WP Admin Menu ▸ Google Analytics, then visit the “Advanced” tab.
- Login Page — Enable GA tracking on the WP Login Page
- Admin Area — Enable GA tracking in the WP Admin Area
- Admin Users — Disable tracking of Admin-level users
- Logged Users — Disable tracking of all logged-in users
- Reset Options — Restore the default plugin options
- Rate Plugin — Show support with 5-star rating :)
Advanced settings also include the following options. These apply only to your Primary Tracking code (i.e., the tracking set up under the Configure tab):
- Disable tracking for Post IDs — Disable tracking for specific Post IDs
- Disable tracking for User Roles — Disable tracking for specific User Roles
- Disable tracking for Post Types — Disable tracking for specific Post Types
- Disable tracking for Archives — Disable tracking on archive views
- Disable tracking for Search — Disable tracking on search results
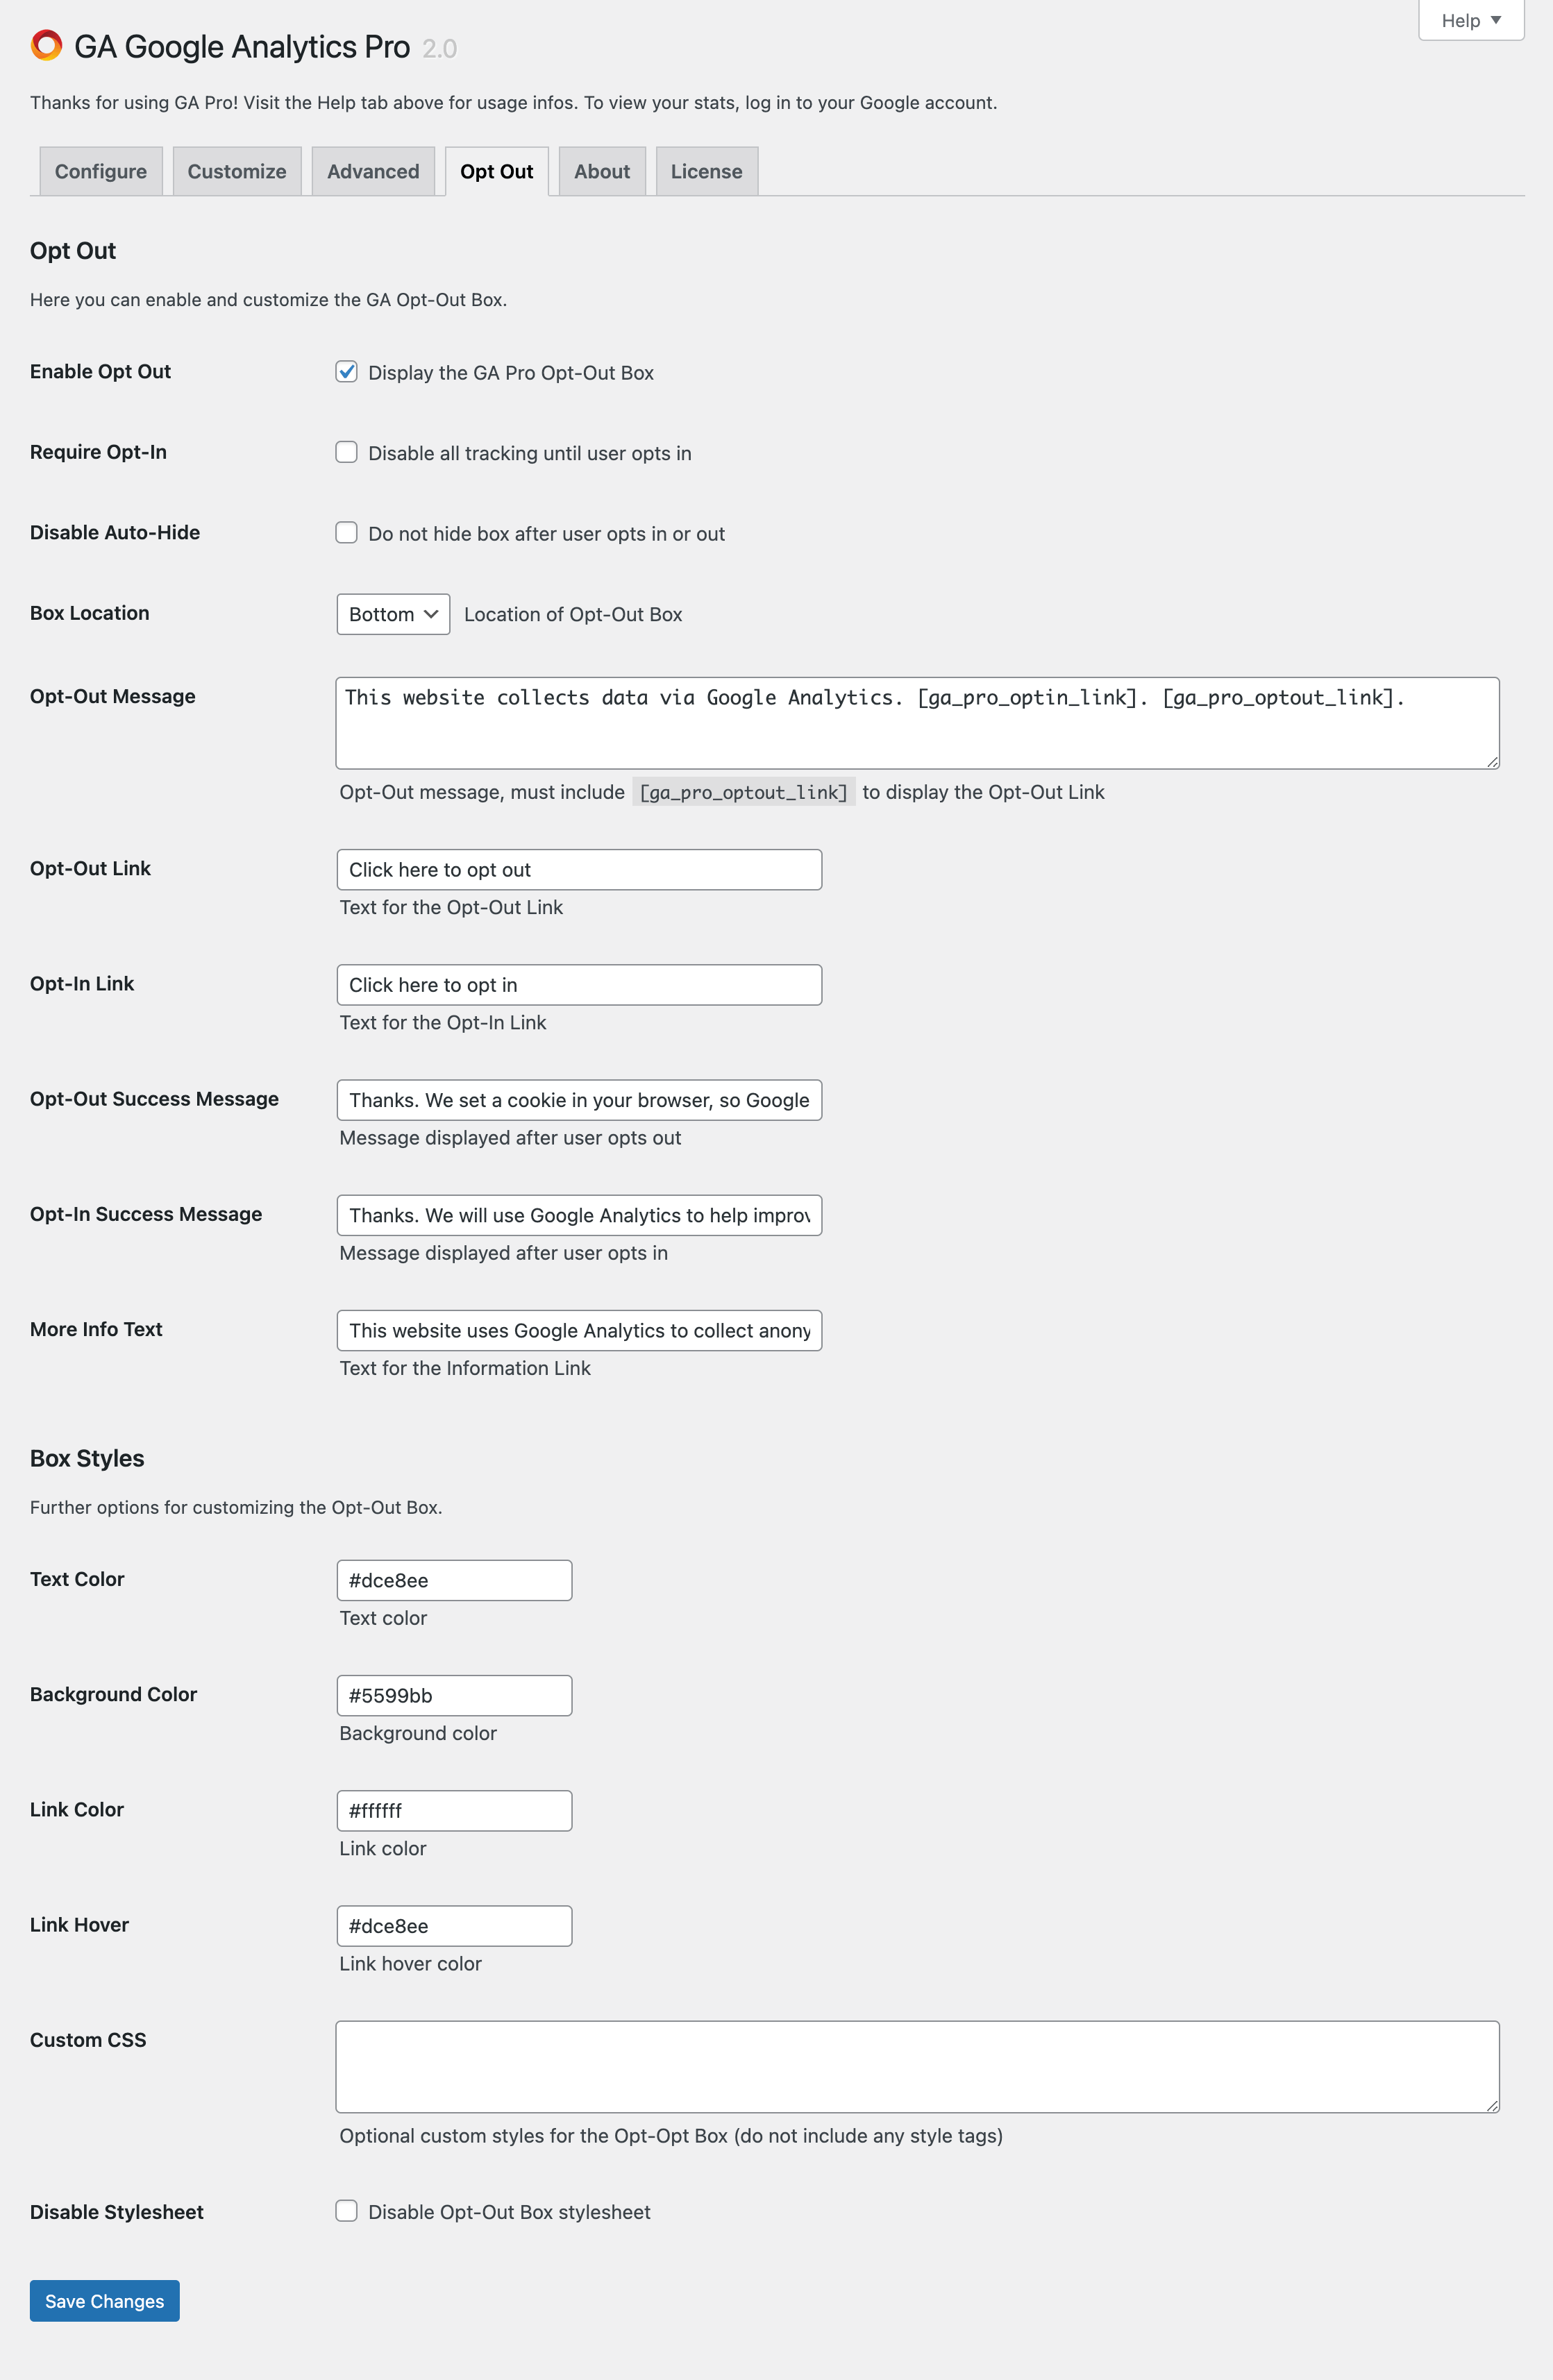
Opt Out
Available in the WP Admin Menu ▸ Google Analytics, then visit the “Opt Out” tab.
- Enable Opt Out — (Required) Display the GA Pro Opt-Out Box
- Disable Auto-Hide — Do not hide box after user opts in or out
- Box Location — Location of the Opt-Out Box on the page
- Opt-Out Message — Opt-Out message, must include Opt-Out Link
- Opt-Out Link — Text for the Opt-Out Link
- Opt-In Link — Text for the Opt-In Link
- Opt-Out Success Message — Message displayed after user opts out
- Opt-In Success Message — Message displayed after user opts in
- More Info Text — Text for the Information Link
- Box Styles — Several options for customizing box colors
- Disable Stylesheet — Disable the Opt-Out Box CSS/stylesheet
About
Available in the WP Admin Menu ▸ Google Analytics, then visit the “About” tab.
This tab provides a plethora of information about the plugin, WordPress, the server, user, and more. This information is useful for troubleshooting, diagnoses, and so forth. The following information is available here on the About tab:
- Plugin Information — Infos about GA Pro
- WordPress Information — Infos about WordPress
- User Information — Infos about the current user
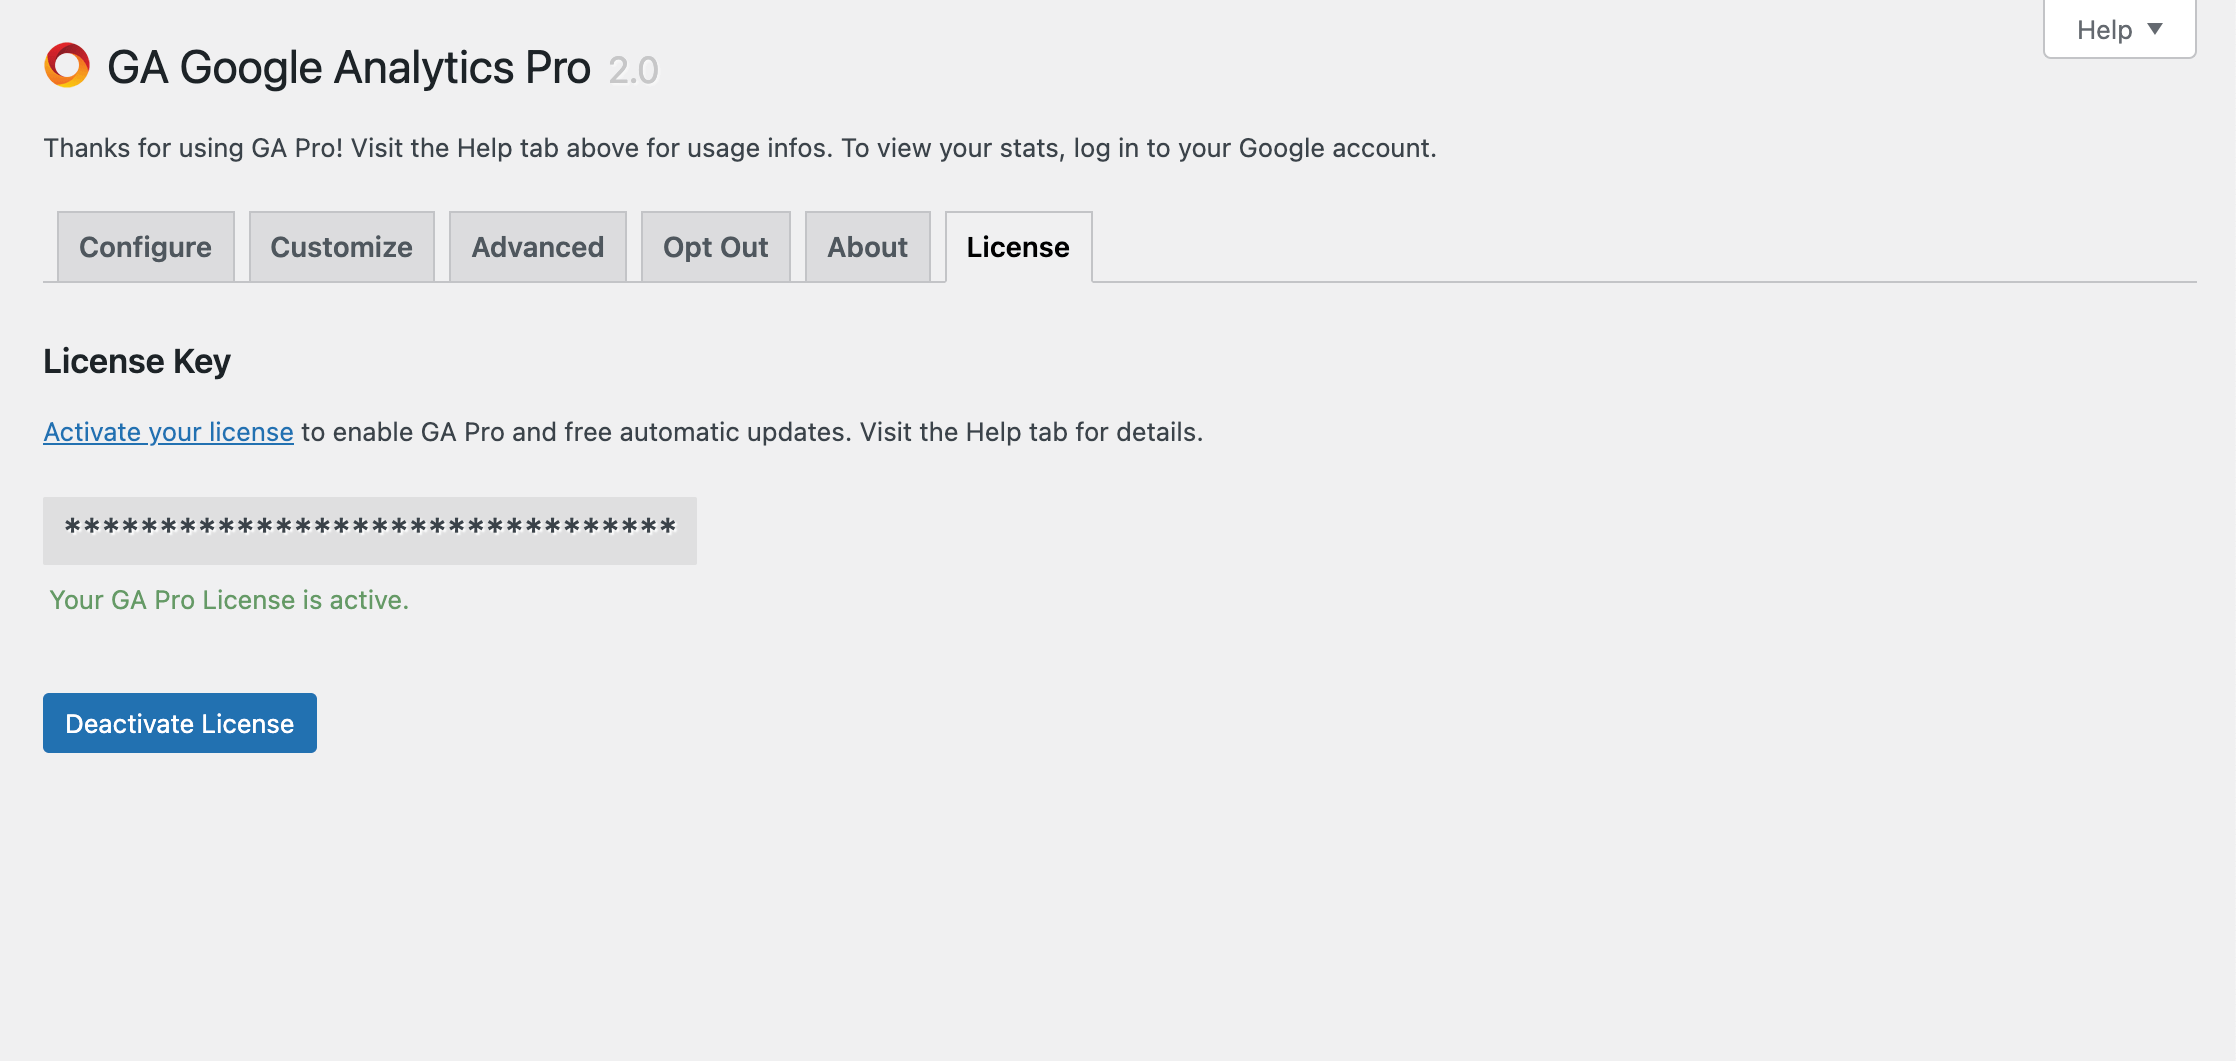
License
Available in the WP Admin Menu ▸ Google Analytics, then visit the “License” tab.
Your purchase of GA Pro entitles you to free automatic updates according to the license terms. To view your License Key at any time, log in to your account at Plugin Planet.
To enter your license and enable the plugin, follow these steps:
- Enter your license in the field and click “Save License”
- Click the “Activate License” button
- Done! GA Pro is now enabled and ready to use
Important: remember to deactivate your license before uninstalling (deleting) the plugin, and/or transferring to a new domain. Learn more about license transfers.
Notes:
- To deactivate the license at any time, click the “Deactivate License” button
- To clear the license field, deactivate the license and click the small “×” button
- To show/hide your license, click the small “eye” button
For more information, visit the activation guide at Plugin Planet.