Once activated, USP Pro is ready to configure and use. Technically you can just add a form shortcode and start using the plugin immediately, but it’s a good idea to explore the settings and do some basic configuration.
Video Tutorial
Check out more video tutorials for USP Pro »
Written Tutorial
While the video tutorial “shows” it best, here also is a written tutorial with more information and details.
Settings Map
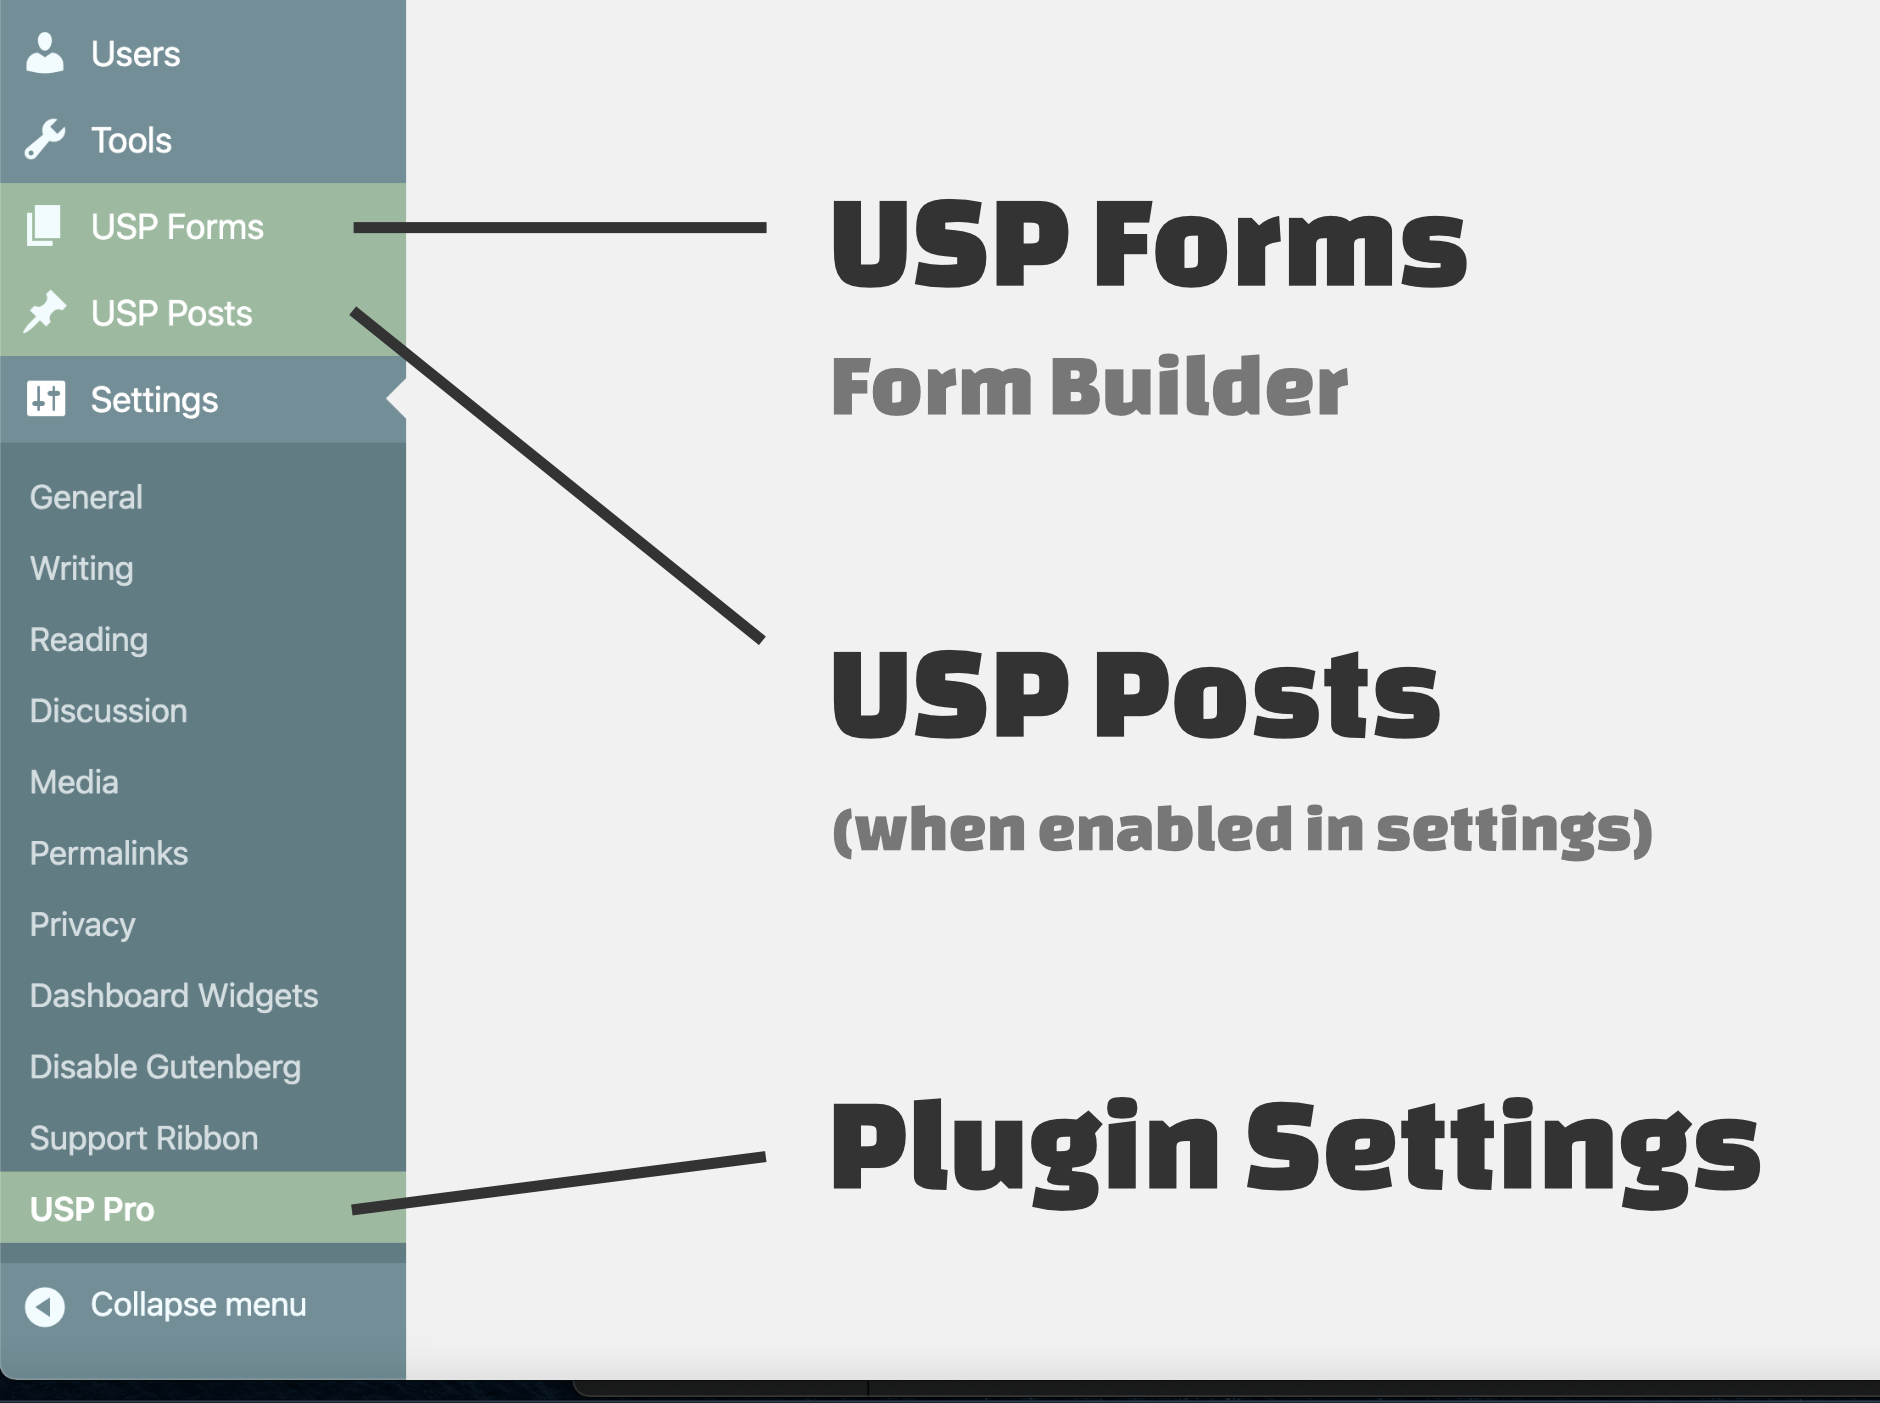
Looking at a screenshot of the admin menu, we see three primary parts:
- USP Settings
- USP Form Builder
- USP Posts (optional)
Let’s go through each of these items..
USP Settings
To view/modify plugin options, visit Settings ▸ USP Pro. The USP Settings are divided into tabs:
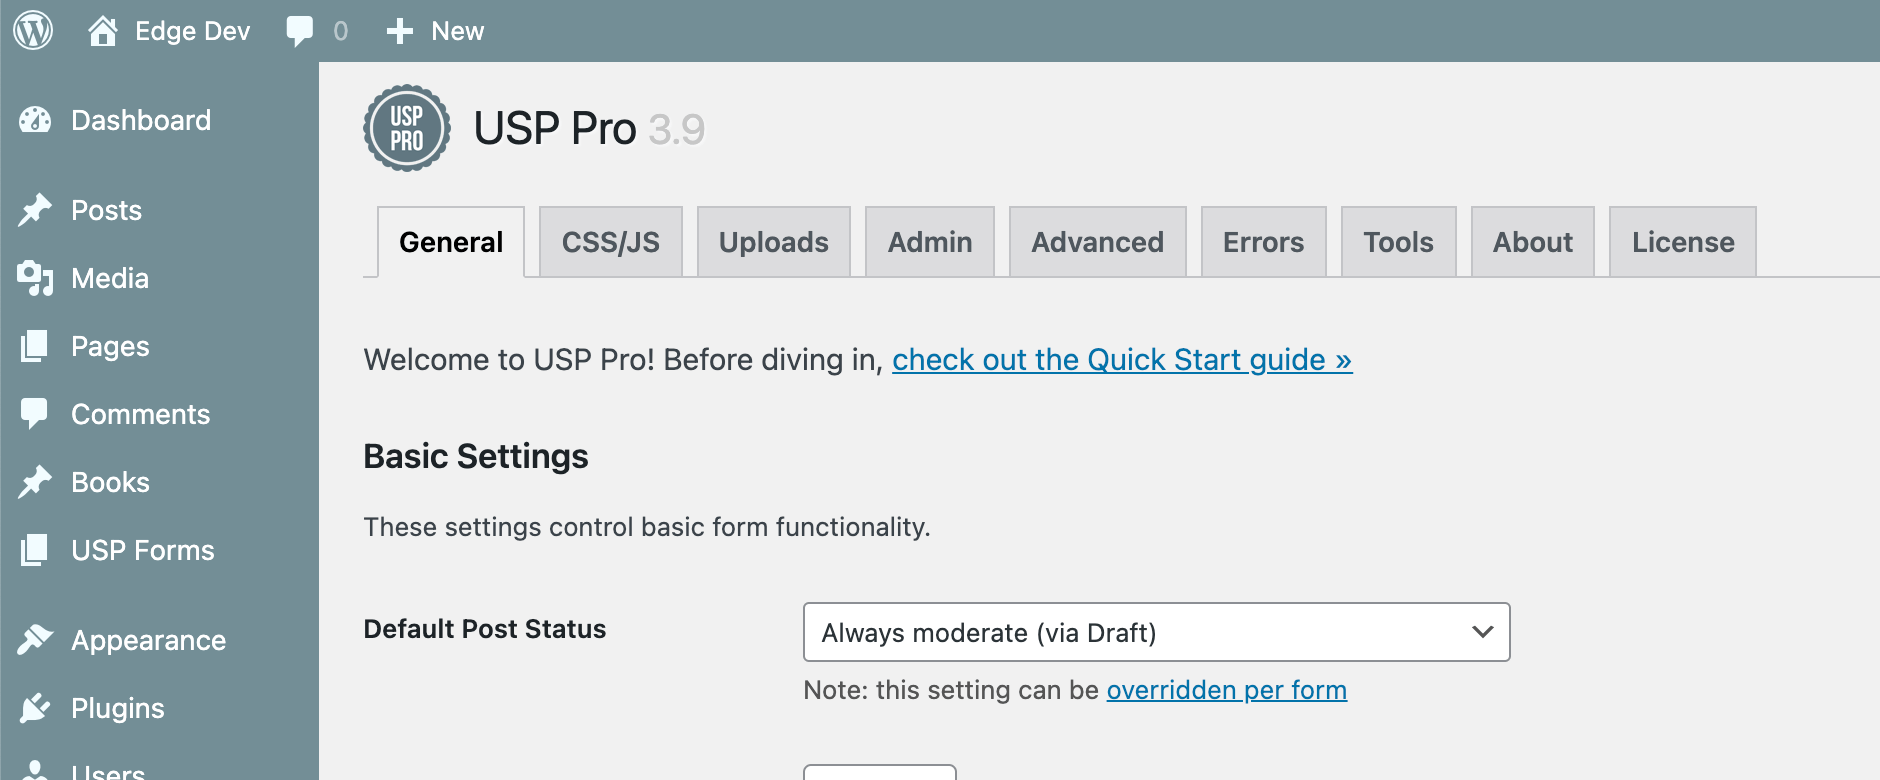
- General – basic configuration, users, anti-spam/captcha, category and tags
- JS/CSS – CSS/styles, JavaScript, and loading optimization
- Uploads – file uploads, file limits, featured images, and auto-display
- Admin – email settings, email alerts for admins/users, and contact form options
- Advanced – form configuration, custom post types, before/after forms, custom error/success messages, primary form fields, user registration fields, and custom form fields
- Tools – intro/quick-start guide, shortcodes, template tags, resources, and tips & tricks
- About – plugin info, WP info, WP constants, server info, and user info
- License – activate license and current status
More information about each of these sections in the Settings Documentation.
USP Form Builder
To build and customize USP forms, visit USP Forms and either select an existing form to edit, or click “Add New” to create a new form. Here is the USP Forms screen:
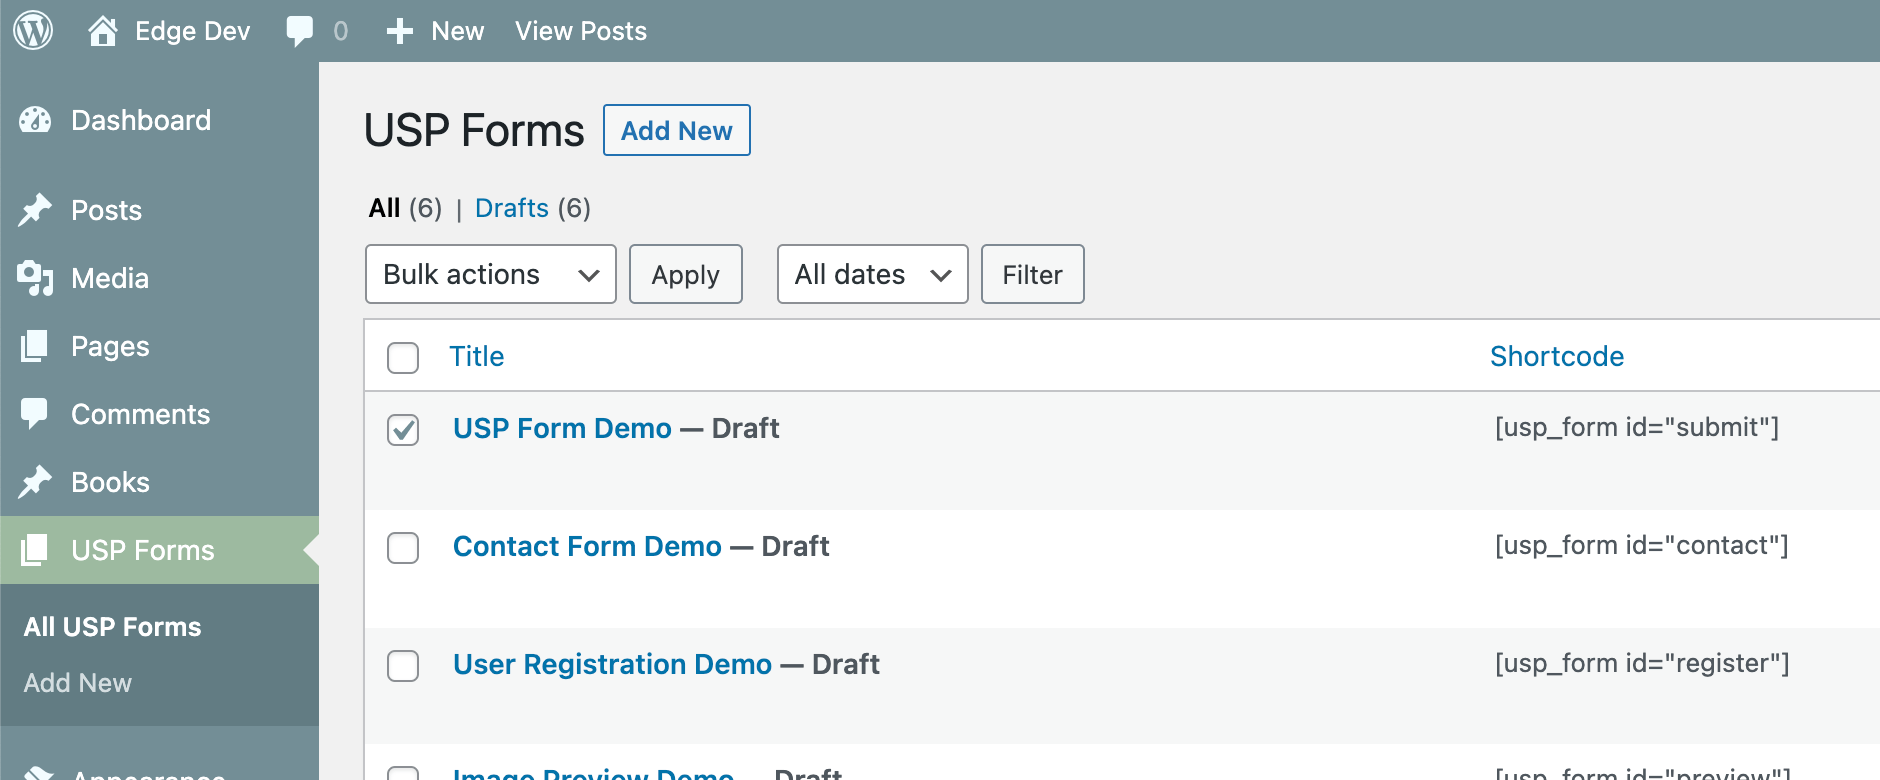
As shown in the previous screenshot, USP Pro includes various Form Demos to serve as examples and working templates. Note also that each form includes its own shortcode which may be used to display the form virtually anywhere. Moving on, here is the Edit Form screen, aka the USP Form Builder:
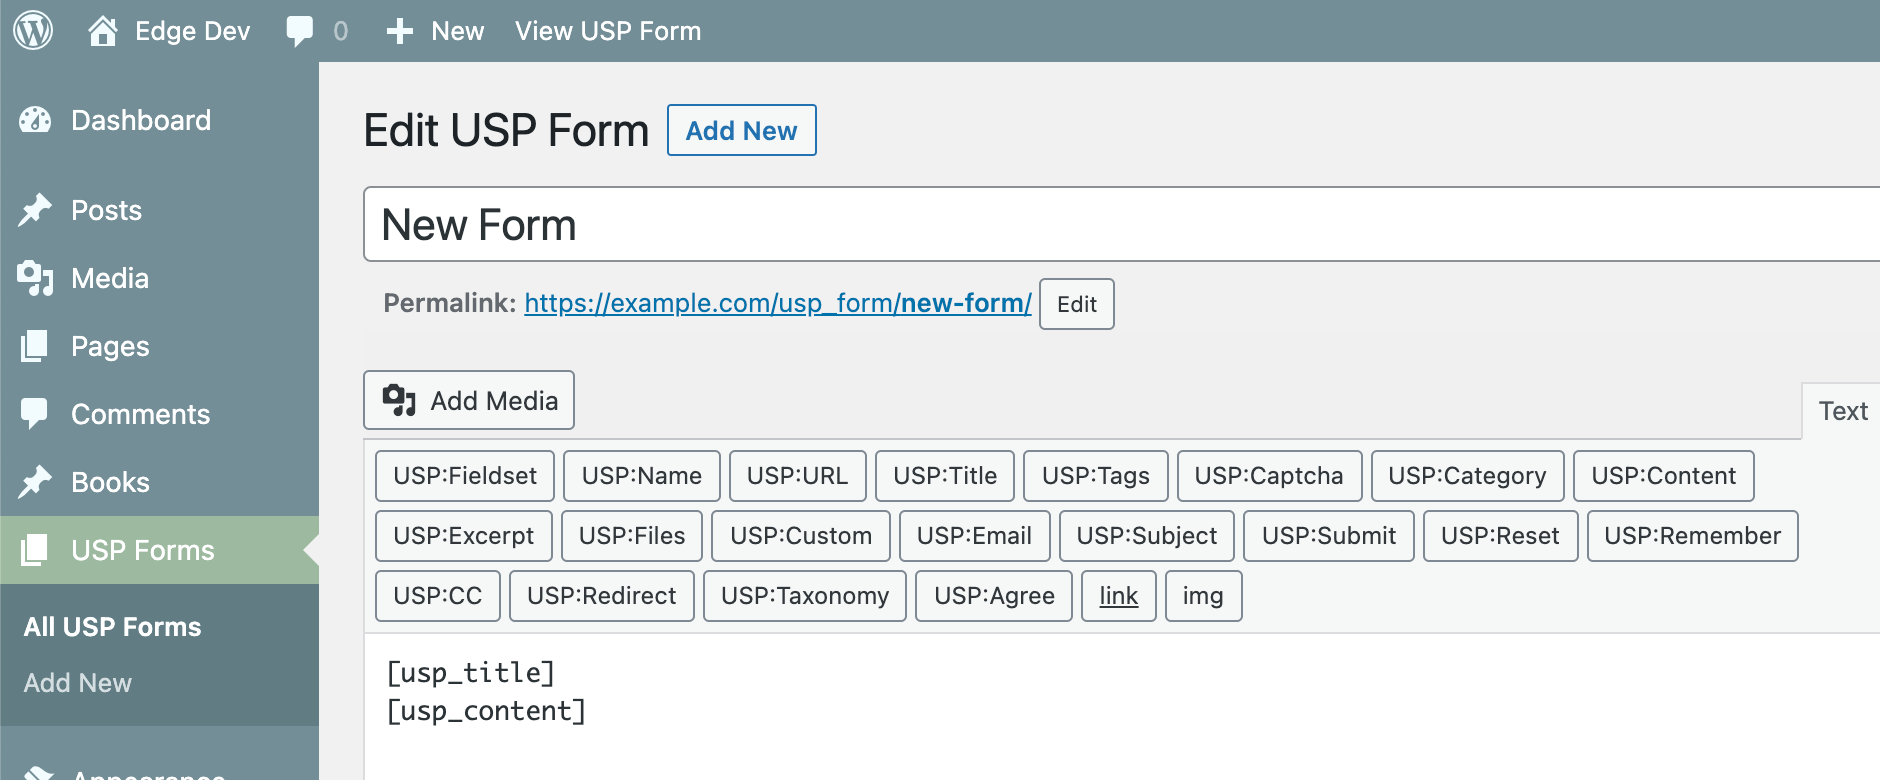
In the second screenshot, USP Quicktags are shown ready and waiting. You can use them to add form fields, fieldsets, submit buttons, custom fields, and everything in between. Learn more about creating USP Forms and Customizing USP Forms.
USP Posts
USP Pro provides an optional built-in custom post type called USP Posts. You may use USP Posts (instead of regular WP Posts) for user-submitted content. This option is enabled via Advanced Settings ▸ Custom Post Type.
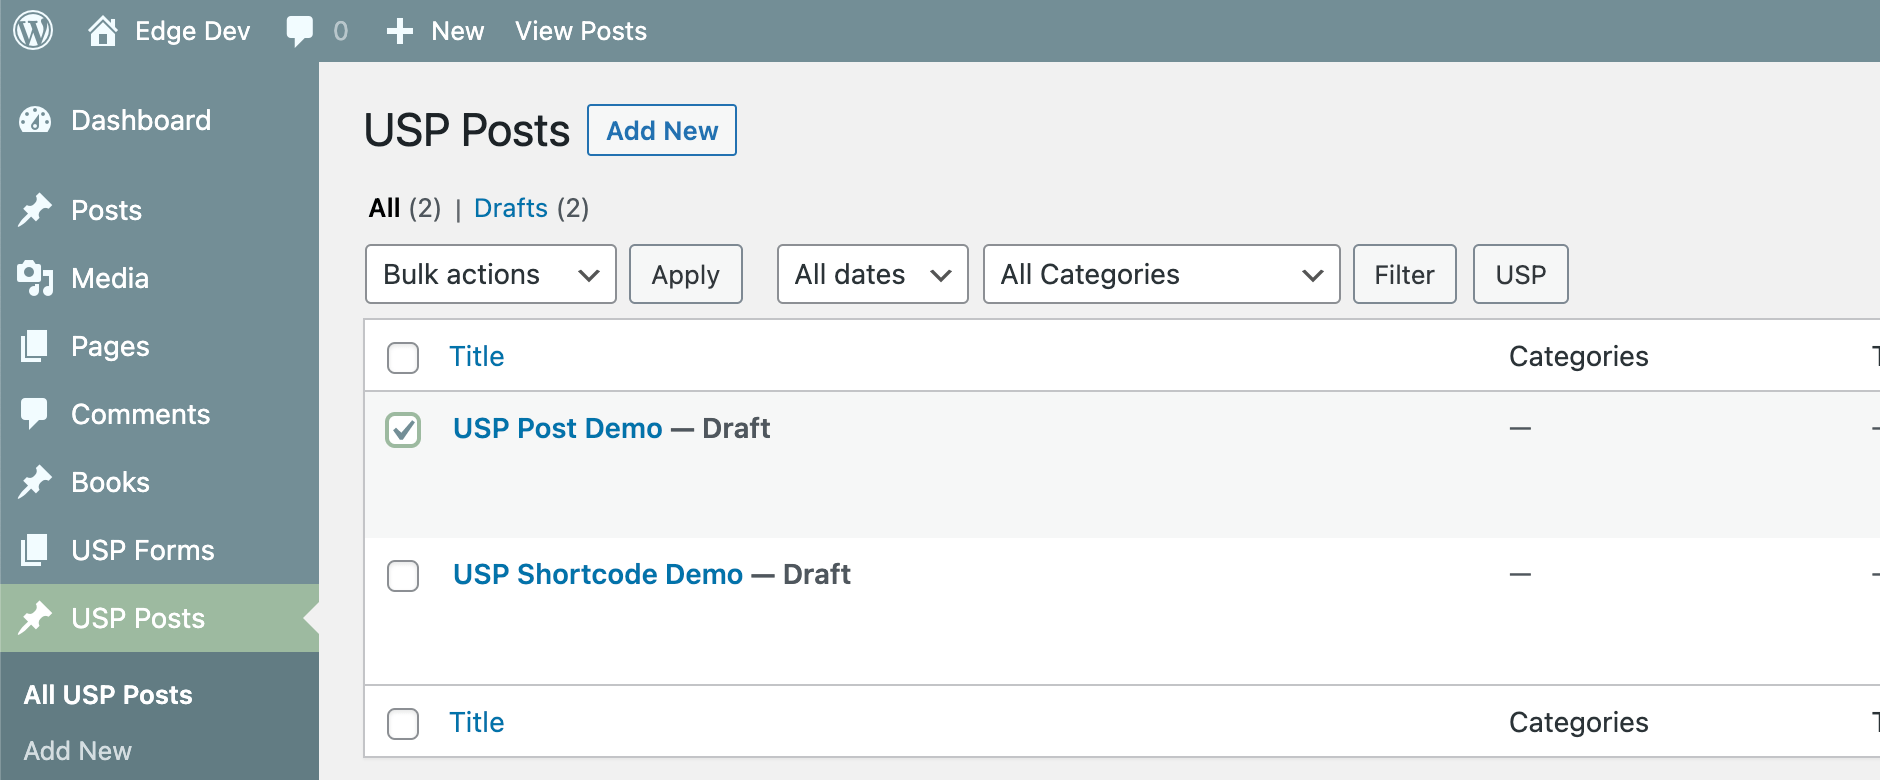
As with USP Forms, USP Posts include demos to show how to use shortcodes to display submitted content. No need for a screenshot of the “Add New”/“Edit USP Post” screen because it’s essentially the same as WP’s Add/Edit Post screen for regular (not user-submitted) posts.
Configuring USP Pro
To configure USP Pro, it is recommended to go through the General Settings before adding any forms to your site. Then return to the other settings sections as needed or after familiarizing yourself with basic plugin functionality. For the most part, USP Pro is ready to use out of the box, with plenty of settings available if/when needed.
More information about configuring plugin settings available in the Settings Documentation.