Learn how to add a custom textarea field to any USP Form.
Step 1
Use the following code for your Custom Field definition:
field#textarea|label#Custom Textarea|placeholder#Custom TextareaStep 2
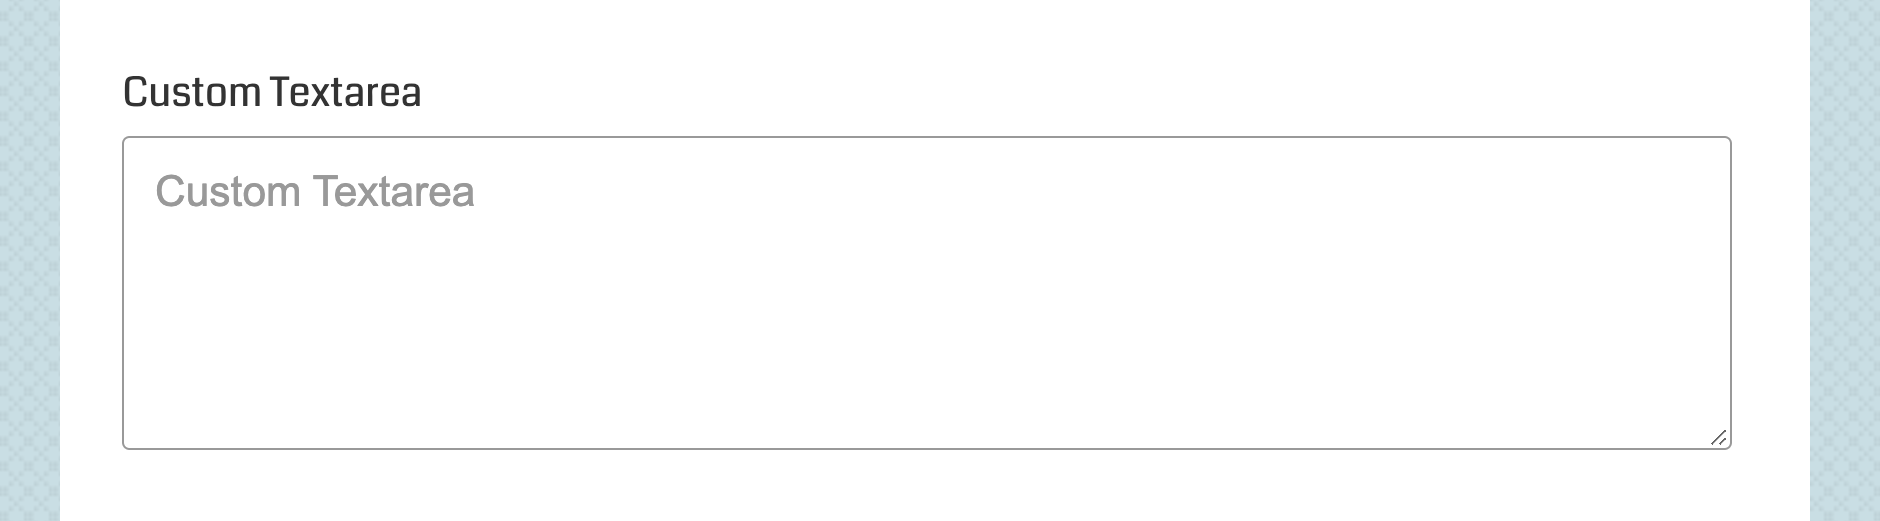
Add the custom-field shortcode to your form, for example:
[usp_custom_field form="123" id="1"]After adding to your form and saving changes, something like this will be displayed on the front-end:
To enable the WP RTE for any custom textarea, you can add data-richtext#true to the custom-field definition, for example:
field#textarea|label#Custom Textarea|placeholder#Custom Textarea|data-richtext#trueAfter adding to your form and saving changes, something like this will be displayed on the front-end:
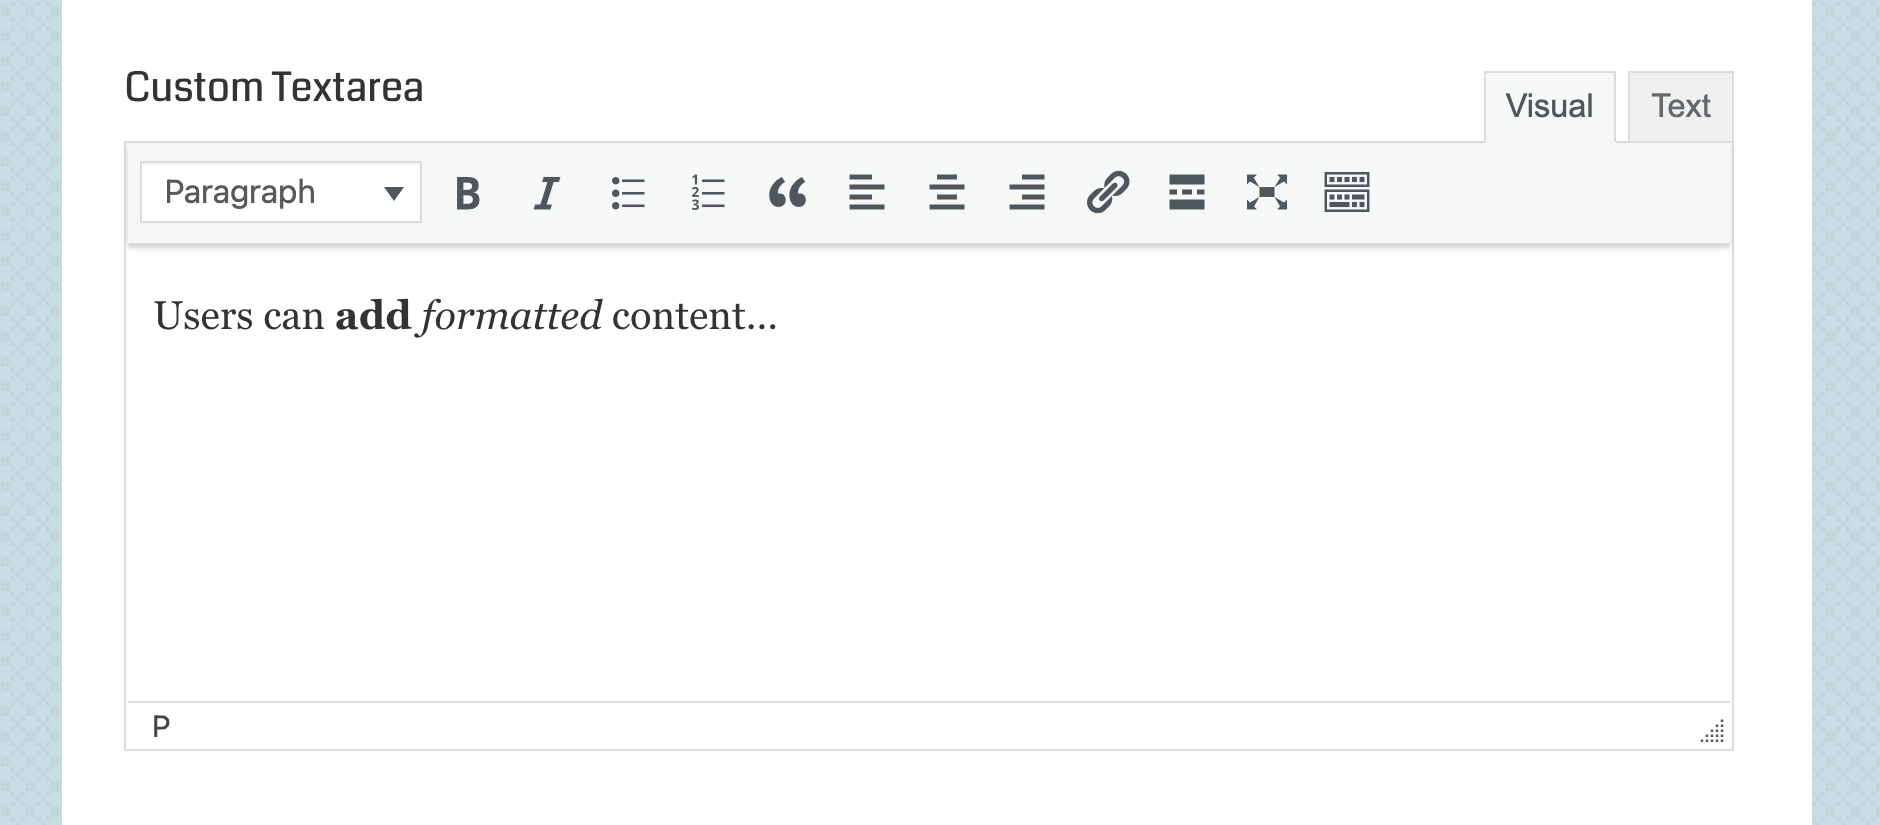 Rich-text/Visual Editor displayed on Chrome. Note that the appearance of this field may vary slightly from browser to browser.
Note: To see a live example of a custom textarea field, check out the “Starter” form demo, included in USP Pro version 2.3 and better (visit USP Forms ▸ “Starter Form Demo”).
Attributes
Here are some of the attributes available for custom textarea fields:
- field — specifies the type of custom field
- label — specifies the custom field label
- placeholder — specifies the custom field placeholder
- data-required — specifies if the field is required
- class — adds any custom class to the textarea input
- rows — specifies the number of rows for the textarea
- cols — specifies the number of columns for the textarea
- data-richtext#true — adds the WP Rich Text Editor
- rte_id — optional field ID for RTE (lowercase letters only)
Note: the
rte_id attribute is required only when including multiple RTEs in a form. Lowercase letters only!View more custom-field attributes »