USP Pro makes it easy to create unlimited custom forms that can be displayed anywhere on your site. You can display forms via Shortcode, Template Tag, or Widget. This post explains how to display any USP Form via the USP Form Widget.
Step 1
In the WP Admin Area, visit Appearance > Widgets, and add the “USP Form Widget” to any available sidebar (where you want the form to be displayed).
Step 2
Once the widget is added and toggled open, it will look like this:

Next, configure the widget settings:
- Widget Title — Enter an optional title for this widget (useful when using multiple form widgets). Displayed only on the widget panel here in the Admin Area.
- USP Form ID — Enter the ID of a published USP Form. Make sure the form is published and not saved as a draft or pending. Check the form’s shortcode for its ID. (Required)
- Custom CSS Classes — Optional custom classes for the form. Use commas to separate each class, like so:
class1,class2,class3. - Limit Form to Post/Page — Enter the ID of a specific post or page; leave blank to display on all posts/pages. Separate multiple IDs with a comma.
After configuring the settings, click the “Save” button to save your changes.
Step 3
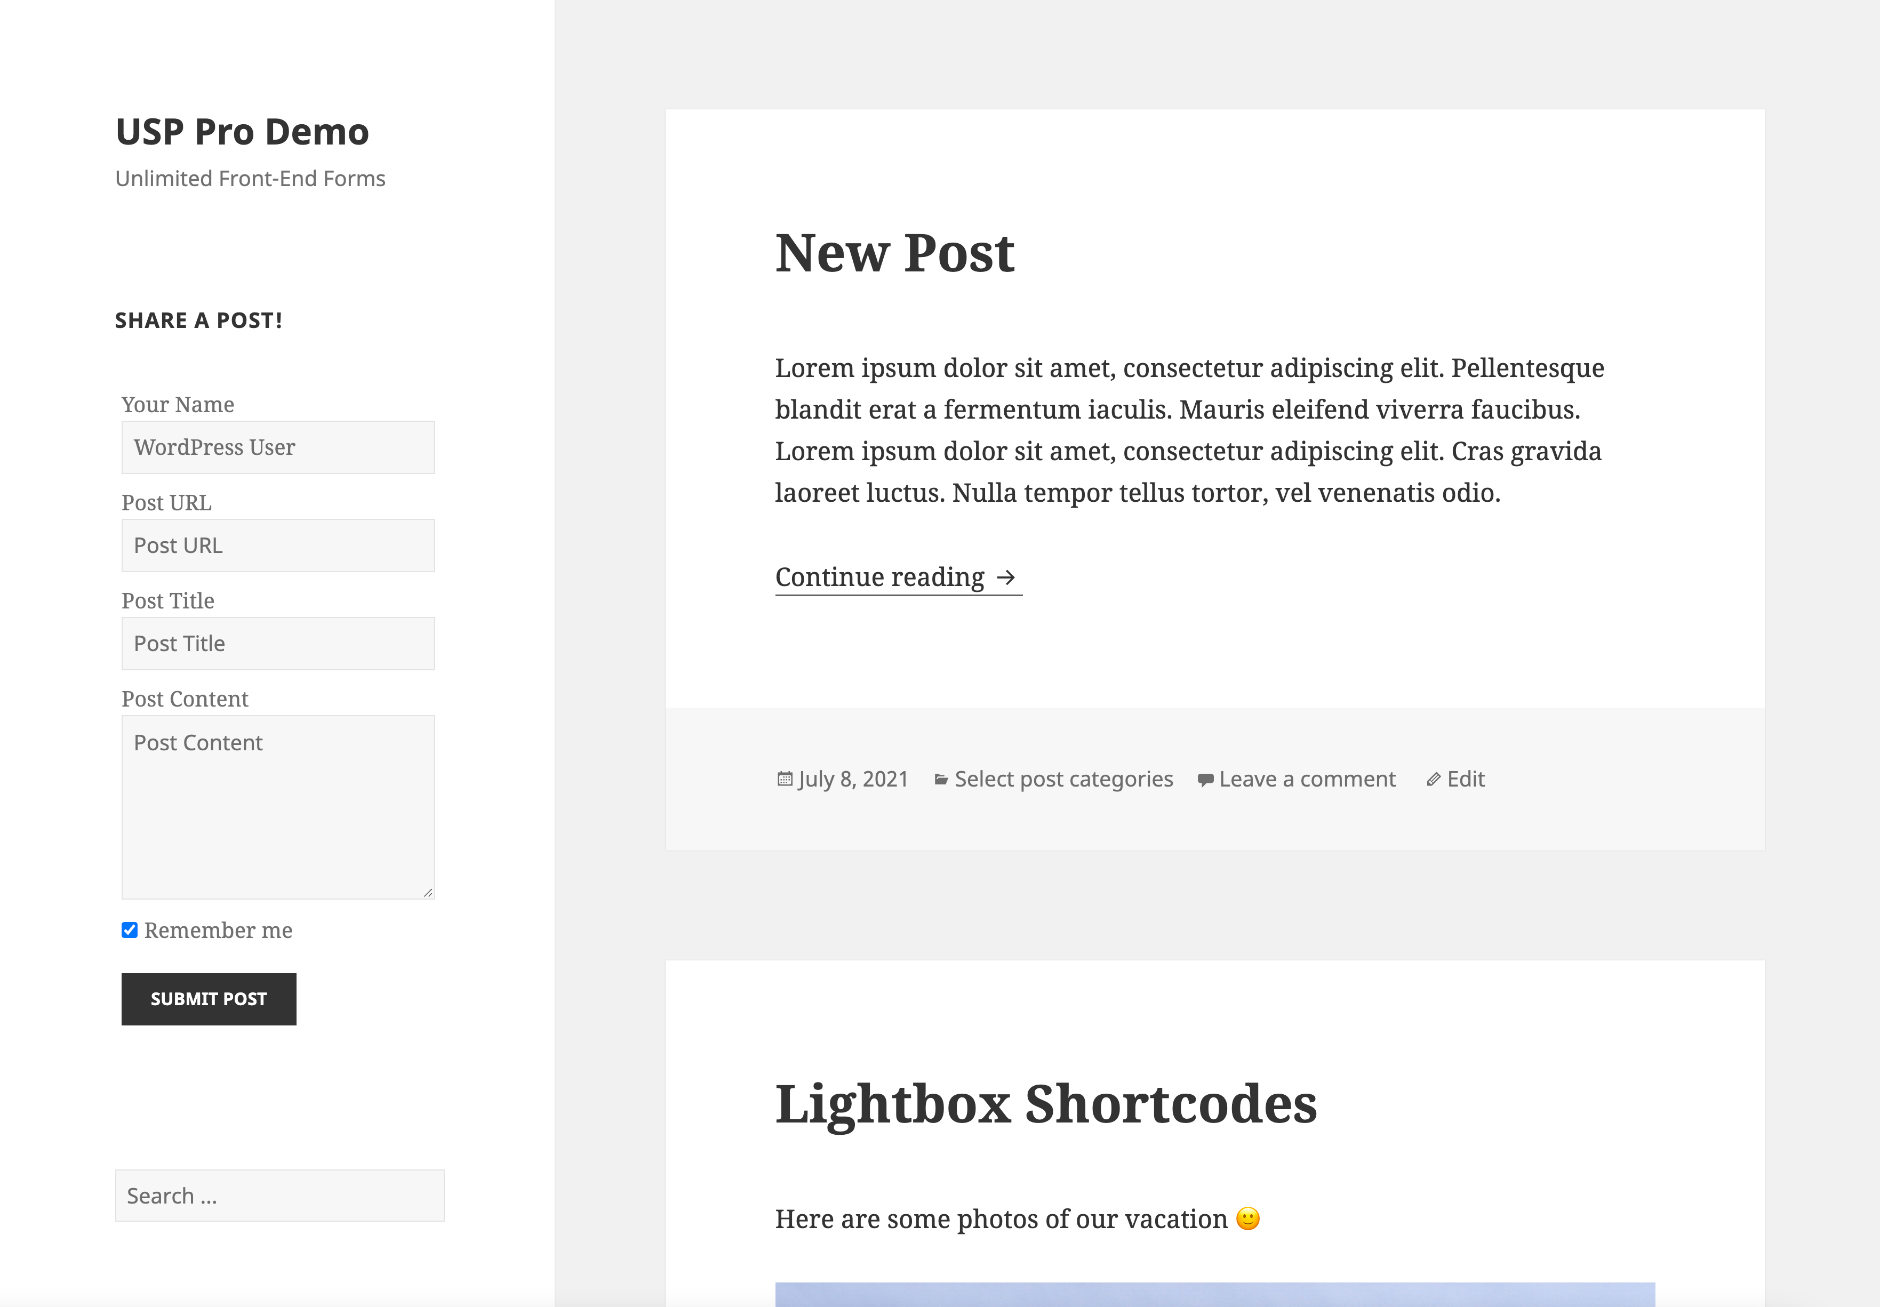
Done! Visit the front-end of your site to check out your USP Form. Here is an example that shows the USP Form Widget displaying a custom submission form via the Twenty Fifteen theme: