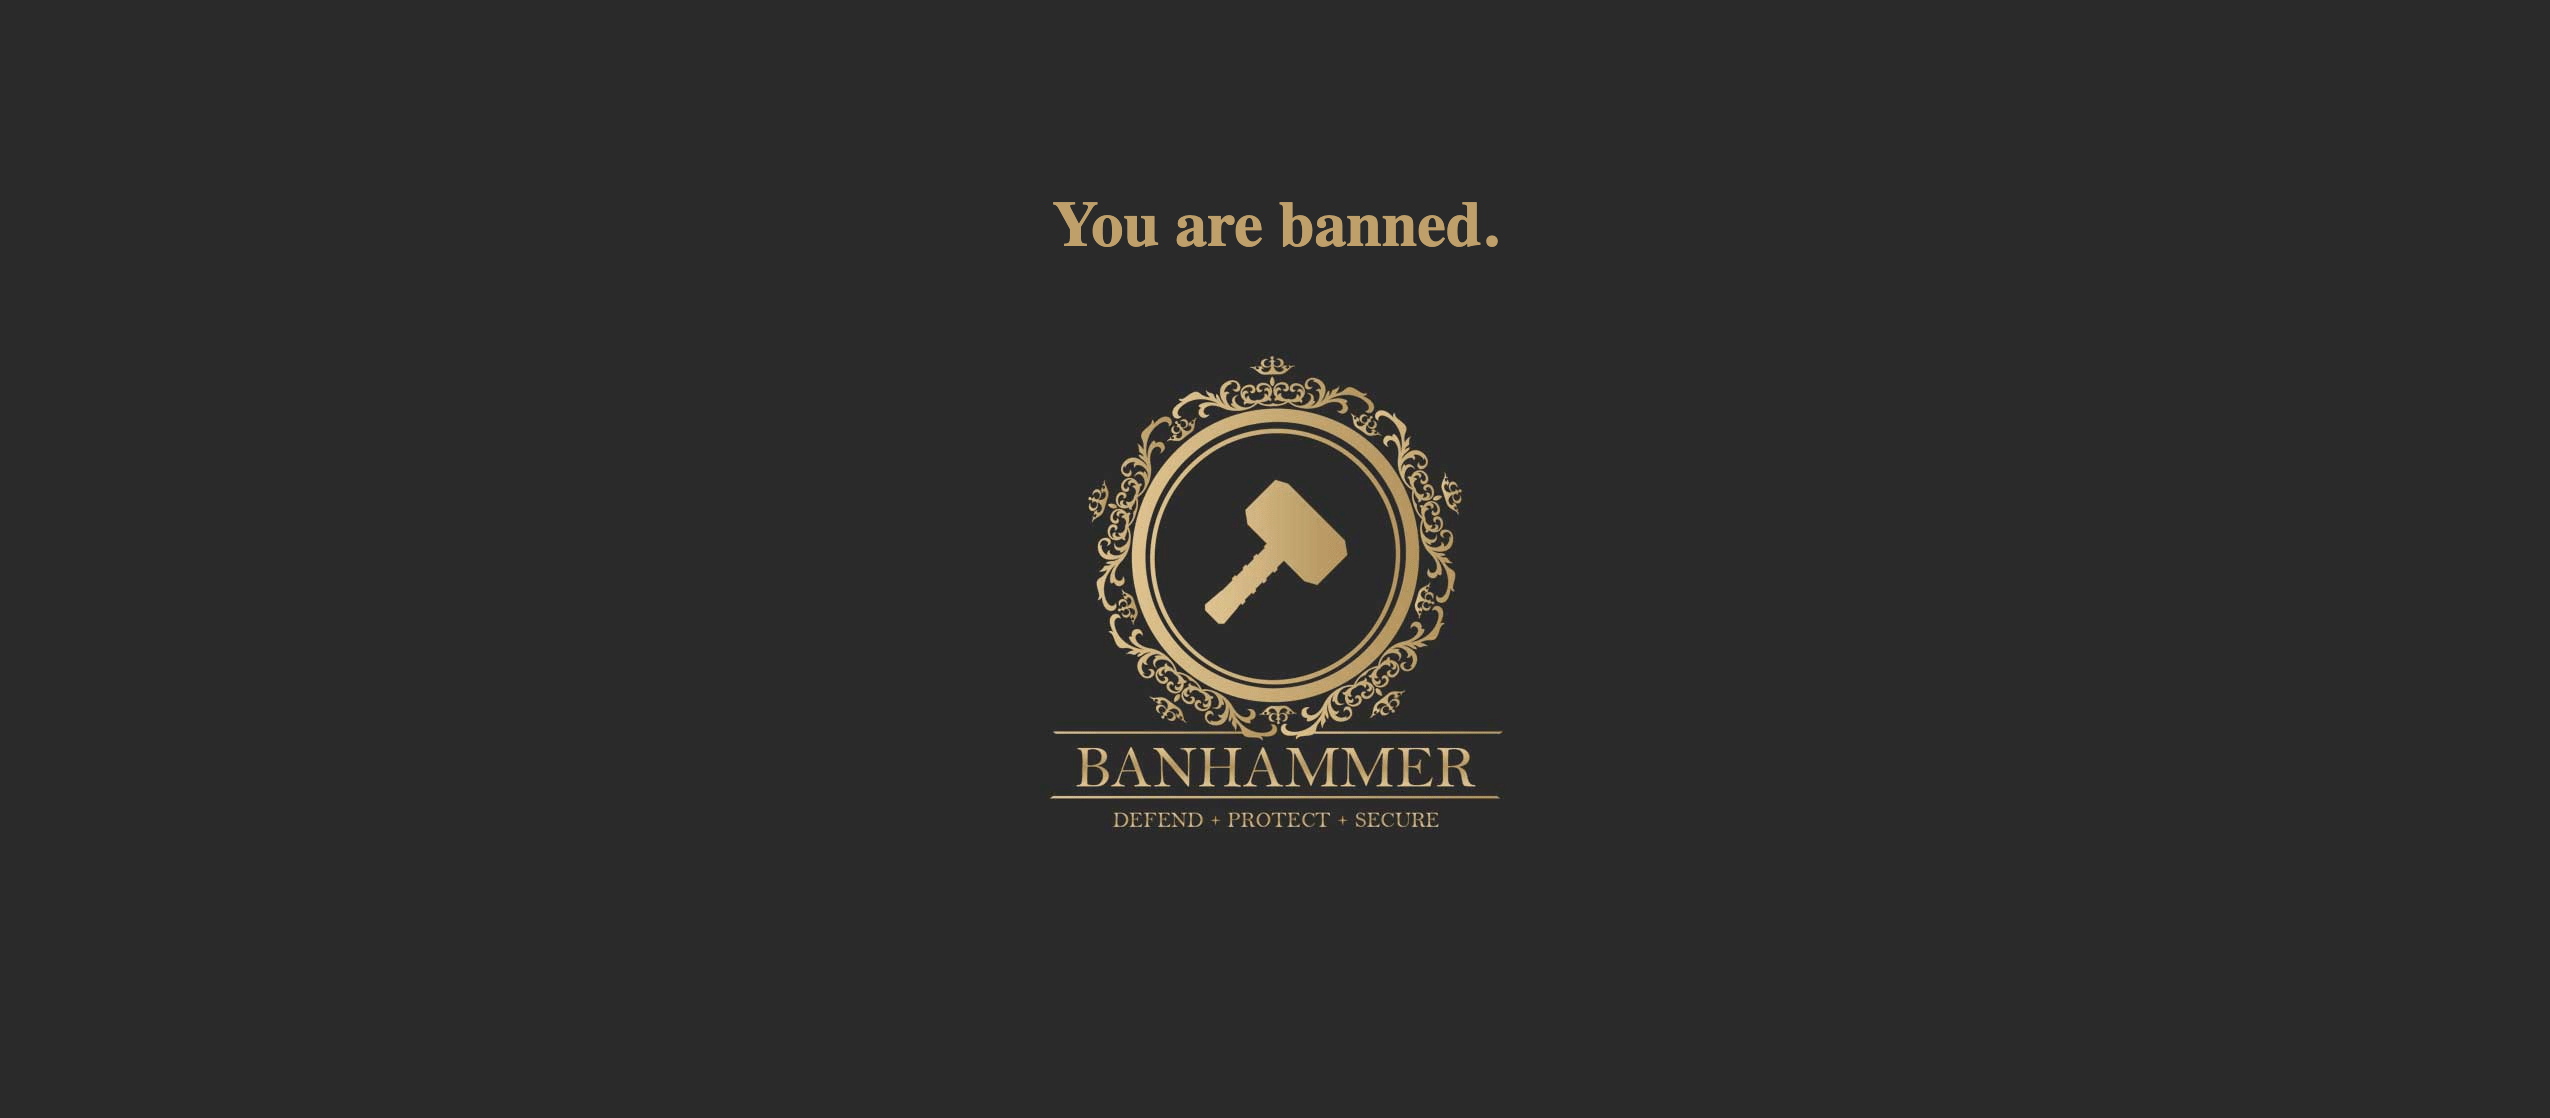
Banhammer Pro provides “Banned Response” settings that enable you to customize how your site responds to banned requests. By default, the banned message that is displayed looks like this:

But much more is possible. Here are the different ways that you can customize the message that is displayed to banned targets:
- Plugin Settings ▸ Banned Response ▸ Default Message — as shown above
- Plugin Settings ▸ Banned Response ▸ Custom Message — use your own text/markup
- Plugin Settings ▸ Banned Response ▸ Redirect — redirect to a specific URL
- Armory or Tower ▸ Specific Target ▸ Custom Message — customize the banned message for each target
So the plugin settings determine how Banhammer responds in general, to all banned requests. Then you can override the settings for each individual target, as we’ll see next..
Custom banned message
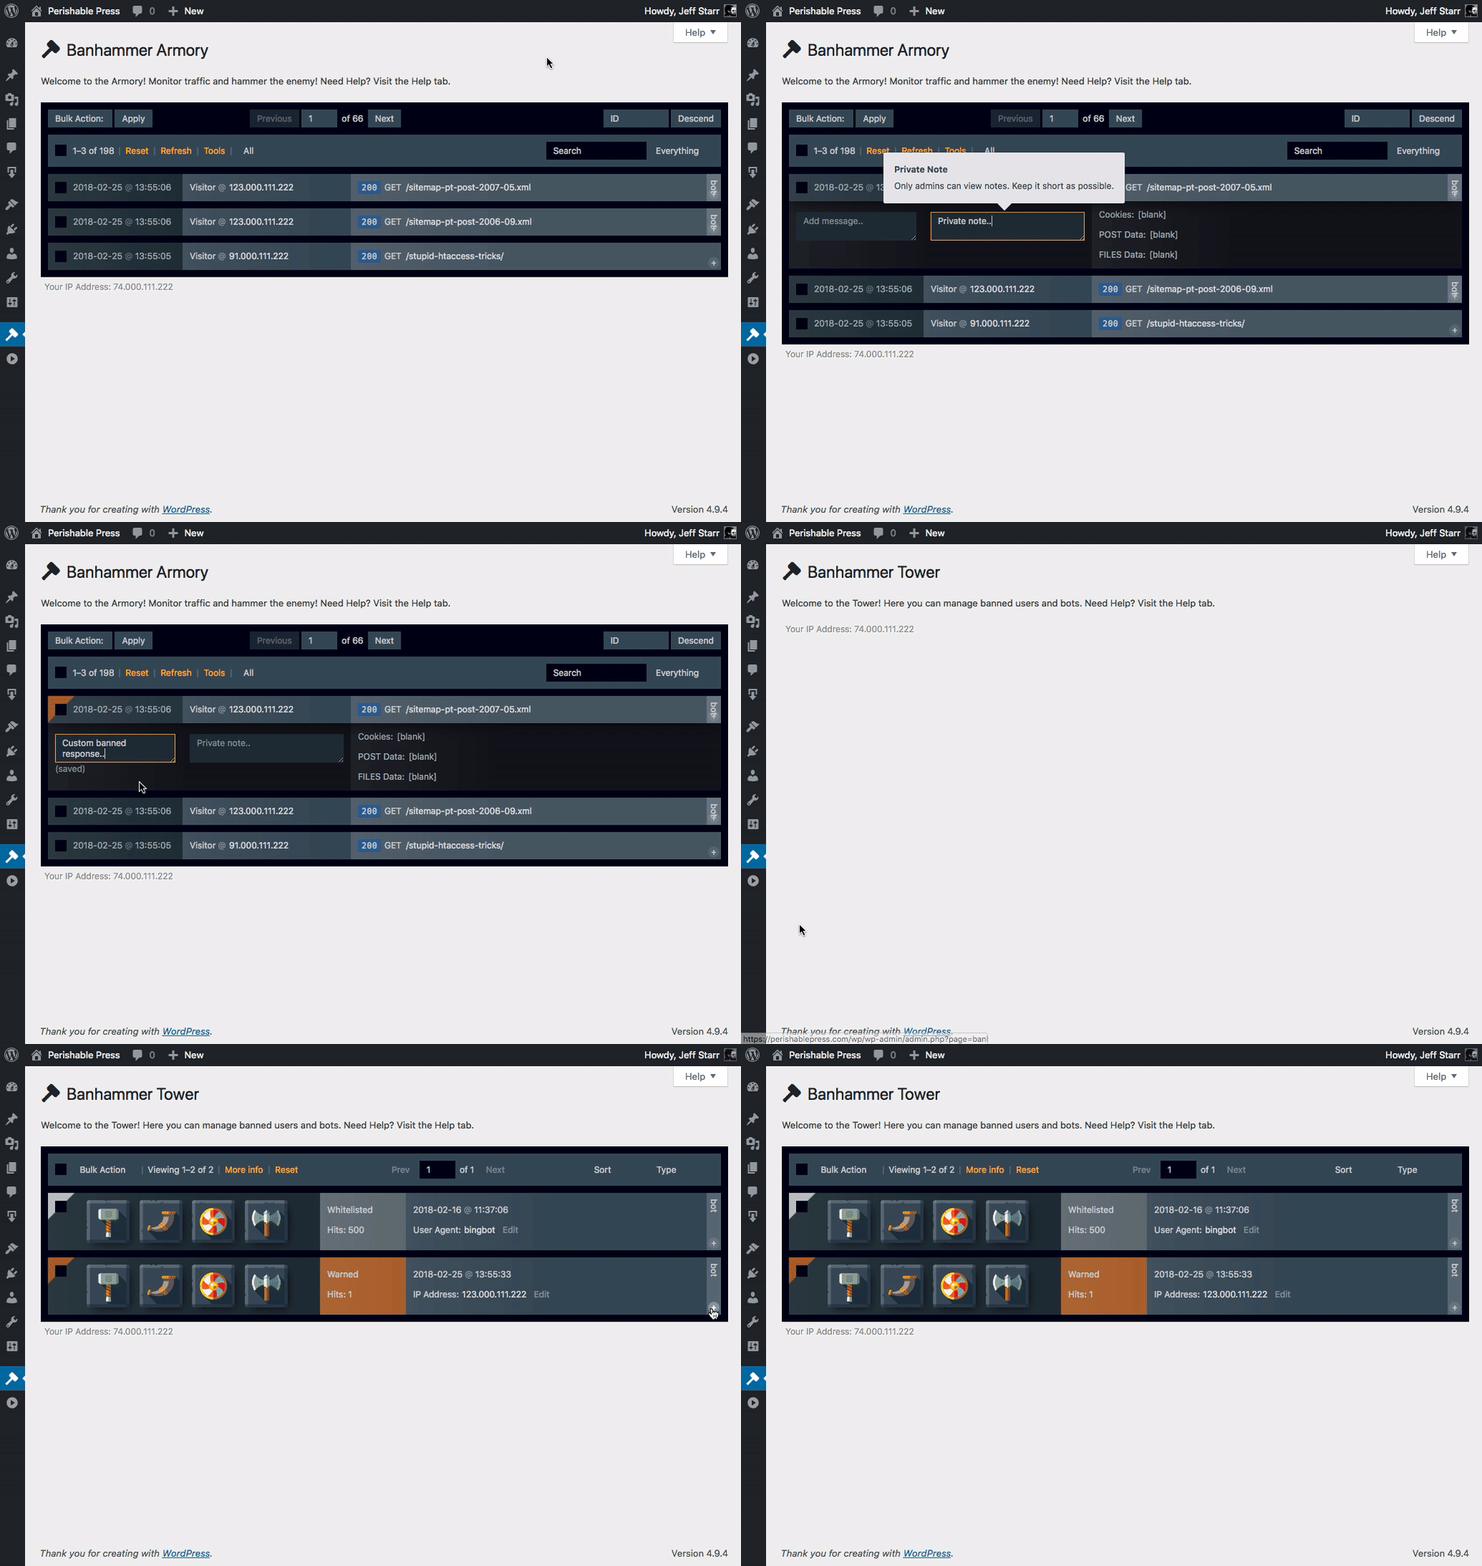
To override the “Banned Response” plugin setting for a specific target, toggle the More info panel and enter a custom message (can use basic markup). Here is an animated GIF that shows how it works:
As shown in the GIF, once you’ve added a custom message via the Armory, it will be saved to the database and reflected in the Tower. And vice-versa, if you add a custom message via the Tower, it will be reflected in the Armory.
Note: check out this tutorial for ways to test banned requests. Useful for checking how things look if you are using any custom markup.
Pro Tip: In addition to customizing the message shown to banned targets, you also can customize the response code (e.g., 300, 301, 403, et al). To do so, visit “Status Code” in the Banhammer Advanced settings.
Add private notes
Also shown in the previous animated GIF, is the adding of a private note to a specific target. As suggested by their name, private notes are seen only by admin-level users, and never displayed publicly. There are meant to give you a way to keep track of things. Like custom messages, private notes are saved in the database and reflected in the Tower.
