By default, Simple Ajax Chat Pro (SAC Pro) does not display the date next to each message in the chat box. You can enable it though. This quick guide will show you how to display the date and time next to each chat message.
Display dates for all chat forms
To display the chat date in all chat forms, add the following CSS to the SAC Pro setting, Appearance ▸ “Custom Style”:
.sacpro-chats .sacpro-chat .sacpro-chat-date-time { display: block; }Save changes and done. Reload the chat page and maybe clear browser cache if the dates/times are not displayed. Of course, you can customize the above CSS code even further. for example, you can change the color, font-size, line-height, and other properties as desired.
Screenshot
After adding the above code, your chat box will include the dates next to chat messages. Here is a screenshot to give you a better idea.
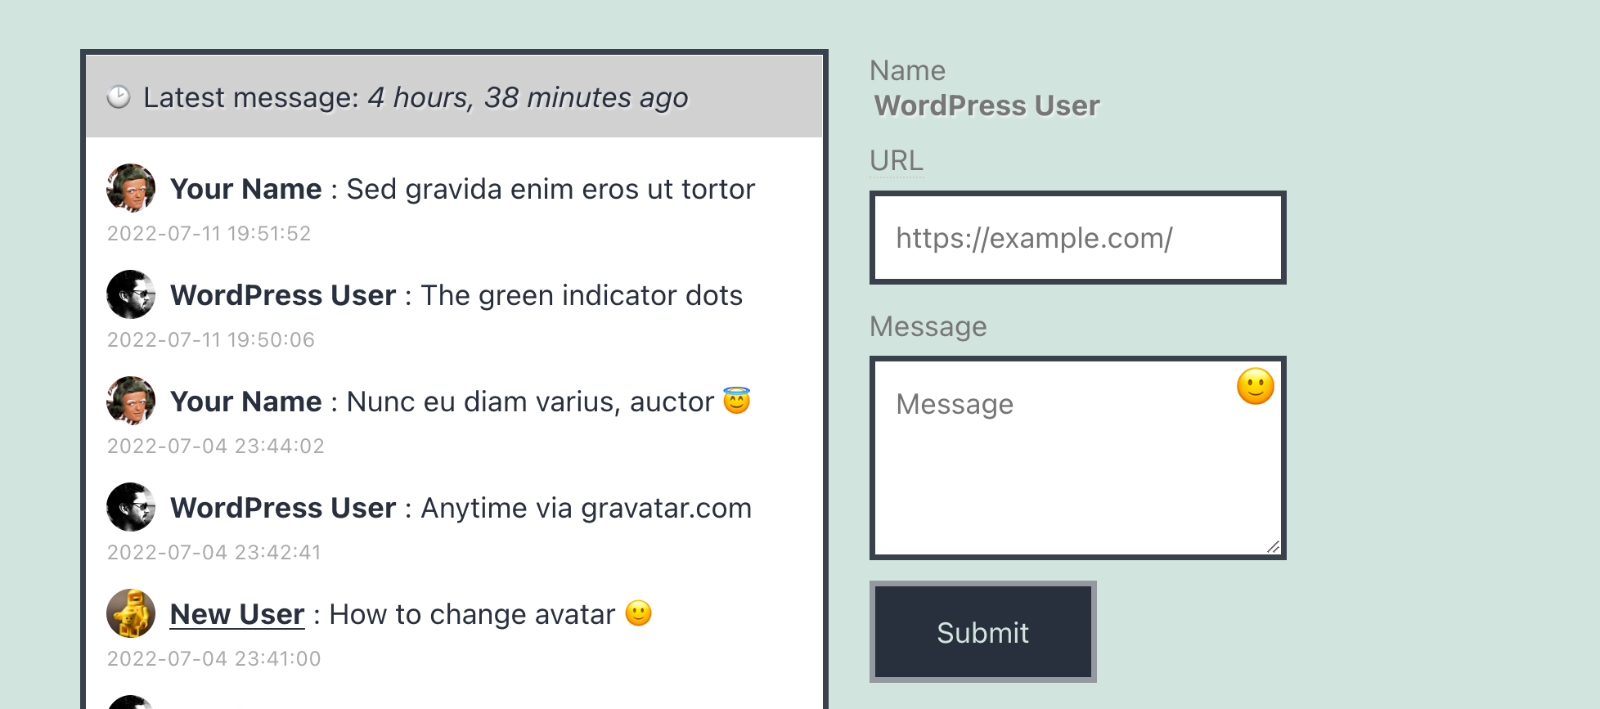 Screenshot showing date/time displayed next to each chat message. WordPress theme: Twenty Twenty-One. Chat theme: Classic.
Note that the dates/times will display differently depending on the active chat theme.
Display dates for specific chat forms
The previous CSS snippet displays dates for all chat forms. To display only for a specific form, first get the form ID (should match the form_id attribute on the form shortcode). Then use it to modify the previous CSS code. For example, if the form ID is GuestChat, we would add the following code:
#sacpro_GuestChat .sacpro-chats .sacpro-chat .sacpro-chat-date-time { display: block; }Notice the only difference between this and the previous code. Here we add #sacpro_GuestChat, which is the form ID prepended with sacpro_. This makes the CSS more specific, so that it applies only to form ID sacpro_GuestChat.
So to sum up:
- Our form ID is:
GuestChat - Prepend
sacpro_to getsacpro_GuestChat - Add
#sacpro_GuestChatto the above CSS - Add the CSS to the SAC Pro setting, Appearance ▸ “Custom Style”
- Save changes and done.
Using the prefixed form ID, you can target and apply custom style to any specific chat form(s).
Bonus: Adjust the Date/Time
SAC Pro displays and formats the date and time based on your WordPress site settings. If you would like to modify the date/time and/or format, here is a snippet that can be added via your theme’s functions.php file, or added via simple custom plugin:
function sacpro_get_date($date) {

	$format = str_contains($date, '/') ? 'm/d/Y H:i:s' : 'Y-m-d H:i:s';

	return date($format, strtotime($date) - 60 * 60 * 5); // <-- subtract 5 hours

}
add_filter('sacpro_get_date', 'sacpro_get_date');
After adding this code, replace the 5 with any number to change the hour displayed in date/time output. And/or you can modify the return value to add hours, change the format, and so forth, to display virtually any date/time/format as desired.
Check out my tutorial at DigWP.com for help with adding custom code to WordPress.