Learn how to add a custom checkbox fields to any USP Form.
Step 1
Use the following code for your Custom Field definition:
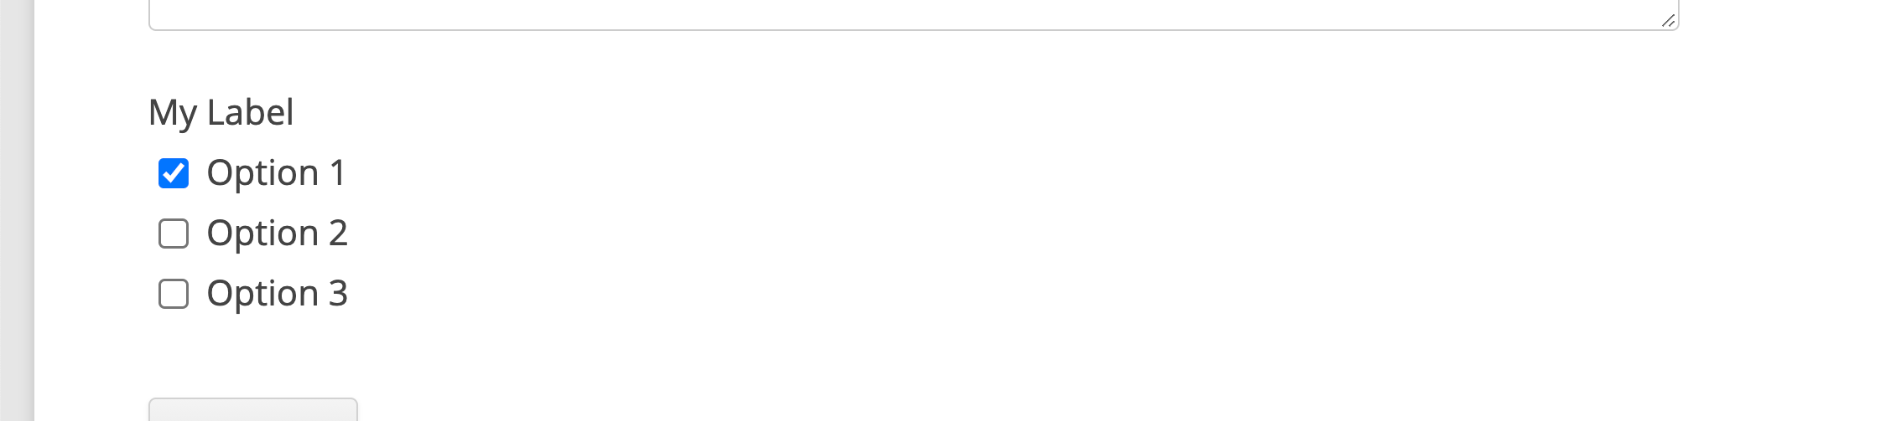
field#input_checkbox|checkboxes#Option 1:Option 2:Option 3|checkboxes_checked#Option 1|desc#My LabelStep 2
Add the custom-field shortcode to your form, for example:
[usp_custom_field form="123" id="1"]After adding to your form and saving changes, something like this will be displayed on the front-end:
Attributes
Here are the attributes available for custom checkbox fields:
- field — specifies the type of custom field
- checkboxes — list of checkbox fields
- checkboxes_checked — list of checkbox fields that should be checked by default
- checkboxes_req — list of checkboxes that should be required (applies when not using
multiple) - data-required — when set as
truerequires at least one checkbox to be selected (applies when usingmultiple) - multiple — use
multiple#trueto make the checkboxes an array (all checkboxes have same name) - desc — adds a description/label to the group of checkboxes
View more custom-field attributes »
Examples
Here are some example copy/paste recipes that you can use for different types of custom checkbox fields.
Each checkbox has a unique name, all required:
field#input_checkbox|checkboxes#input1:input2:input3|checkboxes_checked#input1|checkboxes_req#input1:input2:input3All checkboxes have the same name, at least one checkbox is required:
field#input_checkbox|checkboxes#input1:input2:input3|checkboxes_checked#input1|multiple#trueEach checkbox has a unique name, none required:
field#input_checkbox|checkboxes#input1:input2:input3|checkboxes_checked#input1|data-required#falseAll checkboxes have the same name, none required:
field#input_checkbox|checkboxes#input1:input2:input3|checkboxes_checked#input1|multiple#true|data-required#falseCheck out more custom-field attributes »
Check out more custom field recipes »
Custom Custom Fields (Advanced)
In most cases, the previous information is sufficient to add custom checkbox fields to your forms. But in some cases, you may need to customize the name of the checkbox inputs. For example, if you want the checkbox inputs to match some existing field name. To do this, we can define any name(s) that are necessary using Custom Custom Fields. The “Custom Custom” feature enables you to use your own names for the checkbox values. Here’s how it works..
By default, the names for checkbox inputs look like this:
usp-custom-input1usp-custom-input2usp-custom-input3
..where input1, input2, and input3 correspond to the checkbox names defined in the custom-field definition, for example: checkboxes#input1:input2:input3. In other words, USP Pro prefixes all specified checkbox names with usp-custom-. So if you need to define your own custom names (with no prefix), for example:
checkboxes#books:movies:musicbooksmoviesmusic
To achieve it, visit USP settings ▸ Advanced ▸ “Custom Custom Fields”. There you can add the names of your custom fields as explained in the Custom Custom Fields tutorial. After saving changes, you can return to your form and add the following custom-field definition:
checkboxes#books:movies:musicAnd lastly, make sure to add any of your custom names as name attribute, for example:
name#books|field#input_checkbox|checkboxes#books:movies:musicAdding the name attribute instructs USP to use your “Custom Custom” values instead of the defaults. So no prefix will be added.
Notes
For checkbox fields that do not include multiple#true in the custom-field definition, the value of the name attribute can be any of the checkbox values. Totally doesn’t matter which one is used.
For checkbox fields that do include multiple#true in the custom-field definition, the value of the name attribute is used for the field value. In this case, the values of the checkbox fields would look like this:
books[books]books[movies]books[music]
..and the submitted custom-field names and values would look like this:
books→booksbooks→moviesbooks→music
So it is the value of the name attribute in the custom-field definition that determines the custom-field name, and the value of each checkbox that determines the custom-field value.